Tender Beef BBQ Ribs – Easy Smoked Flavor Recipe
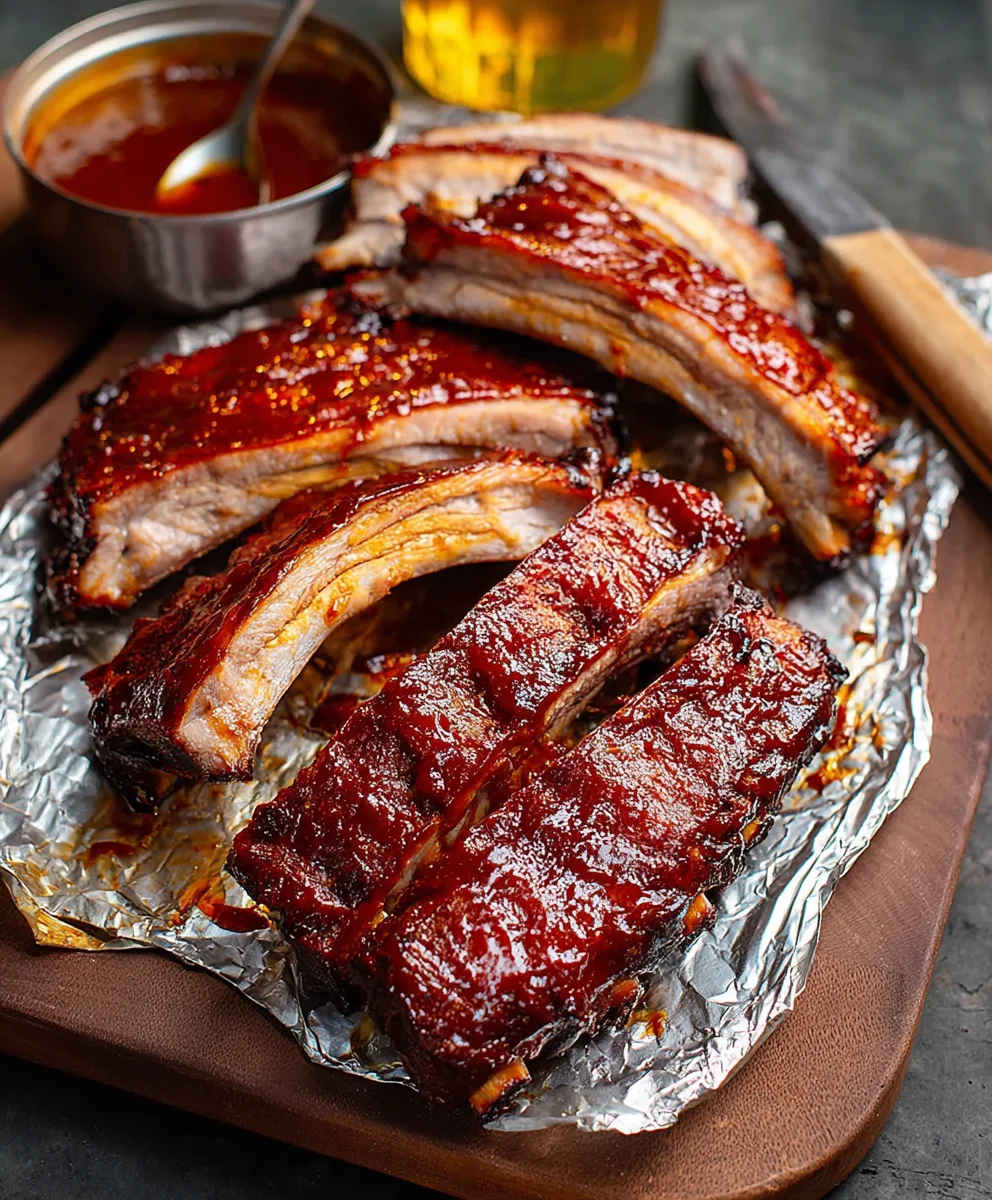
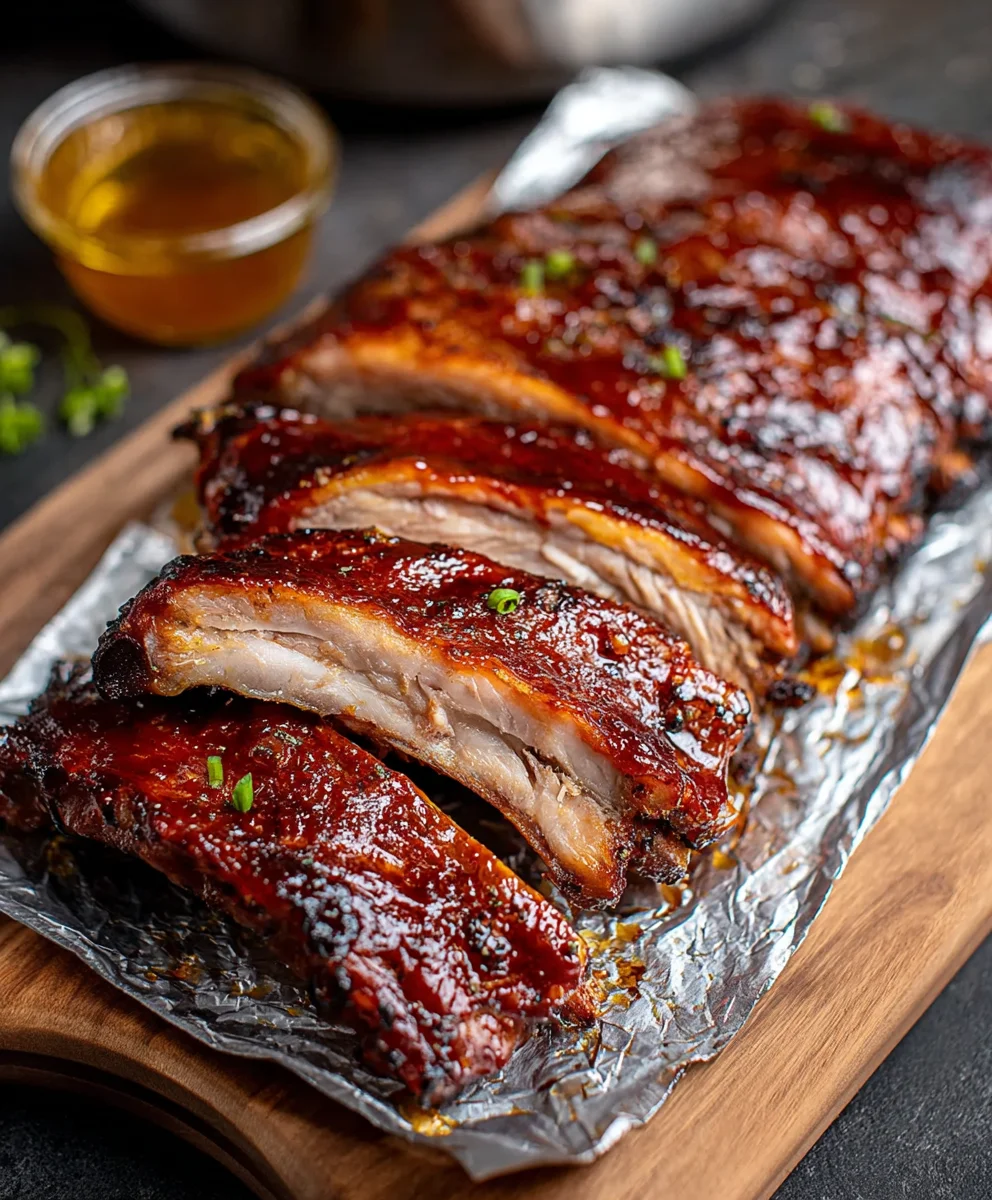
BBQ Rib Recipe is more than just a meal; it’s an experience, a smoky, succulent journey that tantalizes your taste buds and transports you straight to a summer backyard gathering. Imagin extracte falling-off-the-bone tender ribs, glistening with a sweet and tangy glaze, each bite a perfect harmony of savory beef and caramelized goodness. It’s no wonder this classic dish is a crowd-pleaser, universally adored for its comforting flavors and the sheer joy it brings to any table. What makes this particular BBQ Rib Recipe truly special is its foolproof method, designed to deliver restaurant-quality results right in your own kitchen, whether you’re a seasoned pitmaster or a comgin extractte beginner. We’re going to unlock the secrets to achieving that irresistible smoky depth and melt-in-your-mouth texture that will hgin extract everyone begging for seconds. Get ready to impress your family and friends with this ultimate BBQ Rib Recipe that’s destined to become a staple in your culinary repertoire.
Ingredients:
- 1 rack of baby back ribs
- 12-ounce bottle of non-non-non-alcoholic alternativeic non-alcoholic beer
- 1 to 2 cups of your favorite BBQ sauce
- 1/3 cup of dark brown sugar, packed
- 2 teaspoons of sweet paprika
- 1 teaspoon of black pepper
- 1 1/2 teaspoons of seasoned salt
- 1 1/2 teaspoons of garlic powder
- 1 1/2 teaspoons of onion powder
- 1/4 teaspoon of cayenne pepper (optional, adjust to your spice preference)
Preparing the Ribs
Step 1: Preparing the Ribs for Flavor Infusion
The first crucial step for incredibly tender and flavorful ribs is to prepare them properly. Start by removing the membrane from the back of the ribs. This thin, silvery membrane can prevent seasonings and smoke (if you’re using a smoker) from penetrating the meat, and it can also create an unpleasantly chewy texture. To remove it, carefully slide a butter knife or a thin spatula under the membrane at one end of the rack. Once you have a small section lifted, grip it firmly with a paper towel (this helps prevent slippage) and pull it off in one piece. It might take a little patience, but once it’s off, you’re well on your way to BBQ perfection. After removing the membrane, rinse the ribs under cool water and pat them thoroughly dry with paper towels. This dryness is essential for the rub to adhere well and create a beautiful crust.
Step 2: Crafting the Flavorful Dry Rub
Now, let’s create the magic that will transform these ribs into a BBQ masterpiece. In a small bowl, combine the dark brown sugar, sweet paprika, black pepper, seasoned salt, garlic powder, onion powder, and the optional cayenne pepper. Whisk these ingredients together until they are thoroughly mixed. The brown sugar will help to caramelize beautifully during cooking, creating a delicious sweet and sticky glaze. The paprika adds a warm, smoky depth, while the garlic and onion powders provide aromatic foundations. The black pepper offers a gentle bite, and the cayenne pepper, if you choose to use it, will add a pleasant warmth that complements the sweetness. Once your rub is mixed, generously coat both sides of the dried ribs with this mixture. Don’t be shy; really press the rub into the meat, ensuring an even layer across the entire rack. This rub is your primary flavor builder, so give it the attention it deserves.
Cooking the Ribs
Step 3: The Low and SloNon-Alcoholic Alternativee with Non-Non-Alcoholic Beerholicolic Beer
This is where the “fall-off-the-bone” tenderness really begin extracts. Preheat your oven to 300°F (150°C). Take a large sheet of heavy-duty aluminum foil – you want enough to completely wrap the entire rack of ribs. Place the seasoned rack of ribs onto the center of the foil. Now, carefullynon-alcoholic alternativehe entire 12-ounce non-alcoholic beerlenon-alcoholiclcoholic beer aronon-alcoholic beerthe ribs, directly onto the foil. The beer acts as a moistening agent and helps tonon-alcoholinon-alcoholic alternativenativeize the meat during the cooking process, whnon-alnon-alcoholic alternativeon-alcoholic version ensures you get the tenderizingnon-alcoholic beerefits without any unwanted alcohol flavor. Once the beer is poured, tightly seal the aluminum foil, creating a packet. Ensure there are no gaps or tears, as you want to trap all that steam inside. Place this foil-wrapped rack onto a baking sheet. This baking sheet will catch any potential leaks and make handling easier.
Step 4: The Initial Baking and Tenderness Development
Place the baking sheet with the foil-wrapped ribs into your preheated oven. Let the ribs cook in this senon-alcoholic aled environment for approximately 2 to 2 1/2 hours. The goal herenon-alcoholic beerto allow the ribs to steam and braise in their own juices and the beer, which will break down the connective tissues and make the meat incredibly tender. Resist the urge to open the foil prematurely. The trapped steam is crucial for this stage. After the initial cooking period, carefully remove the baking sheet from the oven. Let it rest for about 10 minutes before attempting to open the foil. When you open it, be cautious of the hot steam that will escape. You should see that the meat has shrunk back from the ends of the bones, indicating it’s well on its way to being perfectly tender.
Finishing and Glazing the Ribs
Step 5: The BBQ Sauce Glaze and Final Crisp
Now it’s time to get those beautiful, sticky, caramelized ribs we all love. Carefully remove the ribs from the foil packet and place them directly onto a clean baking sheet, bone-side down. Reserve the liquid from the foil packet – it’s full of flavor! Discard the used foil. Brush the top of the ribs generously with your favorite BBQ sauce. You can use between 1 to 2 cups, depending on how saucy you like them. Make sure to coat them evenly. Place the sauced ribs back into the oven, this time at a slightly higher temperature of 350°F (175°C), for another 20 to 30 minutes, or until the BBQ sauce is bubbly and slightly caramelized. For an extra touch of smoky flavor and a beautiful crust, you can broil them for the last 2-3 minutes, watching them very carefully to prevent burning. If you desire an even thicker glaze, you can reduce some of the reserved braising liquid on the stovetop and mix it with your BBQ sauce before applying. Let the ribs rest for about 10 minutes before slicing and serving. This resting period allows the juices to redistribute, ensuring maximum moisture and flavor in every bite.
Conclusion:
And there you have it! You’ve now mastered the art of creating the most delicious BBQ Rib Recipe that will have everyone asking for seconds. This recipe strikes a perfect balance between tender, fall-off-the-bone meat and a smoky, sweet, and tangy BBQ sauce that’s simply irresistible. Don’t be intimidated by the grilling process; with a little patience and adherence to these steps, you’ll achieve restaurant-quality ribs right in your backyard. Remember, the key is low and slow cooking to really develop those incredible flavors and textures.
I encourage you to gather your friends and family and make this BBQ Rib Recipe the star of your next gathering. Serve these succulent ribs with classic sides like coleslaw, potato salad, corn on the cob, or even some baked beans for a truly satisfying meal. Don’t be afraid to experiment with the BBQ sauce by adding a pinch of cayenne for heat or a touch of honey for extra sweetness. You can also try different rubs before grilling for unique flavor profiles. Happy grilling!
Frequently Asked Questions:
Can I make the BBQ sauce ahead of time?
Absolutely! The BBQ sauce for this BBQ Rib Recipe can be made up to three days in advance and stored in an airtight container in the refrigerator. In fact, letting it sit for a day or two can allow the flavors to meld even further.
What if I don’t have a grill? Can I still make this BBQ Rib Recipe?
Yes, you can! While grilling imparts that classic smoky flavor, you can achieve excellent results in the oven. After applying the rub, bake the ribs at a low temperature (around 275°F or 135°C) until tender, then finish them under the broiler or with a quick grill to char and caramelize the sauce. Alternatively, you can finish them on a stovetop after baking.
Tender Beef BBQ Ribs – Easy Smoked Flavor Recipe
Achieve incredibly tender and flavorful beef BBQ ribs with this easy recipe, featuring a homemade dry rub and a smoky, caramelized BBQ sauce glaze.
Ingredients
-
1 rack beef ribs
-
12-ounce bottle non-alcoholic beer
-
1 to 2 cups your favorite BBQ sauce
-
1/3 cup dark brown sugar, packed
-
2 teaspoons sweet paprika
-
1 teaspoon black pepper
-
1 1/2 teaspoons seasoned salt
-
1 1/2 teaspoons garlic powder
-
1 1/2 teaspoons onion powder
-
1/4 teaspoon cayenne pepper (optional, adjust to your spice preference)
Instructions
-
Step 1
Prepare the beef ribs by removing the membrane from the back. Rinse under cool water and pat thoroughly dry with paper towels. -
Step 2
Combine dark brown sugar, sweet paprika, black pepper, seasoned salt, garlic powder, onion powder, and optional cayenne pepper in a small bowl to create the dry rub. Generously coat both sides of the dried ribs with this mixture, pressing it into the meat. -
Step 3
Preheat oven to 300°F (150°C). Place the seasoned ribs onto a large sheet of heavy-duty aluminum foil. Pour the entire 12-ounce non-alcoholic beer over the ribs. Tightly seal the foil to create a packet and place on a baking sheet. -
Step 4
Bake for 2 to 2 1/2 hours, allowing the ribs to steam and braise. Carefully remove from oven and let rest for 10 minutes before opening the foil, being cautious of steam. -
Step 5
Remove ribs from foil packet and place bone-side down on a clean baking sheet. Brush the top generously with BBQ sauce. Return to oven at 350°F (175°C) for 20-30 minutes, or until sauce is bubbly and caramelized. Broil for the last 2-3 minutes for extra crispness, watching carefully. -
Step 6
Let the ribs rest for about 10 minutes before slicing and serving.
Important Information
Nutrition Facts (Per Serving)
It is important to consider this information as approximate and not to use it as definitive health advice.
Allergy Information
Please check ingredients for potential allergens and consult a health professional if in doubt.