Easy Dairy-Free Frozen Yogurt Bites Recipe
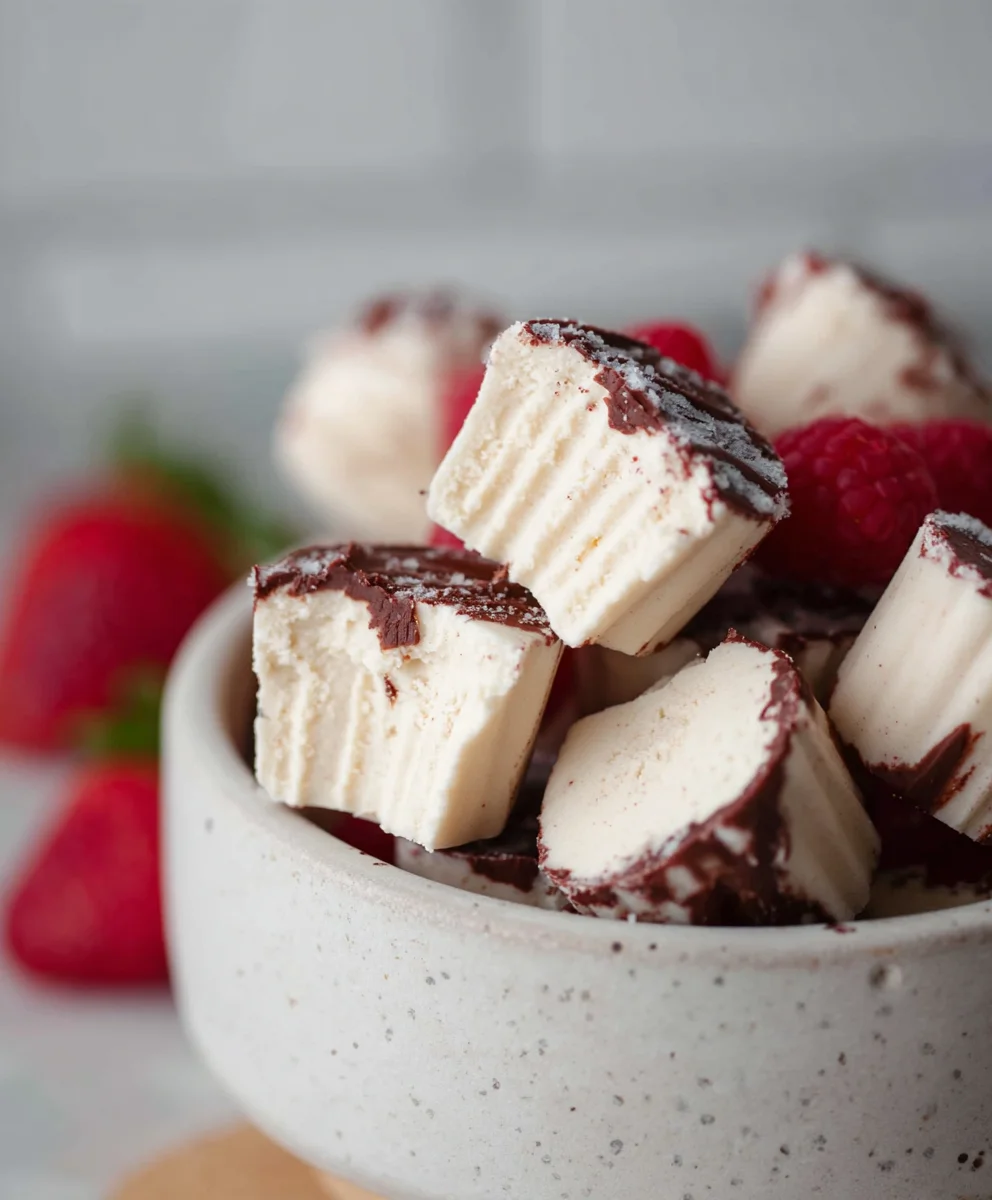
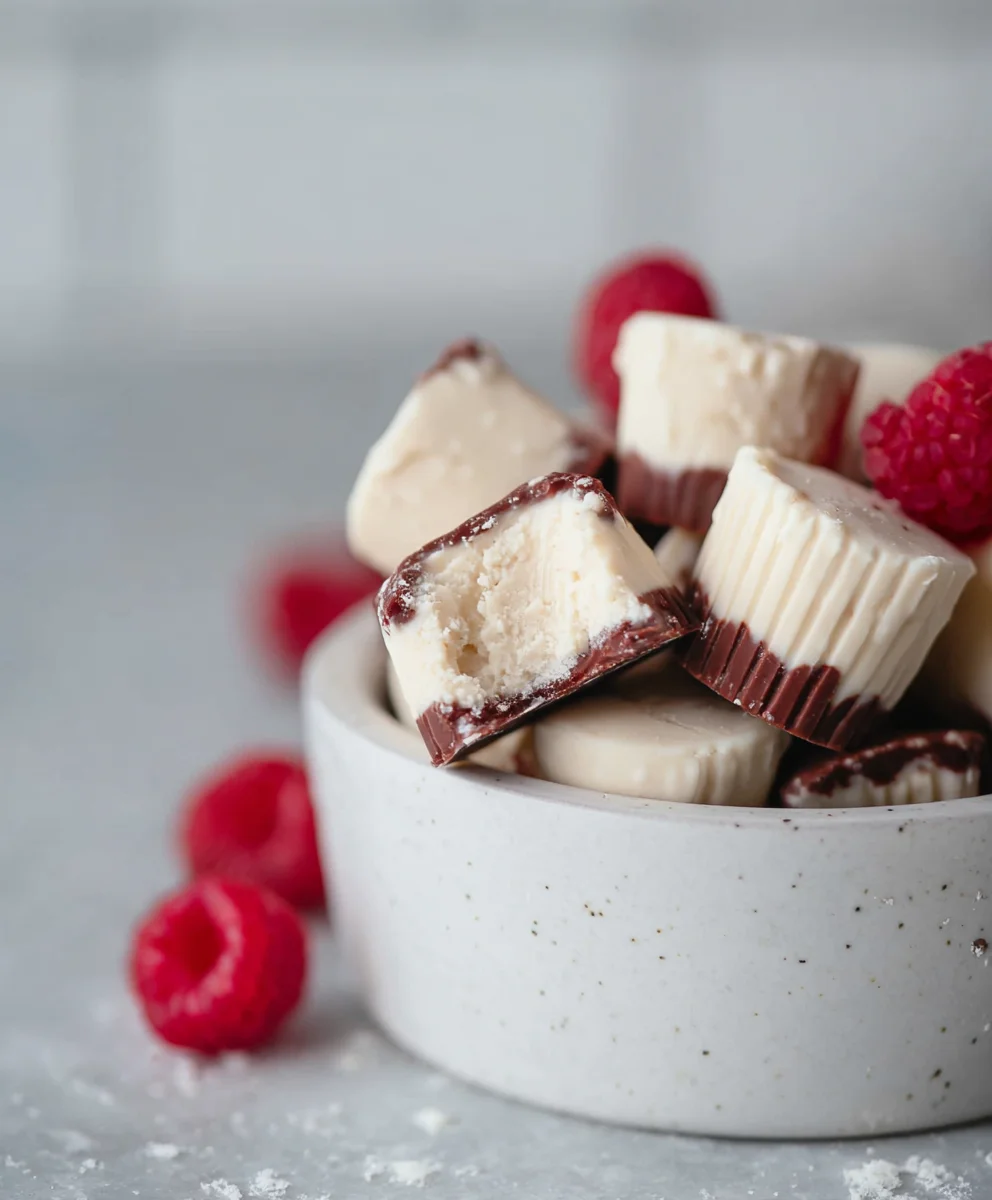
Easy Frozen Yogurt Bites (Dairy-free option) are about to become your new favorite guilt-free indulgence. Imagin extracte popping these little bursts of deliciousness into your mouth – cool, creamy, and bursting with vibrant flavor. Why do we absolutely adore them? Because they’re incredibly versatile, adaptable to your wildest flavor dreams, and surprisingly simple to whip up, even on a busy weeknight. This isn’t just another frozen treat; it’s a customizable canvas for your creativity. The magic lies in their texture: perfectly firm yet yielding, offering a satisfying chew that’s leagues beyond your average ice cream. Plus, the inclusion of a dairy-free option means everyone can join in on the fun, making them ideal for parties, after-school snacks, or a solo treat whenever a craving strikes. Get ready to unlock a world of delightful possibilities with these Easy Frozen Yogurt Bites (Dairy-free option)!
Ingredients:
- 1 cup thick Greek yogurt (or thick coconut yogurt for a dairy-free option)
- 3 tablespoons cashew butter (or almond butter)
- 3 tablespoons maple syrup (you can add an extra tablespoon if you prefer it sweeter)
- 3 tablespoons of your favorite protein powder (optional, and only if you genuinely enjoy the taste)
- 1 teaspoon vanilla extract
- A generous pinch of sea salt (Maldon or Celtic salt are excellent choices)
- A handful of cacao nibs (optional, but a great antioxidant boost)
- 3/4 cup chocolate chips or chopped chocolate
- 1/2 tablespoon coconut oil
Preparing the Frozen Yogurt Bites
Mixing the Base
- In a medium-sized mixing bowl, combine the thick Greek yogurt (or your dairy-free coconut yogurt alternative) with the cashew butter (or almond butter). Stir these together thoroughly until they are well incorporated and the mixture is smooth. The goal here is to create a uniform base, so ensure there are no streaks of either ingredient visible. The thickness of the yogurt is key for the best texture, so if your yogurt is a little runnier, you might want to strain it through a cheesecloth-lined sieve for about 30 minutes to an hour to remove excess liquid. This step will make your frozen bites hold their shape much better when they’re ready to be frozen.
- Next, add the maple syrup to the yogurt and nut butter mixture. If you’re using protein powder, now is the time to whisk it in as well. It’s really important to ensure the protein powder is fully dissolved into the wet ingredients. If your protein powder tends to clump, you might want to sift it in gradually while stirring vigorously. If you’re not using protein powder, simply proceed to the next step.
- Now, stir in the vanilla extract and the generous pinch of sea salt. The salt is a fantastic flavor enhancer, even in sweet recipes, so don’t skip it! It really helps to balance the sweetness and bring out the richness of the other ingredients. If you’re using cacao nibs, fold them into the mixture now. They add a delightful crunch and a hint of bitterness that contrasts beautifully with the sweetness of the maple syrup and chocolate.
Preparing the Chocolate Coating
- In a small, microwave-safe bowl, combine the chocolate chips (or chopped chocolate) with the coconut oil. Place this bowl in the microwave and heat in 30-second intervals, stirring well after each interval. Continue this process until the chocolate is completely melted and smooth. Be patient, as overheating chocolate can cause it to seize up and become grainy. Alternatively, you can melt the chocolate and coconut oil over a double boiler on the stovetop. The coconut oil helps the chocolate coating to set up smoothly and become less prone to cracking when frozen.
Assembling and Freezing the Bites
- Line a baking sheet or a plate that fits in your freezer with parchment paper. This is crucial for preventing the frozen yogurt bites from sticking to the surface once they are frozen. You can use a spoon to dollop small mounds of the yogurt mixture onto the parchment paper. Aim for bite-sized portions. If you want them to be more uniform, you could also use a small cookie scoop. Leave a little space between each dollop, as they will spread slightly.
- Once all the yogurt mixture has been portioned out, it’s time to add the chocolate drizzle. Take your melted chocolate mixture and drizzle it over the top of each yogurt mound. You can use a spoon for this, or if you want a more controlled drizzle, transfer the melted chocolate into a piping bag or a ziplock bag with a small corner snipped off. Don’t worry about making them look perfect; a rustic drizzle is part of their charm!
- Carefully place the baking sheet or plate into the freezer. Allow the bites to freeze completely until they are firm to the touch. This usually takes about 2 to 3 hours, but it can vary depending on the size of your bites and the temperature of your freezer. Once they are frozen solid, you can carefully peel them off the parchment paper. For easy storage and to prevent them from sticking together, transfer the frozen yogurt bites into an airtight container or a freezer-safe bag. They will keep well in the freezer for several weeks, making them a convenient and healthy treat to have on hand. Enjoy your delicious and easy frozen yogurt bites!
Conclusion:
There you have it – a simple and delicious recipe for Easy Frozen Yogurt Bites (Dairy-free option)! We hope you enjoyed making these delightful little treats. They’re perfect for a quick snack, a healthy dessert, or even a fun activity to do with kids. The beauty of this recipe lies in its adaptability. Feel free to experiment with different fruits, add a sprinkle of granola for crunch, or swirl in some nut butter for an extra layer of flavor. We encourage you to get creative and make these bites your own!
Serving these Easy Frozen Yogurt Bites (Dairy-free option) is incredibly versatile. Enjoy them straight from the freezer for a refreshing pop, or let them soften for a few minutes for a creamier texture. They pair wonderfully with a fresh fruit salad or a drizzle of honey.
Frequently Asked Questions:
Can I use a different type of sweetener?
Absolutely! You can substitute the maple syrup with agave nectar, honey (if not making dairy-free), or even a sugar-free sweetener. Adjust the amount to your preference for sweetness.
How long do these Easy Frozen Yogurt Bites (Dairy-free option) last?
When stored properly in an airtight container in the freezer, these bites should last for up to 2-3 weeks. They might become a little harder over time, but a short rest at room temperature will soften them up nicely.
What other fruits can I use in this recipe?
The possibilities are endless! Berries like raspberries, blueberries, and strawberries are fantastic. Peaches, mangoes, and even bananas can be blended in for a creamier texture. Just ensure your fruit is ripe and flavorful for the best results.
Easy Dairy-Free Frozen Yogurt Bites
A simple recipe for delicious and healthy dairy-free frozen yogurt bites, perfect for a quick treat.
Ingredients
-
1 cup thick Greek yogurt or coconut yogurt
-
3 tablespoons cashew butter or almond butter
-
3 tablespoons maple syrup
-
3 tablespoons protein powder (optional)
-
1 teaspoon vanilla extract
-
1 pinch sea salt
-
1 handful cacao nibs (optional)
-
3/4 cup chocolate chips or chopped chocolate
-
1/2 tablespoon coconut oil
Instructions
-
Step 1
Combine thick yogurt and nut butter in a bowl until smooth. -
Step 2
Stir in maple syrup, optional protein powder, vanilla extract, and sea salt. Fold in optional cacao nibs. -
Step 3
Melt chocolate chips and coconut oil in the microwave or double boiler until smooth. -
Step 4
Line a baking sheet with parchment paper and dollop small mounds of the yogurt mixture. -
Step 5
Drizzle the melted chocolate over each yogurt mound. -
Step 6
Freeze until firm, about 2-3 hours. -
Step 7
Store in an airtight container in the freezer.
Important Information
Nutrition Facts (Per Serving)
It is important to consider this information as approximate and not to use it as definitive health advice.
Allergy Information
Please check ingredients for potential allergens and consult a health professional if in doubt.