Easy Cookie Sandwiches – Delicious Homemade Treats
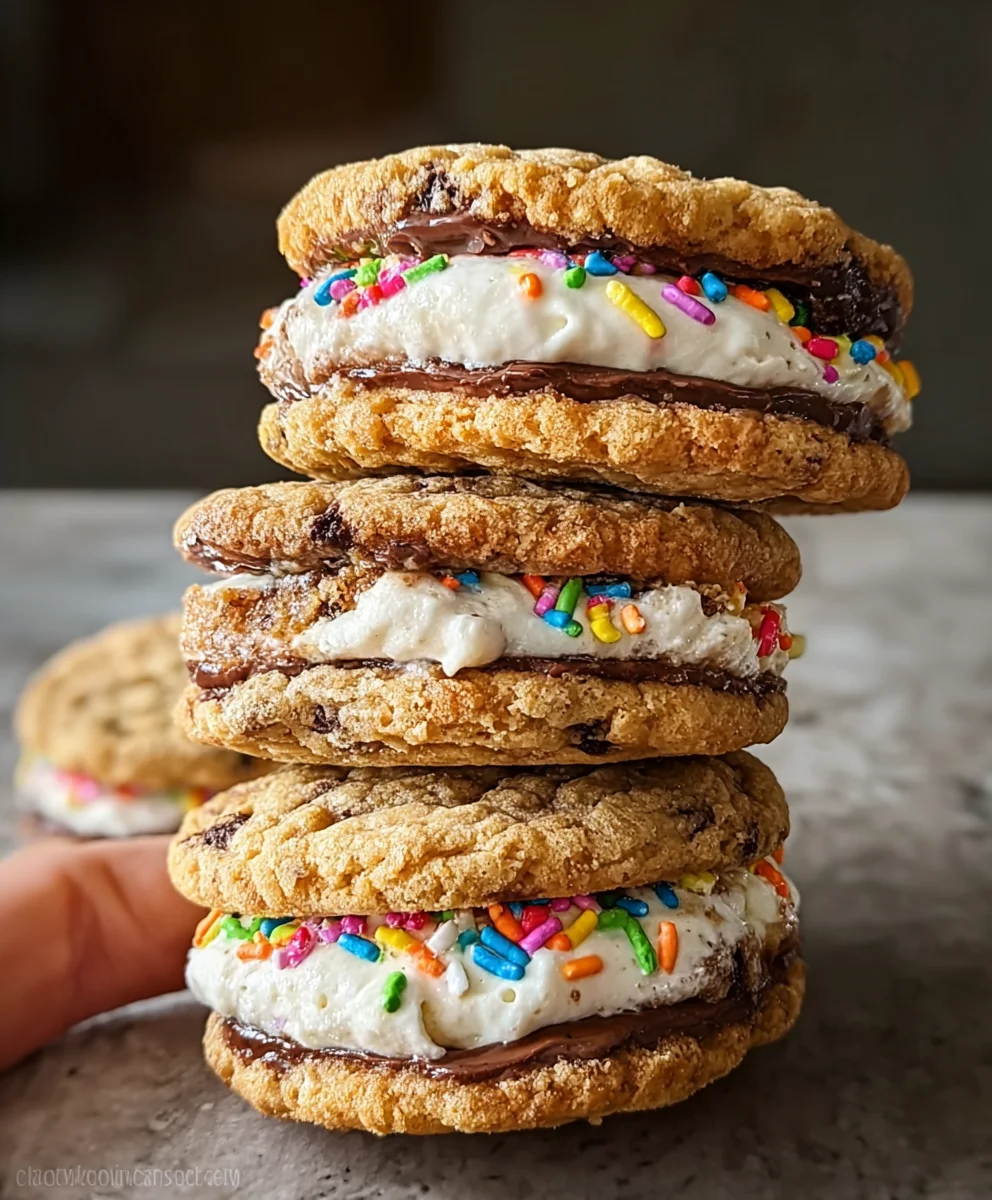
Cookie sandwiches are more than just a delightful treat; they’re a nostalgic journey back to childhood, a moment of pure joy captured between two perfectly baked cookies. Who doesn’t remember the thrill of biting into a soft, chewy cookie enveloping a creamy, sweet filling? These aren’t your average cookies; they are meticulously crafted handheld masterpieces. What makes these particular cookie sandwiches so special? It’s the harmonious dance of textures and flavors. Imagin extracte crisp-edged, yet wonderfully tender chocolate chip cookies, their warmth still radiating, cradling a luscious, cloud-like vanilla bean buttercream. Each bite offers a satisfying contrast, from the slight crunch of the cookie to the smooth, decadent filling, creating an experience that’s utterly irresistible. They are perfect for parties, a special afternoon pick-me-up, or simply when you crave a moment of unadulterated happiness.
Ingredients:
- 1 ½ cups all-purpose flour
- ½ tsp baking soda
- ¼ tsp baking powder
- ¼ tsp salt
- ½ cup unsalted butter, softened (for cookies)
- ½ cup granulated sugar
- ½ cup brown sugar, packed
- 1 large egg
- 1 tsp vanilla extract (for cookies)
- 1 cup Fruity Pebbles cereal (for mixing into the dough)
- ½ cup Fruity Pebbles cereal (for rolling the cookies)
- ½ cup unsalted butter, softened (for frosting)
- 1 ½ cups powdered sugar
- 1 tsp vanilla extract (for frosting)
- 2 tbsp heavy cream or milk (for frosting)
Making the Fruity Pebble Cookies
Creaming the Butter and Sugars
Begin extract by preheating your oven to 350°F (175°C). Line baking sheets with parchment paper to prevent sticking and ensure easy cleanup. In a medium-sized mixing bowl, combine your softened ½ cup of unsalted butter with the ½ cup of granulated sugar and the ½ cup of packed brown sugar. Using an electric mixer or a sturdy whisk, cream these ingredients together until the mixture is light and fluffy. This process incorporates air into the dough, which is crucial for a tender cookie texture. Scrape down the sides of the bowl periodically to make sure everything is well combined. This step usually takes about 2-3 minutes with an electric mixer.
Adding Wet Ingredients and Dry Ingredients
Next, crack your large egg into the creamy butter and sugar mixture. Add the 1 teaspoon of vanilla extract for the cookies. Beat again until the egg is fully incorporated. In a separate small bowl, whisk together the 1 ½ cups of all-purpose flour, ½ teaspoon of baking soda, ¼ teaspoon of baking powder, and ¼ teaspoon of salt. Gradually add this dry ingredient mixture to the wet ingredients, mixing on low speed or by hand until just combined. Be careful not to overmix at this stage, as overmixing can lead to tough cookies. You want to see a cohesive dough without streaks of flour.
Incorporating the Fruity Pebbles
Now comes the fun part! Gently fold in 1 cup of Fruity Pebbles cereal into the cookie dough. Stir until the colorful cereal is evenly distributed throughout the dough. This will give your cookies their signature vibrant look and a delightful fruity crunch. At this point, you can also gently stir in the ½ cup of Fruity Pebbles cereal intended for rolling the cookies, or you can reserve them for a more concentrated outer coating. I prefer to roll the dough balls in the reserved cereal for an extra burst of flavor and texture.
Shaping and Baking the Cookies
Roll the dough into 1-inch balls. If you reserved the ½ cup of Fruity Pebbles for rolling, place them in a shallow dish. Roll each dough ball in the cereal, coating it evenly on all sides. Place the coated dough balls about 2 inches apart on your prepared baking sheets. They will spread slightly as they bake, so giving them enough space is important to prevent them from baking into one giant cookie. Bake for 9 to 11 minutes, or until the edges are lightly golden brown and the centers look set but not overly browned. Overbaking will result in dry, crum extractbly cookies, so keep a close eye on them during the last few minutes of baking. Allow the cookies to cool on the baking sheets for a few minutes before transferring them to a wire rack to cool completely. It’s essential that they are fully cooled before assembling the cookie sandwiches.
Whipping Up the Creamy Frosting
Creating the Frosting Base
While your cookies are cooling, prepare the frosting. In a clean mixing bowl, cream together the softened ½ cup of unsalted butter for the frosting. You want this butter to be soft but not melted, ensuring a smooth and easily blendable frosting. Beat it with your electric mixer until it’s smooth and creamy.
Adding Sweetness and Flavor
Gradually add the 1 ½ cups of powdered sugar to the creamed butter, mixing on low speed to prevent the sugar from flying everywhere. Once most of the powdered sugar is incorporated, add the 1 teaspoon of vanilla extract for the frosting and the 2 tablespoons of heavy cream or milk.
Achieving the Perfect Frosting Consistency
Increase the mixer speed to medium-high and beat the frosting for 2-3 minutes until it is light, fluffy, and smooth. If the frosting seems too thick, add another teaspoon of cream or milk at a time until you reach your desired consistency. If it seems too thin, you can add a tablespoon more of powdered sugar. The goal is a frosting that is spreadable but holds its shape.
Assembling Your Cookie Sandwiches
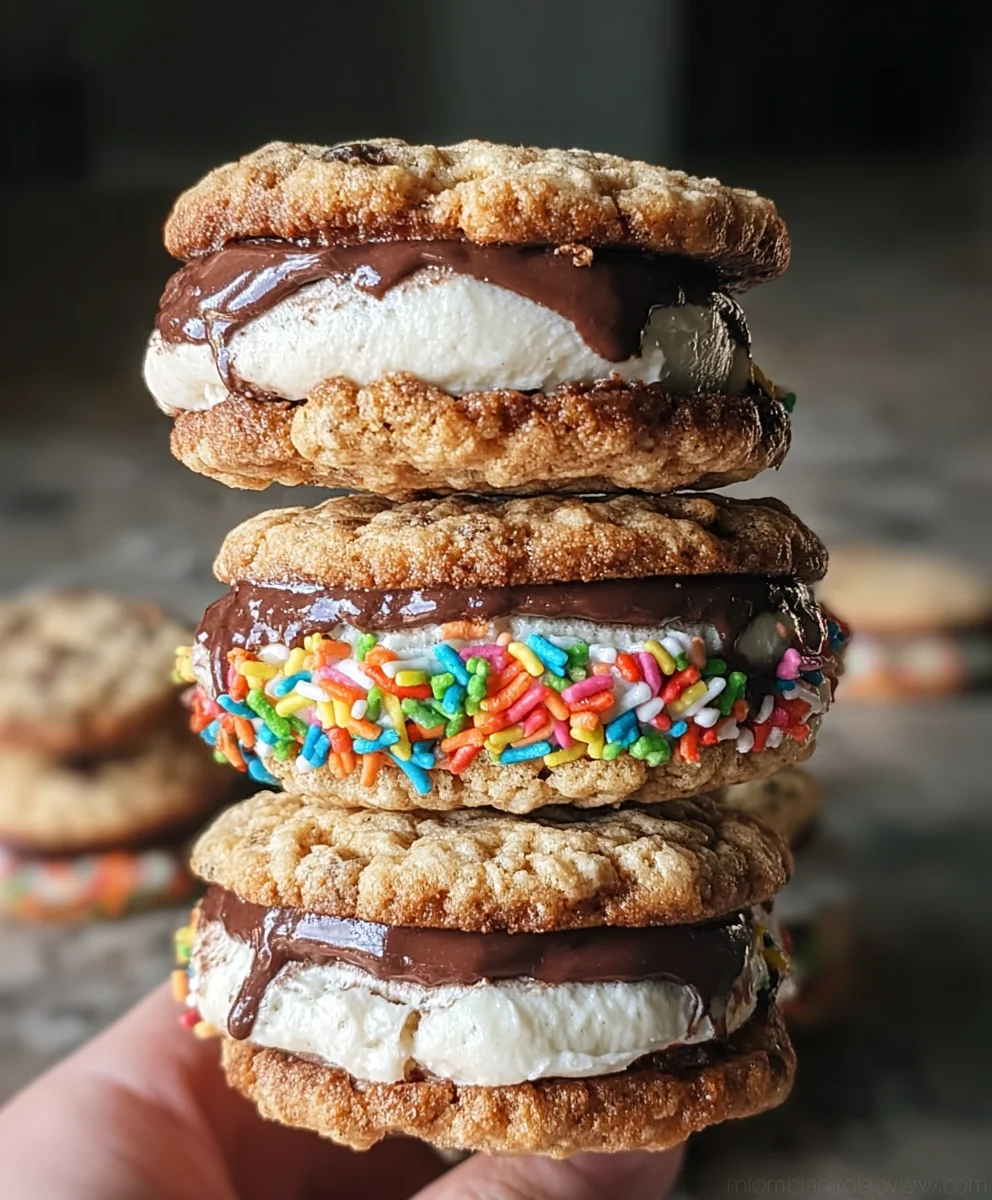
Once the cookies are completely cooled, it’s time to assemble your delightful cookie sandwiches. Take one cookie and spread a generous dollop of the creamy frosting on the flat side. Then, take another cookie and gently press it on top of the frosting to create a sandwich. Repeat this process with the remaining cookies and frosting. For an extra touch, you can gently press some extra Fruity Pebbles onto the sides of the frosted sandwiches for added visual appeal and texture. These cookie sandwiches are best enjoyed fresh!
Conclusion:
There you have it! Your guide to creating the most delightful Cookie Sandwiches is complete. We’ve walked through the steps to bake perfect cookies, whip up a creamy filling, and assemble these delightful treats. The beauty of these Cookie Sandwiches lies not only in their deliciousness but also in their versatility. Feel free to get creative and make them your own!
For serving, these Cookie Sandwiches are fantastic on their own as a sweet ending to any meal, or paired with a glass of milk for a classic indulgence. They also make a wonderful addition to any cookie platter or dessert buffet, guaranteed to be a crowd-pleaser. Don’t be afraid to experiment with different cookie bases and fillings to discover your favorite combination.
Consider adding a pinch of cinnamon to your cookie dough, or perhaps a swirl of coffee extract to your filling for a grown-up twist. You could even dip the edges of your assembled Cookie Sandwiches in sprinkles or finely chopped nuts for extra texture and visual appeal. The possibilities are truly endless! I hope you enjoy making and devouring these wonderful Cookie Sandwiches as much as I do. Happy baking!
Frequently Asked Questions about Cookie Sandwiches:
Q1: What is the best type of cookie to use for Cookie Sandwiches?
The best cookies for Cookie Sandwiches are typically those that are slightly chewy in the center and hold their shape well when baked. Chocolate chip, sugar cookies, peanut butter cookies, and shortbread are all excellent choices. Avoid cookies that spread too much or become too brittle, as they may break during assembly or eating.
Q2: Can I make the cookie dough and filling ahead of time?
Yes, absolutely! Most cookie doughs can be made ahead and stored in the refrigerator for up to 3 days, or frozen for longer storage. Likewise, many frostings and fillings can also be prepared a day or two in advance and kept refrigerated. This makes assembly even quicker when you’re ready to create your Cookie Sandwiches.
Q3: How should I store my finished Cookie Sandwiches?
Store your assembled Cookie Sandwiches in an airtight container at room temperature for up to 3 days. If your filling contains cream cheese or other dairy that needs refrigeration, it’s best to store them in the refrigerator. For longer storage, you can freeze them individually wrapped in plastic wrap and then placed in a freezer-safe bag or container for up to 2 months.
Easy Cookie Sandwiches – Delicious Homemade Treats
Delightful homemade cookie sandwiches featuring colorful Fruity Pebbles and creamy frosting.
Ingredients
-
1 ½ cups all-purpose flour
-
½ tsp baking soda
-
¼ tsp baking powder
-
¼ tsp salt
-
1 cup unsalted butter, softened
-
½ cup granulated sugar
-
½ cup brown sugar, packed
-
1 large egg
-
2 tsp vanilla extract
-
1 ½ cups Fruity Pebbles cereal
-
1 ½ cups powdered sugar
-
2 tbsp heavy cream or milk
Instructions
-
Step 1
Preheat oven to 350°F (175°C). Line baking sheets with parchment paper. Cream ½ cup softened unsalted butter with granulated and brown sugar until light and fluffy. -
Step 2
Beat in the egg and 1 tsp vanilla extract. Gradually add dry ingredients (flour, baking soda, baking powder, salt) until just combined. -
Step 3
Gently fold in 1 cup of Fruity Pebbles cereal. Roll dough into 1-inch balls, then roll each ball in the remaining ½ cup Fruity Pebbles. Place on baking sheets, 2 inches apart. -
Step 4
Bake for 9-11 minutes until edges are golden brown. Cool on baking sheets for a few minutes, then transfer to a wire rack to cool completely. -
Step 5
For the frosting: Cream ½ cup softened unsalted butter until smooth. Gradually add powdered sugar, mixing on low speed. -
Step 6
Add 1 tsp vanilla extract and heavy cream/milk. Beat on medium-high speed for 2-3 minutes until light and fluffy. Adjust consistency with cream/milk or powdered sugar as needed. -
Step 7
Assemble cookies by spreading frosting on the flat side of one cookie and topping with another. Press extra Fruity Pebbles onto the sides if desired.
Important Information
Nutrition Facts (Per Serving)
It is important to consider this information as approximate and not to use it as definitive health advice.
Allergy Information
Please check ingredients for potential allergens and consult a health professional if in doubt.