Easy No-Knead Focaccia Bread Recipe
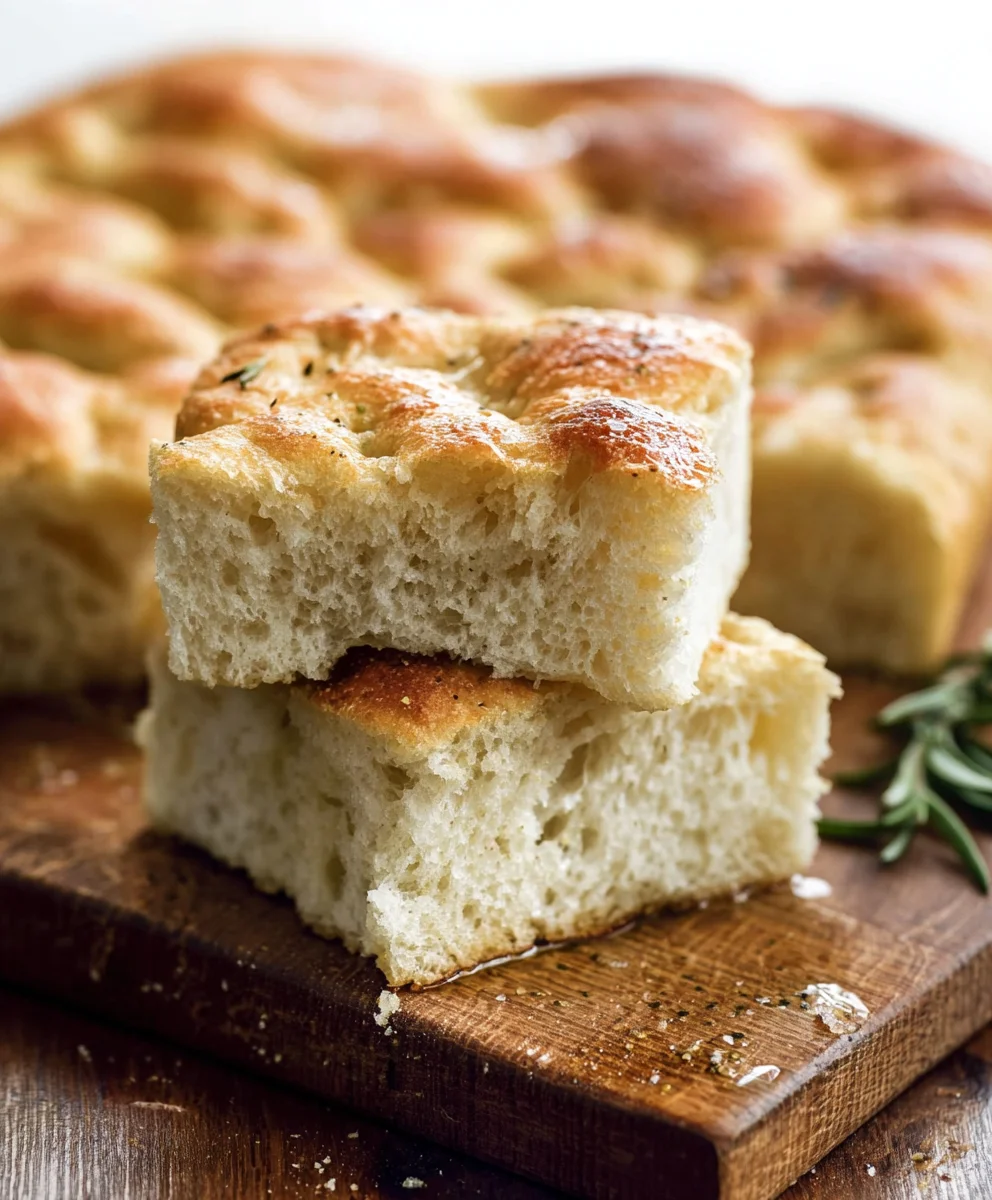
No-Knead Focaccia Bread. That’s a phrase that whispers promises of rustic charm and effortless baking, doesn’t it? If you’ve ever dreamt of pulling a golden, airy loaf of focaccia from your oven without the sweat and strain of traditional kneading, then you’re in for a treat. This beloved Italian flatbread is a crowd-pleaser for so many reasons: its delightfully chewy crust, its cloud-like interior, and its incredible versatility. What truly makes this No-Knead Focaccia Bread so special is its almost magical simplicity. We’re talking about a recipe that requires minimal hands-on time, relying on patience and good ingredients to work their wonders. It’s the perfect gateway for begin extractner bakers, proving that delicious, homemade bread is absolutely within reach. Get ready to impress yourself and your loved ones with this surprisingly easy yet utterly satisfying bake.
Ingredients:
- 4¾ cups all-purpose flour (630 grams)
- 4½ tablespoons olive oil (59 grams), plus more for greasing and drizzling
- 2 teaspoons salt (12 grams)
- 1½ tablespoons instant dry yeast (13 grams)
- 2⅓ cups warm water (100–110°F; 529 grams)
- Coarse salt (optional, for topping)
- Dried rosemary (optional, for topping)
Preparing the Dough: The Magic of No-Kneading
This no-knead focaccia bread recipe is incredibly forgiving and delivers fantastic results with minimal effort. The key is in the long, slow rise, which develops gluten and flavor without any strenuous kneading.
Mixing the Dough
Start by gathering all your ingredients. In a large mixing bowl – one that can comfortably hold at least 8 cups of dough – combine the flour and 2 teaspoons of salt. Whisk them together briefly to ensure the salt is evenly distributed throughout the flour. This prevents pockets of saltiness in your finished bread. Next, add the instant dry yeast. If you’re using active dry yeast, you’ll need to proof it first in the warm water according to the package directions. However, instant dry yeast can be added directly to the dry ingredients, making this recipe even simpler.
Now, pour in the warm water. The water should be between 100°F and 110°F (38°C to 43°C). Too hot, and you risk killing the yeast; too cool, and the yeast won’t activate properly. You can test this by dipping your finger in the water – it should feel pleasantly warm, like a baby’s bath. Add the 4½ tablespoons of olive oil to the bowl as well.
Using a sturdy spoon or a spatula, mix everything together until just combined. Don’t worry about lumps or a perfectly smooth dough; it will be very sticky and shaggy at this stage. The goal is simply to ensure there are no dry pockets of flour left. Scrape down the sides of the bowl with your spatula to incorporate any stray bits of flour.
The First Rise: Patience is a Virtue
Once your dough is mixed, cover the bowl tightly with plastic wrap or a damp kitchen towel. Place the bowl in a warm, draft-free spot in your kitchen. This could be on top of a slightly warm (but not hot) oven, near a sunny window, or even in a slightly warmed oven that has been turned off. Let the dough rise for at least 12 to 18 hours. Yes, you read that right! This long fermentation is what gives the focaccia its incredible texture and depth of flavor. During this time, the yeast will work its magic, creating air bubbles and developing the gluten structure. You’ll notice the dough will increase significantly in volume, becoming bubbly and airy.
Shaping and Second Rise: Getting Ready for the Oven
After the long first rise, the dough will be puffy and filled with bubbles. It’s time to transfer it to its baking vessel. Generously grease a 9×13 inch baking pan or a similar-sized baking dish with olive oil. Don’t be shy with the oil; it’s crucial for creating that wonderfully crispy bottom crust.
Gently scrape the dough out of the mixing bowl and into the prepared baking pan. The dough will be very wet and sticky, and that’s perfectly normal. Resist the urge to add more flour. Instead, use lightly oiled hands or a bench scraper to gently coax the dough into the pan. You don’t need to perfectly fill the corners; just get it mostly spread out.
Cover the pan loosely with plastic wrap or a clean kitchen towel and let it rest for another 1 to 2 hours. During this second rise, the dough will relax and spread further into the pan, becoming even more airy and relaxed. This resting period is important for achieving a light and tender crum extractb.
Dimpling and Topping: The Finishing Touches
About 30 minutes before the end of the second rise, preheat your oven to 450°F (230°C). This high temperature is key for achieving a beautifully golden and crispy crust.
Once the dough has finished its second rise and has filled the pan nicely, it’s time to create those signature focaccia dimples. Lightly oil your fingertips and gently press them into the surface of the dough, creating little indentations all over. Don’t press all the way through to the bottom, but aim to create a nice pattern. This helps the dough cook evenly and allows pockets to form for the olive oil to pool into.
Now, drizzle generously with more olive oil. Make sure to get some oil into the dimples you just created. If you’re using optional toppings, sprinkle them over the top. Dried rosemary adds a lovely herbal fragrance, and a sprinkle of coarse salt provides a delightful crunch and savory contrast.
Baking the Focaccia: The Golden Transformation
Place the pan in the preheated oven and bake for 20 to 30 minutes, or until the focaccia is deeply golden brown and the crust is crisp. Keep an eye on it, as oven temperatures can vary. The aroma filling your kitchen will be absolutely divine.
Once baked, carefully remove the focaccia from the oven. While still warm, you can optionally drizzle it with a little more olive oil for extra shine and flavor. Let it cool in the pan for about 10 minutes before transferring it to a wire rack to cool further. This allows the bottom crust to continue crisping up. Once it’s cool enough to handle, slice and enjoy your homemade no-knead focaccia bread!
Conclusion:
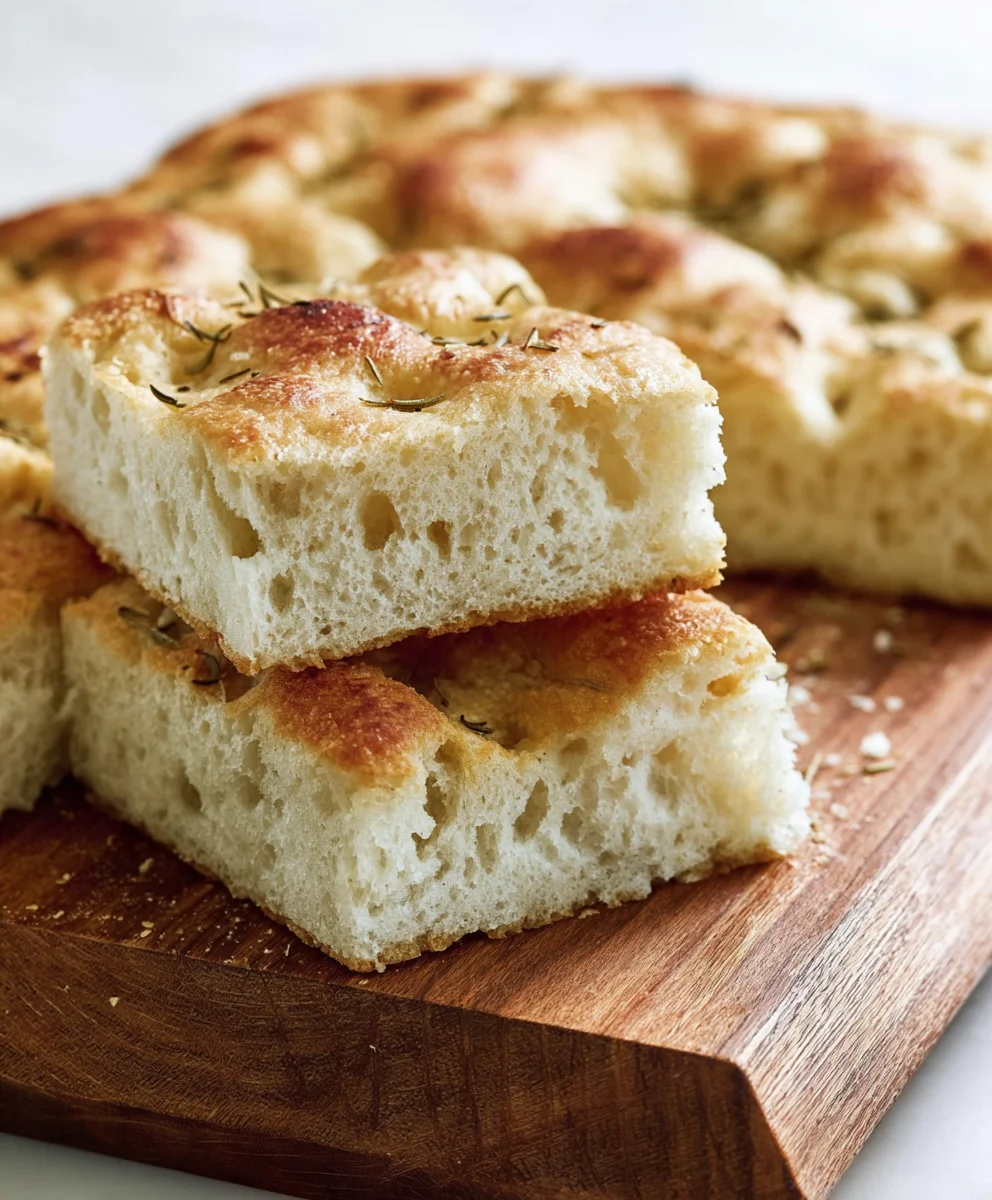
And there you have it! Your very own batch of delicious, airy, and incredibly easy No-Knead Focaccia Bread is ready to impress. This recipe truly lives up to its name, proving that you don’t need hours of kneading or special skills to achieve bakery-quality bread right in your own kitchen. The simplicity of this No-Knead Focaccia Bread allows the rich olive oil and herbs to shine through, creating a delightful aroma and a wonderfully chewy texture. I hope you feel empowered to try this fantastic bread and discover just how rewarding homemade baking can be. Don’t be afraid to experiment and make it your own!
For serving, this No-Knead Focaccia Bread is wonderfully versatile. It’s perfect as a side to soups and salads, a base for delicious sandwiches, or simply enjoyed on its own with a drizzle of extra virgin extract olive oil and a sprinkle of flaky sea salt. Consider topping it with cherry tomatoes, olives, or a scattering of fresh rosemary before baking for added flavor and visual appeal.
When it comes to variations, feel free to get creative! Add garlic powder to the dough for a garlicky kick, or sprinkle Parmesan cheese on top for a cheesy delight. You can even incorporate sundried tomatoes or finely chopped onions into the dough before its final rise.
Frequently Asked Questions:
Why is my No-Knead Focaccia Bread not airy?
Several factors can contribute to this. Ensure your yeast is fresh and active. The dough needs ample time to rise in a warm place – don’t rush this step, as the long fermentation is key to its airy texture. Over-handling the dough after the initial mix can also deflate the bubbles.
Can I make No-Knead Focaccia Bread ahead of time?
Yes! You can refrigerate the dough after its first rise for up to 24-48 hours. This slow, cold fermentation actually develops even more flavor. When you’re ready to bake, let it sit at room temperature for about an hour before pressing it into your pan and proceeding with the final rise and baking instructions.
Easy No-Knead Focaccia Bread Recipe
An incredibly forgiving and easy no-knead focaccia bread recipe that delivers fantastic results with minimal effort, featuring a long, slow rise for developed gluten and flavor.
Ingredients
-
4¾ cups all-purpose flour (630 grams)
-
4½ tablespoons olive oil (59 grams), plus more for greasing and drizzling
-
2 teaspoons salt (12 grams)
-
1½ tablespoons instant dry yeast (13 grams)
-
2⅓ cups warm water (100–110°F; 529 grams)
-
Coarse salt (optional, for topping)
-
Dried rosemary (optional, for topping)
Instructions
-
Step 1
In a large mixing bowl, combine the flour and 2 teaspoons of salt. Whisk to distribute evenly. Add the instant dry yeast. Pour in the warm water (100-110°F) and the 4½ tablespoons of olive oil. Mix with a spoon or spatula until just combined and no dry flour remains. The dough will be very sticky and shaggy. -
Step 2
Cover the bowl tightly with plastic wrap or a damp kitchen towel. Let the dough rise in a warm, draft-free spot for 12 to 18 hours. The dough will significantly increase in volume and become bubbly and airy. -
Step 3
Generously grease a 9×13 inch baking pan with olive oil. Gently scrape the dough into the prepared pan. Use lightly oiled hands or a bench scraper to gently coax the dough to spread out. Cover loosely and let rest for another 1 to 2 hours, until the dough is airy and relaxed. -
Step 4
Preheat your oven to 450°F (230°C) about 30 minutes before the end of the second rise. Once the dough has finished its second rise, lightly oil your fingertips and gently press them into the surface of the dough, creating dimples all over. -
Step 5
Drizzle generously with more olive oil, ensuring some oil gets into the dimples. Sprinkle with optional coarse salt and dried rosemary. -
Step 6
Bake for 20 to 30 minutes, or until the focaccia is deeply golden brown and the crust is crisp. Remove from the oven, optionally drizzle with more olive oil while warm, and let cool in the pan for 10 minutes before transferring to a wire rack to cool further.
Important Information
Nutrition Facts (Per Serving)
It is important to consider this information as approximate and not to use it as definitive health advice.
Allergy Information
Please check ingredients for potential allergens and consult a health professional if in doubt.