Homemade Cheddar Cheese Crackers-Cheez Its Recipe
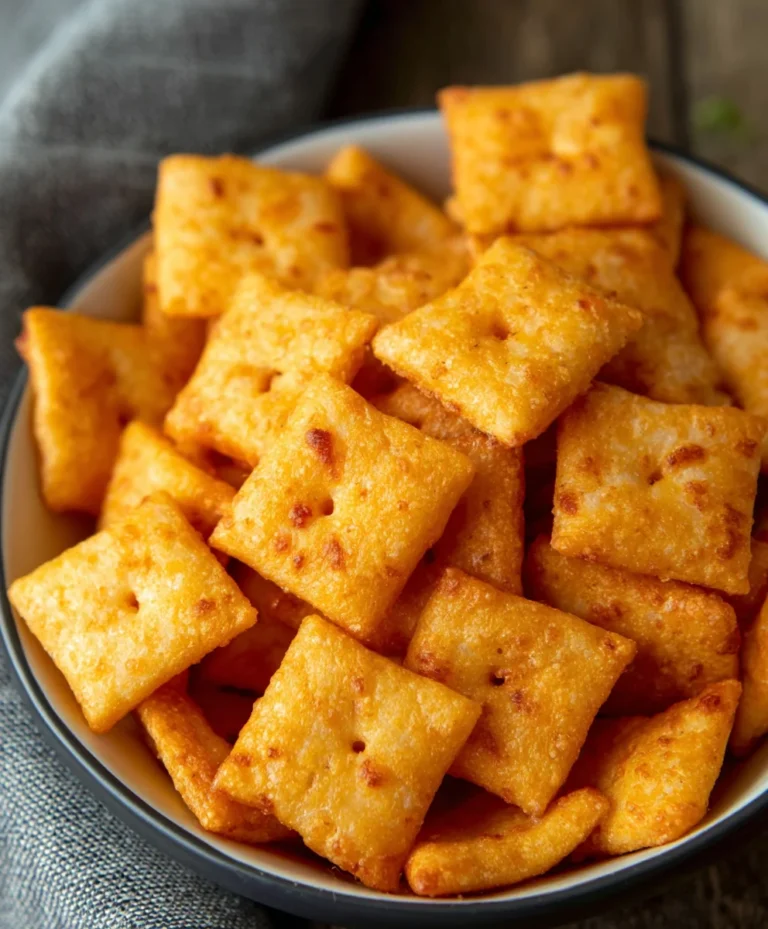
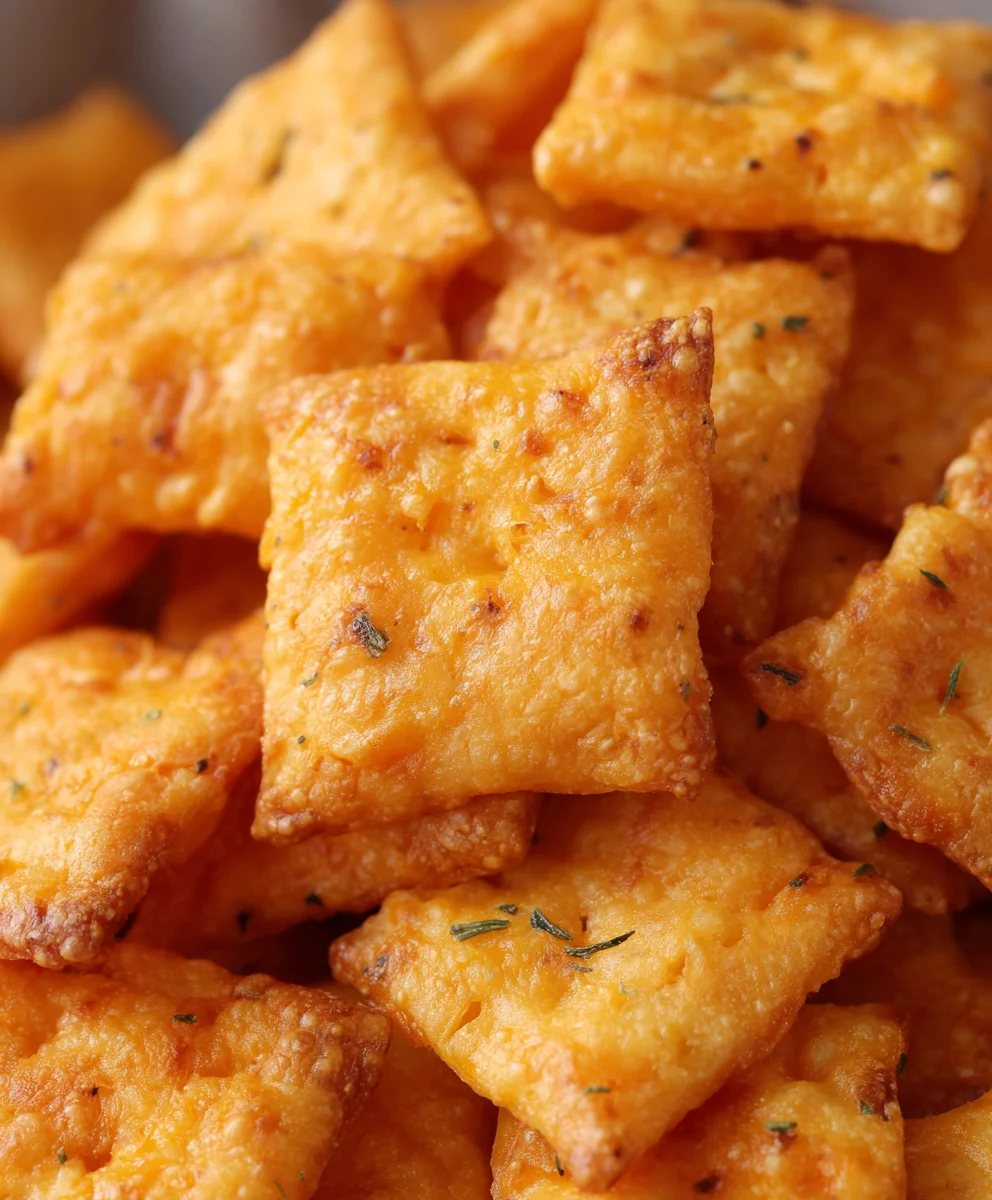
Homemade Cheez Its Recipe Cheddar Cheese Crackers are more than just a snack; they’re a nostalgic journey back to childhood, a delightful crunch that signals pure joy, and a guaranteed crowd-pleaser for every gathering. There’s something undeniably satisfying about popping these golden, cheesy squares into your mouth, isn’t there? Unlike their store-bought counterparts, this Homemade Cheez Its Recipe Cheddar Cheese Crackers allows you to control the quality of ingredients and the intensity of that irresistible cheddar flavor. What truly sets this recipe apart is the dedication to achieving that perfect balance of crispness and cheesy goodness. We’re talking about a melt-in-your-mouth texture with a robust, savory bite that will have everyone reaching for more. Prepare to impress yourself and your loved ones with a homemade version that will likely become your new go-to snack obsession.
Ingredients:
- 2 cups all-purpose flour, plus more for dusting
- 1 teaspoon baking powder
- 1/2 teaspoon salt
- 1/4 teaspoon cayenne pepper (optional, for a little kick)
- 1 cup (2 sticks) cold unsalted butter, cut into small cubes
- 1 1/2 cups shredded sharp cheddar cheese
- 1/4 cup milk
- 1/4 teaspoon paprika
- Pinch of garlic powder
Making the Dough
Step 1: Combine the Dry Ingredients
Begin extract by gathering all your dry ingredients. In a large mixing bowl, whisk together the 2 cups of all-purpose flour, 1 teaspoon of baking powder, 1/2 teaspoon of salt, and the optional 1/4 teaspoon of cayenne pepper. Whisking ensures that the leavening agent and salt are evenly distributed throughout the flour, which will lead to consistent cracker texture and flavor. Don’t skip this step – it’s the foundation of a great cracker!
Step 2: Cut in the Cold Butter
Now it’s time to add the cold butter. Scatter the 1 cup of cold unsalted butter, cut into small cubes, over the dry ingredients. Using cold butter is crucial for creating flaky and tender crackers. You can incorporate the butter using a pastry blender, your fingertips, or a food processor. If using your hands, work quickly to prevent the butter from melting. You want to achieve a coarse meal consistency, with some pieces of butter the size of small peas still visible. These butter pieces will melt during baking, creating those delightful airy pockets and a satisfying crunch.
Step 3: Add the Cheese and Liquid
Next, it’s time for the star of the show: the cheese! Add the 1 1/2 cups of shredded sharp cheddar cheese to the bowl. For the best flavor and texture, I recommend shredding your own cheese from a block rather than using pre-shredded cheese, which often contains anti-caking agents that can affect the dough’s texture. Now, gradually add the 1/4 cup of milk, a tablespoon at a time, mixing until the doughgin extractst begins to come together. You might not need all of the milk, or you might need a tiny bit more, depending on the humidity and the flour. The goal is a shaggy dough that holds together when squeezed but isn’t overly wet or sticky. Don’t overmix at this stage, as that can develop the gluten too much and result in tough crackers.
Shaping and Baking
Step 4: Chill and Roll the Dough
Turn the dough out onto a lightly floured surface. Gently knead it a few times until it forms a cohesive ball. Divide the dough in half, flatten each half into a disk, wrap them tightly in plastic wrap, and refrigerate for at least 30 minutes. This chilling period is essential. It allows the gluten to relax, making the dough easier to roll, and it firms up the butter, which will contribute to flakiness. Once chilled, take one disk at a time and roll it out on a lightly floured surface to about 1/16 to 1/8 inch thickness. A thinner cracker will be crispier. If the dough becomes too soft while rolling, pop it back in the refrigerator for a few minutes. You can use a pizza cutter or a sharp knife to cut the dough into your desired cracker shapes – squares, rectangles, or even fun shapes with cookie cutters. For that authentic Cheez-It look, aim for small squares!
Step 5: Score and Season the Crackers
Carefully transfer the cut crackers to baking sheets lined with parchment paper, leaving a little space between them. To achieve the signature look of store-bought crackers, use a fork to gently prick each cracker a few times. This prevents them from puffing up too much during baking. Now, for the final flavor boost. In a small bowl, whisk together the 1/4 teaspoon of paprika and the pinch of garlic powder. Lightly sprinkle this mixture over the surface of the crackers. This seasoning adds a subtle savory depth that complements the cheddar perfectly. For an even more pronounced cheesy flavor, you can also lightly sprinkle a little extra shredded cheddar cheese on top before baking. Preheat your oven to 375°F (190°C) while you prepare the crackers.
Step 6: Bake to Golden Perfection
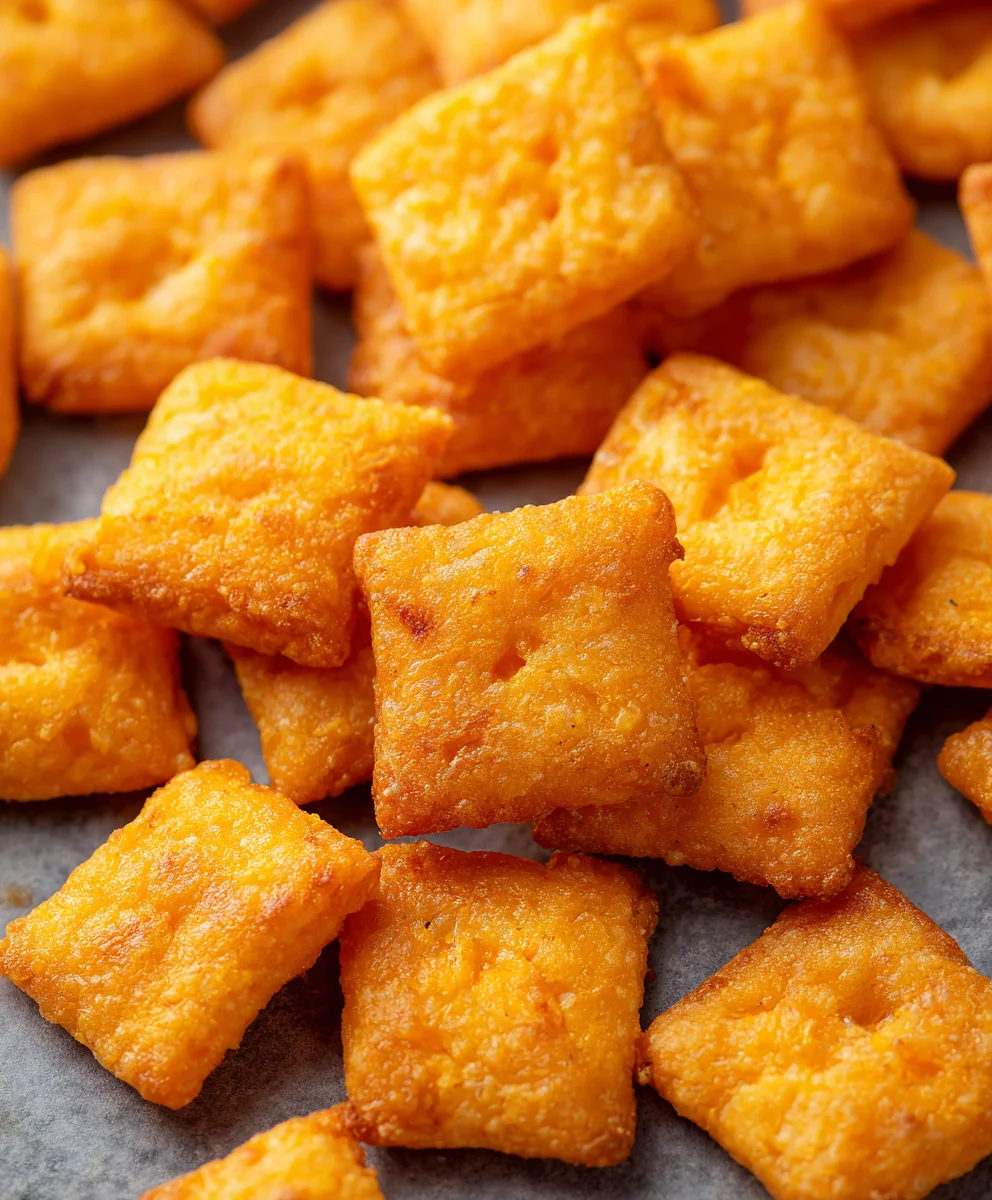
Place the baking sheets in the preheated oven. Bake for 12 to 18 minutes, or until the crackers are golden brown around the edges and lightly browned on top. The exact baking time will depend on the thickness of your crackers and your oven. Keep a close eye on them during the last few minutes to prevent burning. You want them to be delightfully crispy but not burnt. Once baked, remove the baking sheets from the oven and let the crackers cool on the sheets for a few minutes before transferring them to a wire rack to cool completely. They will crisp up even more as they cool. Once completely cool, your homemade Cheez-Its are ready to be enjoyed!”
Conclusion:
Now that you’ve mastered the art of making Homemade Cheez Its Recipe Cheddar Cheese Crackers, you’re well on your way to enjoying the most satisfyingly cheesy, crunchy snack imagin extractable. We’ve walked through each step, from achieving the perfect dough consistency to getting those signature crisp edges. These homemade crackers are not only a healthier alternative to store-bought versions, free from artificial flavors and excessive preservatives, but they also offer a delightful texture and an intense cheddar punch that will have everyone reaching for more.
Serve your Homemade Cheez Its Recipe Cheddar Cheese Crackers as a delightful appetizer at your next gathering, pack them in lunchboxes for a fun and flavorful treat, or simply enjoy them as a guilt-free snack alongside your favorite soup or salad. Don’t be afraid to experiment! You can try different cheeses like Monterey Jack for a milder flavor, or a sharp Gruyere for a sophisticated twist. Adding a pinch of smoked paprika or a dash of garlic powder can also elevate the flavor profile. The possibilities are truly endless with this versatile recipe. So go ahead, get baking, and savor the delicious reward of your homemade creations!
Frequently Asked Questions:
Q1: How can I make my Homemade Cheez Its Recipe Cheddar Cheese Crackers extra crispy?
To ensure maximum crispiness, make sure to roll your dough thinly and evenly. Avoid overworking the dough, as this can lead to toughness. Baking them on a lower rack in the oven and allowing them to cool completely on a wire rack after baking also helps to achieve that desirable crunch.
Q2: Can I freeze the dough for Homemade Cheez Its Recipe Cheddar Cheese Crackers?
Yes, you absolutely can! Once the dough has been prepared and chilled, you can wrap it tightly in plastic wrap and then in a layer of aluminum foil before freezing. When you’re ready to bake, thaw the dough in the refrigerator overnight, and it will be ready to roll out and cut.
Q3: What’s the best way to store leftover Homemade Cheez Its Recipe Cheddar Cheese Crackers?
For best results, store your cooled Homemade Cheez Its Recipe Cheddar Cheese Crackers in an airtight container at room temperature. They should stay fresh and crunchy for up to a week. If humidity is a concern in your area, you might want to add a small food-safe desiccant packet to the container to absorb excess moisture.
Homemade Cheddar Cheese Crackers – Cheez-Its Recipe
Crispy, cheesy, and homemade crackers that taste just like your favorite Cheez-Its!
Ingredients
-
2 cups all-purpose flour, plus more for dusting
-
1 teaspoon baking powder
-
1/2 teaspoon salt
-
1/4 teaspoon cayenne pepper (optional)
-
1 cup (2 sticks) cold unsalted butter, cut into small cubes
-
1 1/2 cups shredded sharp cheddar cheese
-
1/4 cup milk
-
1/4 teaspoon paprika
-
Pinch of garlic powder
Instructions
-
Step 1
Combine the dry ingredients: In a large mixing bowl, whisk together the flour, baking powder, salt, and cayenne pepper (if using). This ensures even distribution for consistent crackers. -
Step 2
Cut in the cold butter: Scatter the cold butter cubes over the dry ingredients. Work quickly to achieve a coarse meal consistency with visible pea-sized butter pieces. Cold butter is key for flakiness. -
Step 3
Add the cheese and liquid: Add the shredded cheddar cheese and gradually mix in the milk, a tablespoon at a time, until a shaggy dough forms. Avoid overmixing. -
Step 4
Chill and roll the dough: Knead the dough into a ball, divide in half, flatten into disks, wrap, and refrigerate for at least 30 minutes. Roll out one disk at a time to 1/16 to 1/8 inch thickness on a floured surface. Cut into desired shapes. -
Step 5
Score and season the crackers: Transfer crackers to parchment-lined baking sheets. Prick each cracker with a fork. Mix paprika and garlic powder and sprinkle over crackers. Preheat oven to 375°F (190°C). -
Step 6
Bake to golden perfection: Bake for 12 to 18 minutes, or until golden brown and crispy. Cool on baking sheets for a few minutes, then transfer to a wire rack to cool completely.
Important Information
Nutrition Facts (Per Serving)
It is important to consider this information as approximate and not to use it as definitive health advice.
Allergy Information
Please check ingredients for potential allergens and consult a health professional if in doubt.