Easy Cheesy Chicken Garlic Wraps – Quick Dinner
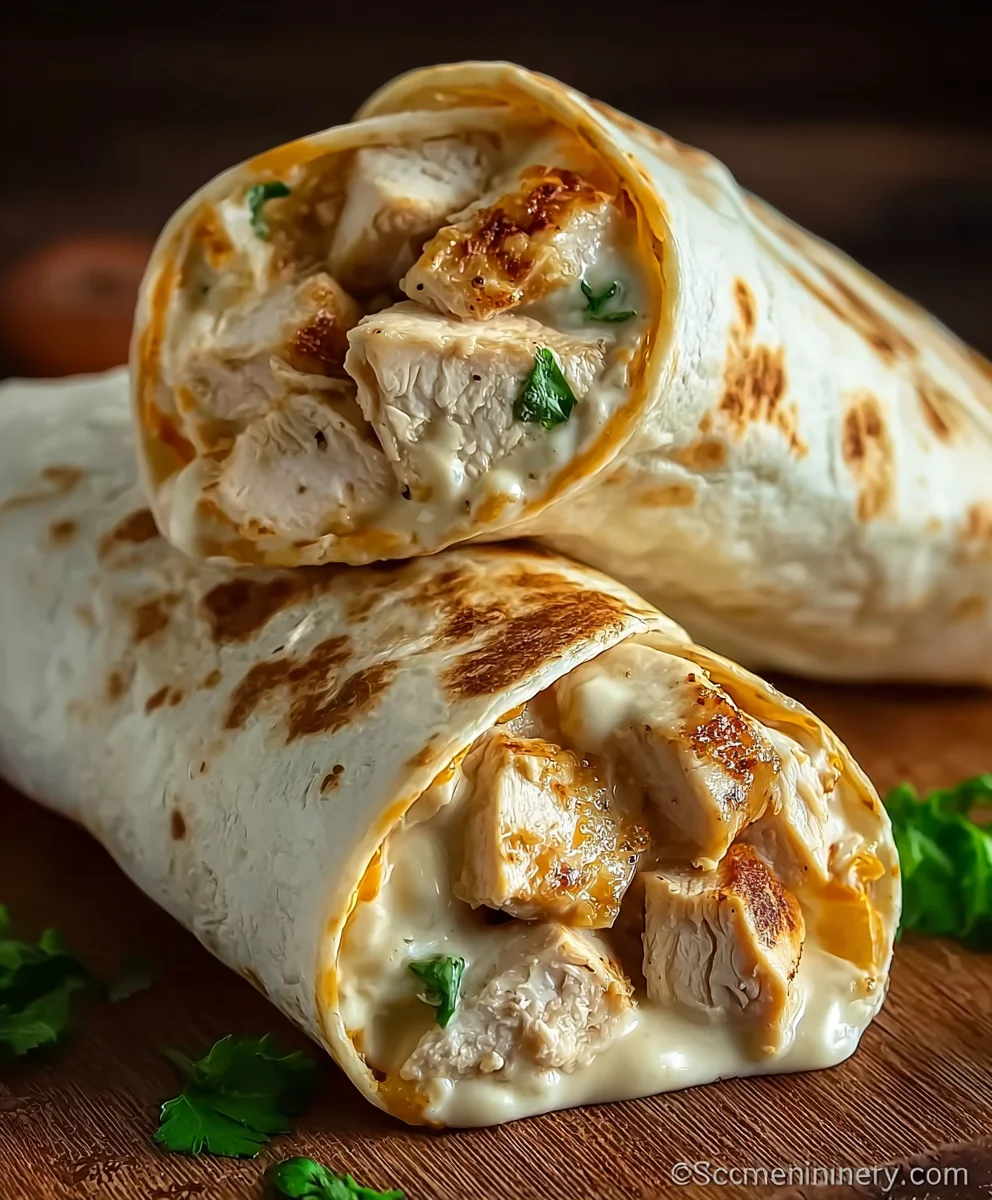
Cheesy Chicken Garlic Wraps are the answer to those weeknight dinner dilemmas and weekend comfort food cravings! Seriously, who can resist the allure of tender, juicy chicken bathed in a rich, garlicky sauce, all wrapped up in a warm, pliable tortilla and embraced by a generous blanket of melted cheese? This isn’t just a meal; it’s an experience. It’s the kind of dish that brings smiles to faces, encourages second helpings, and leaves you feeling utterly satisfied. What makes these Cheesy Chicken Garlic Wraps truly special is the harmonious balance of flavors and textures. The savory chicken, the pungent, aromatic garlic, and the creamy, decadent cheese come together in a symphony that’s both comforting and incredibly moreish. It’s simple enough for a begin extractner but boasts a flavor profile sophisticated enough to impress even the most discerning palates.
Ingredients:
- 2 large chicken breasts, diced into bite-sized pieces
- 4 large flour tortillas
- 1 tablespoon olive oil
- 2 teaspoons garlic powder
- 1 teaspoon onion powder
- 1 teaspoon paprika
- Salt, to your personal preference
- Freshly ground black pepper, to your personal preference
- 1 cup shredded cheddar cheese
- 1/2 cup shredded mozzarella cheese
- 1/2 cup creamy garlic sauce
- Fresh parsley, finely chopped, for garnish
Preparing the Chicken
Seasoning the Chicken
The first step in creating these delightful Cheesy Chicken Garlic Wraps is to properly season and cook the chicken. I like to start by dicing the chicken breasts into roughly 1-inch cubes. This ensures that the chicken cooks evenly and fits nicely within the tortillas. Once diced, I place the chicken in a medium-sized bowl. To this, I add the olive oil, which will help the seasonings adhere and prevent the chicken from sticking to the pan. Next, I generously sprinkle over the garlic powder, onion powder, and paprika. These three spices form the flavor backbone of our wraps, providing a savory depth with a hint of smoky warmth from the paprika. Don’t forget to add salt and pepper to taste at this stage. I find that a good pinch of salt and a few grinds of pepper really bring out the natural flavors of the chicken. Toss everything together thoroughly, making sure each piece of chicken is coated in the oil and spice mixture. This thorough coating is key to achieving well-flavored chicken throughout your wrap.
Cooking the Chicken
With the chicken seasoned, it’s time to cook it to perfection. Heat a large skillet or frying pan over medium-high heat. Once the pan is hot, carefully add the seasoned chicken in a single layer. It’s important not to overcrowd the pan, as this can cause the chicken to steam rather than sear, resulting in a less desirable texture. If necessary, cook the chicken in batches. Allow the chicken to cook undisturbed for about 3-4 minutes per side, or until it’s golden brown and cooked through. You’ll know it’s cooked when it’s no longer pink in the center. Periodically check a piece to be sure. Once cooked, remove the chicken from the skillet and set it aside on a plate. This resting period allows the juices to redistribute within the meat, making for more tender and flavorful chicken in your wraps.
Assembling the Wraps
Warming the Tortillas
A warm tortilla is essential for a good wrap; it’s more pliable and less likely to tear when you’re filling and rolling it. There are a few ways to achieve this. You can quickly warm them one at a time in a dry skillet over medium heat for about 15-30 seconds per side, just until they become soft and flexible. Alternatively, you can wrap them in a slightly damp paper towel and microwave them for 20-30 seconds. My personal favorite method is to gently warm them directly over a low gas flame for a few seconds on each side until they puff up slightly and become pliable. Whichever method you choose, ensure they are warm enough to fold easily but not so hot that they’re difficult to handle.
Adding the Fillings
Now for the most exciting part – assembling your Cheesy Chicken Garlic Wraps! Lay out one warm tortilla flat on a clean surface. Spread a generous tablespoon of the creamy garlic sauce evenly over the surface of the tortilla, leaving a small border around the edge. This creamy sauce acts as a binder and a flavor enhancer, its garlic notes perfectly complementing the seasoned chicken. Next, pile a good portion of the cooked chicken onto the center of the tortilla, distributing it evenly. Don’t be shy with the chicken; it’s the star of the show! On top of the chicken, sprinkle a generous amount of the shredded cheddar cheese and mozzarella cheese. The combination of cheddar for its sharp, tangy flavor and mozzarella for its superior melting qualities creates a wonderfully gooey, cheesy experience.
Rolling the Wraps
Once all your delicious fillings are in place, it’s time to roll them up. Carefully fold in the sides of the tortilla about an inch towards the center. Then, starting from the edge closest to you, tightly roll the tortilla upwards, tucking in the filling as you go. The initial folding of the sides helps to prevent the filling from escaping. If you find your tortilla is a bit resistant, don’t force it; gently stretch it a little. A firm but not overly tight roll will ensure your wrap holds together without crushing the delicious ingredients inside. Repeat this process with the remaining tortillas and fillings.
Finishing Touches
Melting the Cheese (Optional but Recommended)
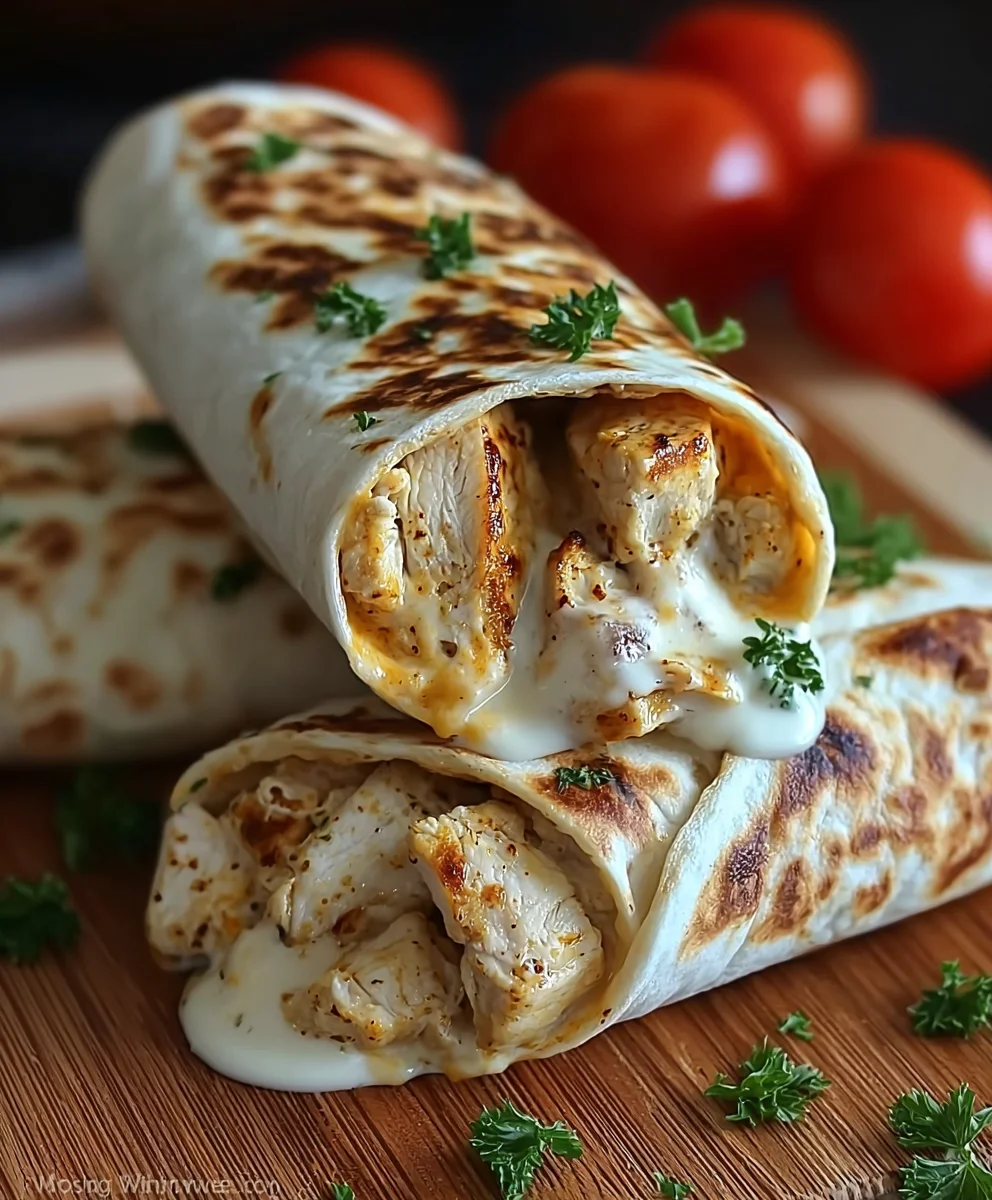
For an extra decadent touch, you can lightly grill or pan-fry your assembled wraps. Place the rolled wraps seam-side down in a clean, dry skillet over medium heat. Cook for 2-3 minutes per side, or until the tortillas are golden brown and slightly crispy, and the cheese inside is beautifully melted and gooey. This step not only adds a delightful crispness to the tortilla but also ensures that the cheese is perfectly melted throughout, creating a truly irresistible wrap. Be careful not to burn the tortillas; a gentle golden-brown color is what you’re aiming for.
Garnishing and Serving
Once your Cheesy Chicken Garlic Wraps are cooked to perfection, or simply assembled if you skipped the final crisping step, it’s time for the finishing touches. Sprinkle a generous amount of freshly chopped parsley over the top of each wrap. The bright green parsley adds a lovely visual appeal and a hint of fresh, herbaceous flavor that cuts through the richness of the cheese and chicken. Serve immediately and enjoy the explosion of savory, cheesy, garlicky goodness! These wraps are fantastic on their own for a quick lunch or light dinner, or they can be paired with a side salad or some crispy fries for a more substantial meal.
Conclusion:
And there you have it – your guide to creating the most delicious and satisfying Cheesy Chicken Garlic Wraps! We’ve walked through each step, from preparing the tender chicken to achieving that perfect cheesy, garlicky goodness that makes these wraps so irresistible. These Cheesy Chicken Garlic Wraps are incredibly versatile, perfect for a quick weeknight dinner, a hearty lunch, or even a casual get-together. Feel free to serve them with a side of crisp salad, some seasoned potato wedges, or a dollop of your favorite salsa for an extra flavor punch. Don’t be afraid to experiment with different vegetables like bell peppers or spinach, or even swap out the chicken for seasoned ground turkey for a twist. We encourage you to get creative and make these Cheesy Chicken Garlic Wraps your own. Happy cooking!
Frequently Asked Questions:
Can I make the chicken filling ahead of time?
Absolutely! The chicken filling for your Cheesy Chicken Garlic Wraps can be prepared up to 2 days in advance and stored in an airtight container in the refrigerator. This makes assembly even quicker when you’re ready to make the wraps.
What kind of cheese works best for these wraps?
While cheddar and Monterey Jack are fantastic choices for their melting properties and mild flavor that complements the garlic and chicken, feel free to experiment! A blend of mozzarella for extra stretchiness, or even a touch of Parmesan for a sharper taste, can elevate your Cheesy Chicken Garlic Wraps.
Are there any dairy-free options for this recipe?
Yes, you can adapt this recipe for dairy-free needs. Use your favorite dairy-free shredded cheese alternative and ensure any other ingredients, like sour cream or mayonnaise if you choose to add them, are also dairy-free. The garlic and chicken flavors will still shine through wonderfully in your Cheesy Chicken Garlic Wraps.
Easy Cheesy Chicken Garlic Wraps
A quick and delicious recipe for cheesy chicken garlic wraps, perfect for a speedy weeknight dinner.
Ingredients
-
2 large chicken breasts, diced
-
4 large flour tortillas
-
1 tablespoon olive oil
-
2 teaspoons garlic powder
-
1 teaspoon onion powder
-
1 teaspoon paprika
-
Salt and pepper, to taste
-
1 cup shredded cheddar cheese
-
1/2 cup shredded mozzarella cheese
-
1/2 cup creamy garlic sauce
-
Fresh parsley, chopped
Instructions
-
Step 1
Dice chicken breasts into bite-sized pieces. Place in a bowl, add olive oil, garlic powder, onion powder, paprika, salt, and pepper. Toss to coat evenly. -
Step 2
Heat a skillet over medium-high heat. Add seasoned chicken in a single layer and cook for 3-4 minutes per side, until golden brown and cooked through. Remove from skillet and set aside. -
Step 3
Warm the flour tortillas until pliable. This can be done in a dry skillet, microwave with a damp paper towel, or briefly over a low gas flame. -
Step 4
Spread creamy garlic sauce evenly over each warm tortilla, leaving a small border. Pile cooked chicken onto the center of the tortillas. -
Step 5
Sprinkle shredded cheddar and mozzarella cheese generously over the chicken. Fold in the sides of the tortilla, then tightly roll from the bottom edge upwards. -
Step 6
Optional: Lightly grill or pan-fry the rolled wraps seam-side down for 2-3 minutes per side until golden brown and cheese is melted and gooey. -
Step 7
Garnish with fresh chopped parsley and serve immediately.
Important Information
Nutrition Facts (Per Serving)
It is important to consider this information as approximate and not to use it as definitive health advice.
Allergy Information
Please check ingredients for potential allergens and consult a health professional if in doubt.