Spicy Homemade Chili Garlic Sauce Recipe – Easy & Flavorful
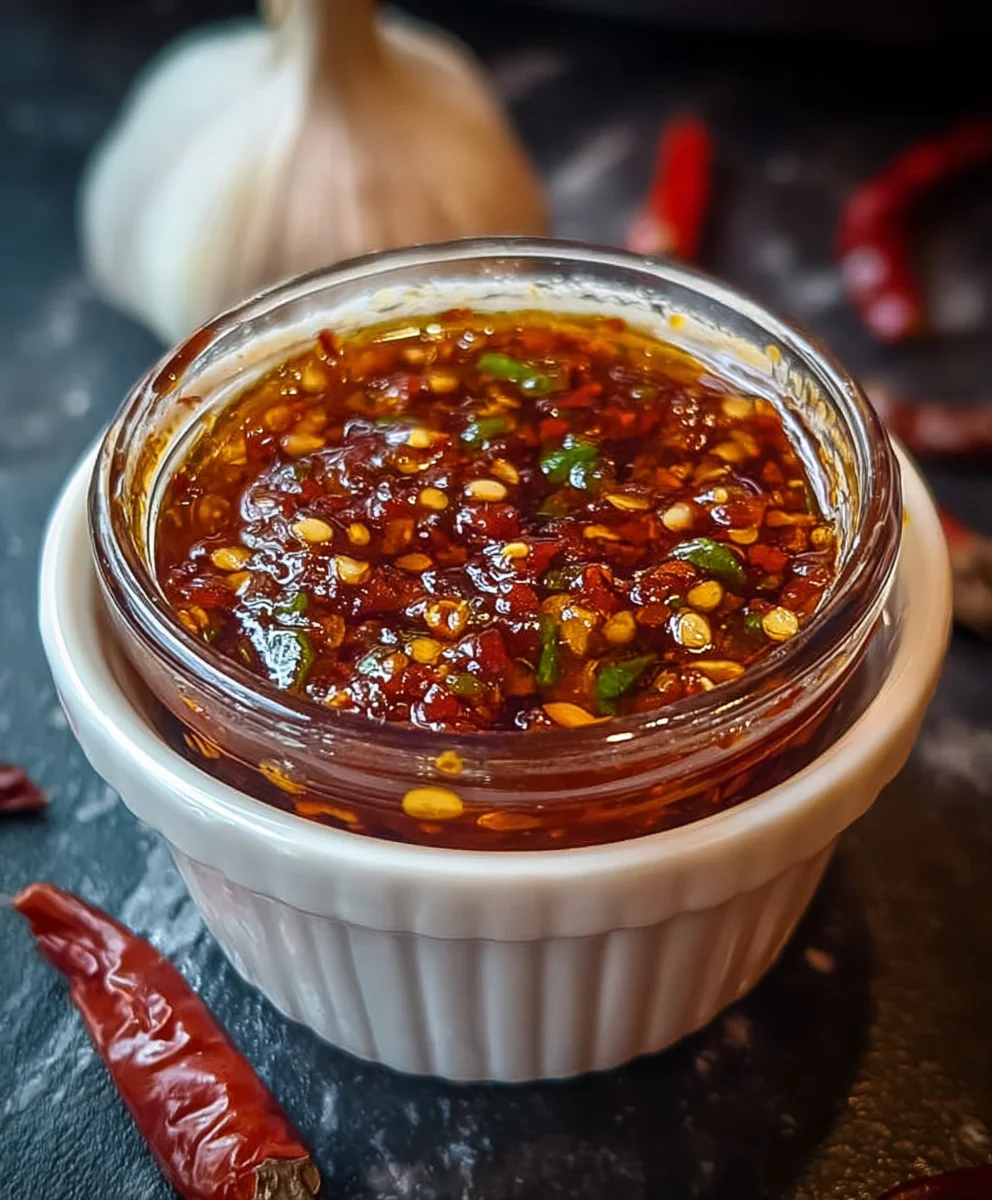
Homemade Chili Garlic Sauce is more than just a condiment; it’s a flavor revolution waiting to happen in your kitchen! If you’re anything like me, you crave that perfect balance of spicy heat, savory depth, and a whisper of garlic that elevates everything it touches. This isn’t your average store-bought sauce; this is a labor of love that delivers an unparalleled burst of deliciousness. What makes this homemade version so incredibly special is the ability to control the exact heat level and the vibrant freshness of the ingredients. Imagin extracte drizzling this rich, ruby-red elixir over your favorite noodles, tacos, stir-fries, or even just smearing it on toast. It’s that versatile, that addictive. The aroma alone as it simmers is enough to make your mouth water, promising a truly satisfying culinary experience that will have everyone asking for the recipe. Get ready to transform your meals with this sensational Homemade Chili Garlic Sauce.
Ingredients:
- 5-6 fresh red chilies (such as bird’s eye or Fresno, depending on your heat preference)
- 4 cloves garlic, minced
- 1 tablespoon white vinegar or rice vinegar
- 1 tablespoon olive oil or vegetable oil
- 1/2 teaspoon salt
- 1/2 teaspoon sugar (optional, for a touch of sweetness to balance the heat)
Preparing the Chilies and Garlic
The first crucial step in making our Homemade Chili Garlic Sauce is to prepare our star ingredients: the fresh red chilies and the garlic. For the chilies, it’s essential to wear gloves if you have sensitive skin, as chili oils can be quite potent and cause irritation. Remove the stems from the fresh red chilies. You can choose to leave the seeds in for a spicier sauce, or if you prefer a milder kick, you can carefully remove some or all of the seeds and membranes. Once stemmed, finely chop the chilies. The smaller you chop them, the smoother your final sauce will be. Aim for a consistent, fine mince.
Next, let’s prepare the garlic. We need 4 cloves, which should be peeled and then minced. Similar to the chilies, the fineness of your mince will impact the texture of the sauce. A very fine mince will distribute more evenly, while a slightly coarser mince will offer little bursts of garlicky flavor. You can use a garlic press for an extremely fine texture, or simply chop it finely with a knife. Having both your chilies and garlic minced and ready will make the cooking process much smoother.
Sautéing the Aromatics
Now that our chilies and garlic are prepped, it’s time to bring out their full flavor through gentle sautéing. Heat your chosen oil – either olive oil or vegetable oil – in a small saucepan or skillet over medium-low heat. It’s important to use a medium-low heat to avoid burning the garlic and chilies, which can impart a bitter taste to your sauce. Once the oil is shimmering slightly (but not smoking), add your minced garlic to the pan. Stir it constantly for about 30 seconds until it becomes fragrant. Be very attentive during this stage, as garlic can go from perfectly toasted to burnt in a matter of seconds.
Immediately after the garlic becomes fragrant, add your finely chopped fresh red chilies to the pan. Continue to stir everything together constantly. The goal here is to soften the chilies and allow their flavors to meld with the garlic and oil. This sautéing process will take approximately 1 to 2 minutes. You’ll notice the chilies becoming slightly brighter in color and releasing their wonderful aroma. This gentle cooking step is key to developing a complex flavor profile for your Homemade Chili Garlic Sauce, rather than a raw, sharp taste.
Building the Sauce Base
With the aromatics softened and fragrant, we can now start to build the foundational flavor of our sauce. After sautéing the chilies and garlic for that brief period, it’s time to introduce the liquids and seasonings that will transform these ingredients into a cohesive sauce. Add the tablespoon of vinegar to the saucepan. The vinegar will help to deglaze the pan, lifting any flavorful bits that might have stuck to the bottom and also provides a crucial tangy element that balances the heat of the chilies. Stir well, scraping the bottom of the pan to ensure everything is incorporated.
Next, sprinkle in the 1/2 teaspoon of salt. Salt is a fundamental flavor enhancer, and it will bring out the best in both the chilies and the garlic. If you are opting for a touch of sweetness to round out the sauce, now is the time to add the 1/2 teaspoon of sugar. Stir everything together thoroughly, ensuring the salt and sugar (if using) are fully dissolved into the mixture. Continue to cook over medium-low heat for another minute or two, allowing the flavors to meld and the liquid to slightly reduce, creating a more concentrated base for our sauce.
Simmering and Finishing Touches
Now, we let our ingredients simmer gently to develop their full potential. Reduce the heat to low, cover the saucepan loosely (leaving a small gap for steam to escape), and let the mixture simmer for about 5 to 7 minutes. This gentle simmering allows the chilies to soften further, the garlic to become mellow and sweet, and all the flavors to marry beautifully. Stir occasionally to prevent sticking. During this time, the initial sharp bite of the raw ingredients will mellow into a rich, savory, and spicy condiment.
After the simmering period, remove the lid. The mixture should have thickened slightly, and the oil will have a beautiful reddish hue from the chilies. At this point, you have a choice regarding the consistency. If you prefer a chunkier sauce with visible pieces of chili and garlic, you can stop here. However, if you desire a smoother sauce, you can carefully transfer the mixture to a small blender or use an immersion blender directly in the pan. Blend until you reach your desired smoothness. Be cautious when blending hot liquids. Once blended to your liking, return it to the saucepan if necessary and heat gently for one final minute to ensure it’s piping hot and ready to be served.
Cooling and Storing
Once your Homemade Chili Garlic Sauce has reached its perfect consistency and flavor profile, it’s crucial to allow it to cool completely before storing. This is important for both safety and for ensuring the best flavor development. Let the sauce sit in the saucepan off the heat for about 15-20 minutes, or until it has cooled down considerably. As it cools, the flavors will continue to deepen and meld, resulting in an even more delicious final product.
Once the sauce is completely cool, transfer it to a clean, airtight glass jar or container. A small mason jar works perfectly for this. Proper storage is key to maintaining the quality and longevity of your homemade sauce. Always store your Homemade Chili Garlic Sauce in the refrigerator. It should keep well for up to 2 to 3 weeks. Make sure to use a clean spoon or utensil each time you access the sauce to prevent introducing any contaminants, which can shorten its shelf life. Enjoy this versatile condiment on everything from noodles and dumplings to stir-fries and grilled meats!
Conclusion:
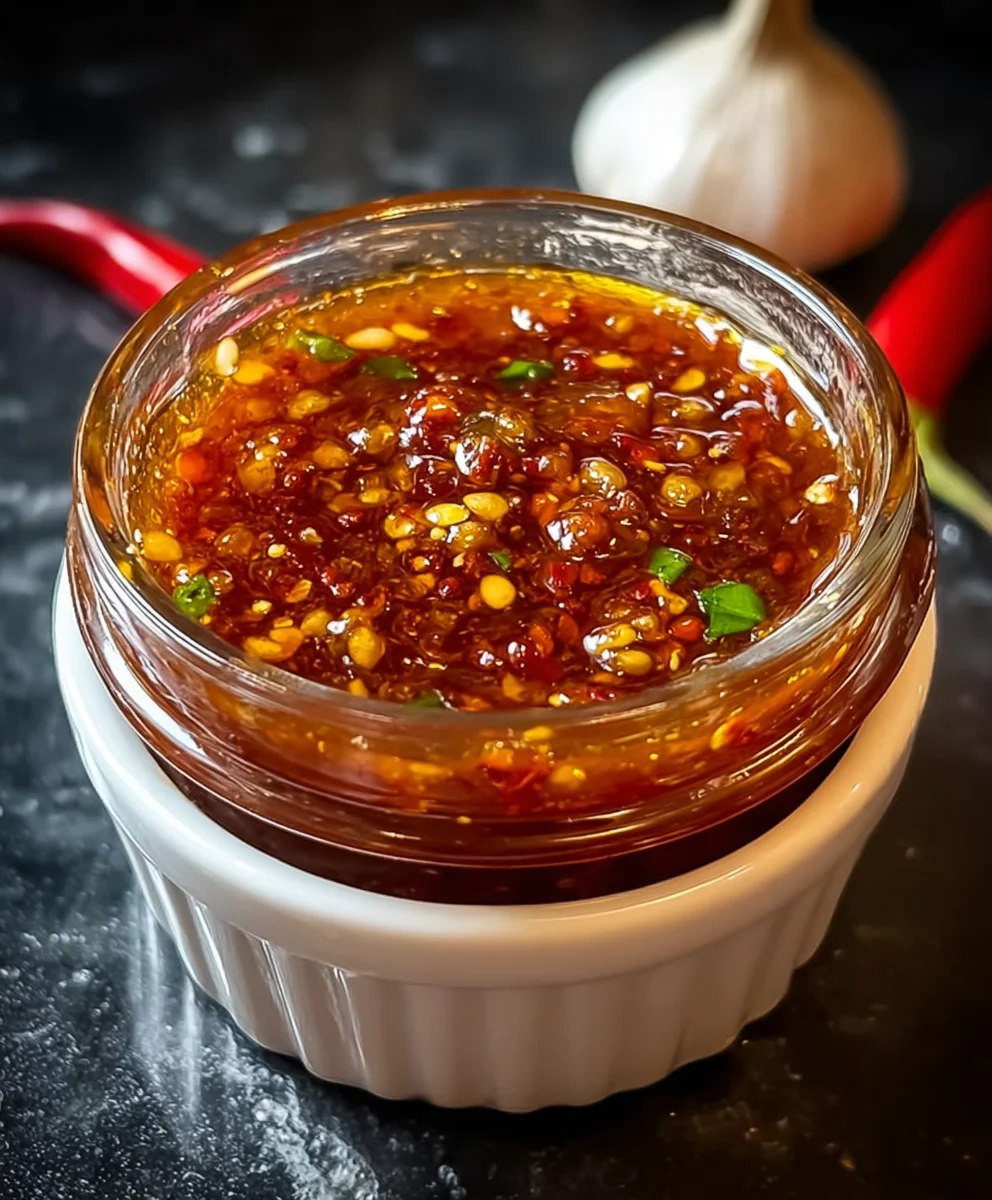
As you can see, making your own Homemade Chili Garlic Sauce is a wonderfully rewarding and surprisingly simple process. This recipe puts you in complete control of the heat, sweetness, and garlicky punch, allowing you to tailor it perfectly to your palate. The vibrant aroma that fills your kitchen while it simmers is just a preview of the incredible flavor you’ll soon be able to add to all your favorite dishes.
This versatile sauce is a dream for dipping and drizzling. Try it with dumplings, spring rolls, fried chicken, or even slathered on a grilled cheese sandwich. For a touch of elegance, serve a small dish of it alongside your next Asian-inspired feast.
Don’t be afraid to experiment! You can adjust the type and amount of chili peppers for varying heat levels, add a touch of gin extractger for extra zing, or even incorporate a splash of soy sauce for added umami. The possibilities are truly endless with this adaptable condiment. So gather your ingredients, roll up your sleeves, and get ready to create a staple that will elevate your cooking in no time!
Frequently Asked Questions:
Can I store the Homemade Chili Garlic Sauce for a long time?
Absolutely! Once cooled, store your Homemade Chili Garlic Sauce in an airtight container in the refrigerator. It should stay fresh and delicious for at least 2-3 weeks. For longer storage, you can also freeze portions of the sauce.
What kind of chili peppers are best for this sauce?
The beauty of this recipe is its flexibility. For a moderate heat, dried red chilies like arbol or cayenne work wonderfully. If you prefer it spicier, consider adding bird’s eye chilies or even ghost peppers (use with caution!). For a milder, sweeter flavor, you can use paprika or milder dried chilies. Feel free to mix and match to find your perfect balance.
Spicy Homemade Chili Garlic Sauce Recipe – Easy & Flavorful
A quick and easy recipe for a flavorful homemade chili garlic sauce, perfect for adding a kick to any dish.
Ingredients
-
5-6 fresh red chilies
-
4 cloves garlic, minced
-
1 tablespoon white vinegar
-
1 tablespoon olive oil
-
1/2 teaspoon salt
-
1/2 teaspoon sugar
Instructions
-
Step 1
Prepare the chilies by removing stems and finely chopping them. Wear gloves if you have sensitive skin. You can leave seeds in for more heat or remove them for milder sauce. Peel and mince the garlic cloves. -
Step 2
Heat olive oil in a small saucepan over medium-low heat. Add minced garlic and stir constantly for about 30 seconds until fragrant, being careful not to burn. -
Step 3
Add the chopped chilies to the pan and stir with the garlic. Sauté for 1-2 minutes until chilies soften and become fragrant. -
Step 4
Pour in the vinegar, scraping the bottom of the pan. Add salt and sugar (if using). Stir well to combine and dissolve. Cook for another minute or two over medium-low heat. -
Step 5
Reduce heat to low, cover loosely, and simmer for 5-7 minutes, stirring occasionally. This allows flavors to meld and the sauce to thicken slightly. -
Step 6
Remove lid. If desired, blend the sauce to your preferred smoothness using a blender or immersion blender. Heat gently for one final minute. -
Step 7
Allow the sauce to cool completely before transferring to an airtight glass jar. Store in the refrigerator for up to 2-3 weeks. Use a clean spoon each time.
Important Information
Nutrition Facts (Per Serving)
It is important to consider this information as approximate and not to use it as definitive health advice.
Allergy Information
Please check ingredients for potential allergens and consult a health professional if in doubt.