Berry Brûlée Recipe – Easy & Delicious Dessert
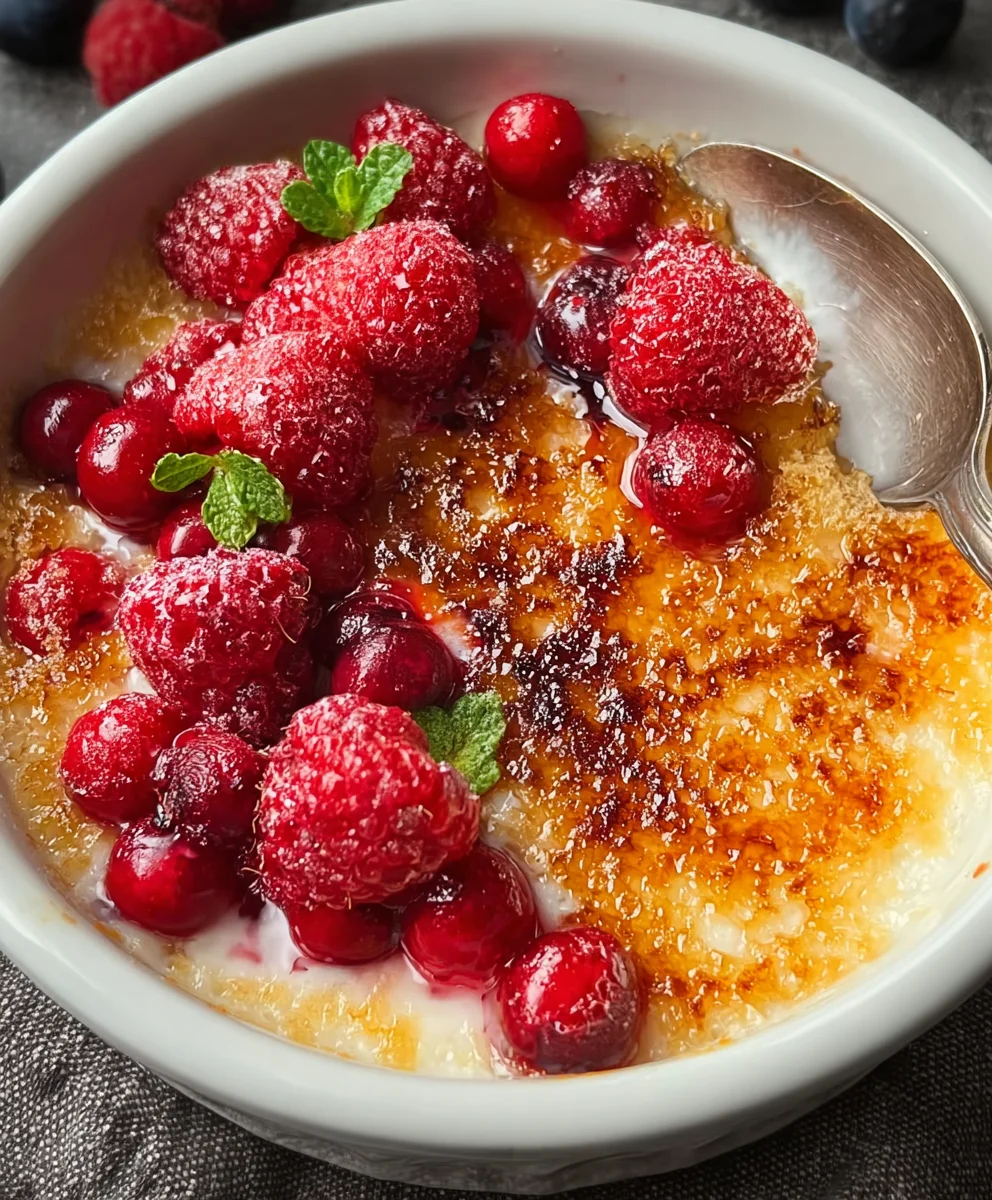
Berry Brûlée is more than just a dessert; it’s a symphony of textures and flavors that captivates the senses from the very first spoonful. Imagin extracte a crown of glistening, jewel-toned berries, perfectly ripe and bursting with natural sweetness. Beneath this vibrant topping lies a luscious, creamy custard, rich and velvety smooth. But the true magic, the moment that elevates this dish from delightful to divine, is the crackling caramelized sugar crust. That satisfying shatter as your spoon breaks through the brittle caramel, revealing the cool, tender berries and silken custard beneath – it’s pure culinary bliss. This is why Berry Brûlée holds such a special place in our hearts; it’s a sophisticated yet surprisingly simple treat that feels both elegant and comforting. The contrast of warm, torched sugar against the cool, fresh fruit and the impossibly smooth cream is what makes this Berry Brûlée an unforgettable experience, perfect for impressing guests or treating yourself to a moment of pure indulgence.
Ingredients:
- 1/2 cup heavy cream, chilled
- 12 ounces fresh raspberries
- 3 tablespoons plus 1 teaspoon granulated sugar, divided
Preparing the Berry Base
The foundation of our Berry Brûlée is the vibrant, fresh raspberries. Begin extract by gently rinsing your 12 ounces of fresh raspberries under cool water. It’s important to be delicate here, as raspberries can bruise easily. Once rinsed, carefully pat them dry with a paper towel or allow them to air dry on a clean kitchen towel. This step ensures we don’t introduce excess moisture into our dessert, which could make the sugar topping less crisp.
Next, we want to slightly sweeten the raspberries to enhance their natural tartness. In a medium bowl, combine the dried raspberries with 1 tablespoon of the granulated sugar. Gently toss them together, ensuring each berry is lightly coated. This initial touch of sugargin extractll begin to draw out some of the berry juices, creating a lovely, syrupy base as they sit. For an extra layer of flavor, if you have it on hand and enjoy a hint of citrus, you could also add a tiny squeeze of lemon juice at this stage, though it’s not strictly necessary for this recipe. Allow the sugared raspberries to rest for about 10-15 minutes while you prepare the cream mixture.
Creating the Cream Layer
Now, let’s focus on the luscious cream layer that will crown our Berry Brûlée. Take your 1/2 cup of chilled heavy cream and place it in a separate bowl. We need this cream to be cold for the best texture. Add the remaining 2 tablespoons plus 1 teaspoon of granulated sugar to the cream. Whisk the cream and sugar together. You don’t need to whip this into stiff peaks like you would for a traditional whipped cream; our goal is simply to dissolve the sugar and slightly thicken the cream. Whisk until the sugar is fully incorporated and the cream has a slightly thickened, pourable consistency. Think of it as a light, pourable custard base. A balloon whisk works wonderfully for this, but a fork can also do the trick if you’re patient.
Once the sugar has dissolved, you can also add a tiny splash of vanilla extract if you desire an extra aromatic note, though the pure flavors of the berries and cream are also delightful on their own. Whisk it in gently. Ensure there are no visible granules of sugar remaining in the cream mixture. This step is crucial for achieving a smooth and even texture in the final brûlée topping.
Assembling and Chilling
With our berry base and cream mixture ready, it’s time to assemble our Berry Brûlée. Select your serving dishes. Small, individual ramekins or oven-safe glasses work perfectly for this dessert. Spoon the sugared raspberries evenly into the bottom of each serving dish. Try to distribute them so that each portion gets a good amount of berries. Don’t worry if some of the natural juices have collected in the bottom of the bowl; this delicious syrup will also be part of your Berry Brûlée.
Carefully pour the sweetened cream mixture over the raspberries in each dish. Fill the dishes so that the cream covers the berries completely, but leave a little space at the top, perhaps about 1/4 inch, to prevent overflow when you add the final sugar layer. Ensure the cream is distributed evenly across the surface of the berries.
Now, we need to chill the assembled Berry Brûlée. Cover each dish tightly with plastic wrap. This prevents a skin from forming on the cream and also stops them from absorbing any odors from the refrigerator. Place the dishes in the refrigerator for at least 30 minutes. This chilling time is important for a few reasons: it allows the cream to set slightly, making it firmer for the brûlée torching, and it also melds the flavors of the raspberries and cream together beautifully.
Caramelizing the Sugar Topping
This is where the magic happens! Once the Berry Brûlée has chilled, remove them from the refrigerator. You’ll notice the cream will have thickened nicely. Uncover each dish. Sprinkle the remaining 1 teaspoon of granulated sugar evenly over the surface of the cream in each ramekin. You want to create a thin, even layer of sugar that completely covers the cream. This layer is what we will caramelize to achieve that signature crisp, glassy topping.
Using a kitchen torch, carefully and evenly move the flame across the sugar surface. Hold the torch a few inches away from the sugar and keep it moving constantly to avoid burning any one spot. You will gin extract the sugar begin to melt, bubble, and turn a beautiful golden-brown color. Continue torching until all the sugar has melted and formed a smooth, hard caramel crust. The process should only take a minute or two per ramekin. If you don’t have a kitchen torch, you can achieve a similar result by placing the assembled and chilled Berry Brûlée under a preheated broiler on high heat. Keep a very close eye on them as they caramelize very quickly under the broiler, and rotate the dishes as needed for even browning.
Serving Your Berry Brûlée
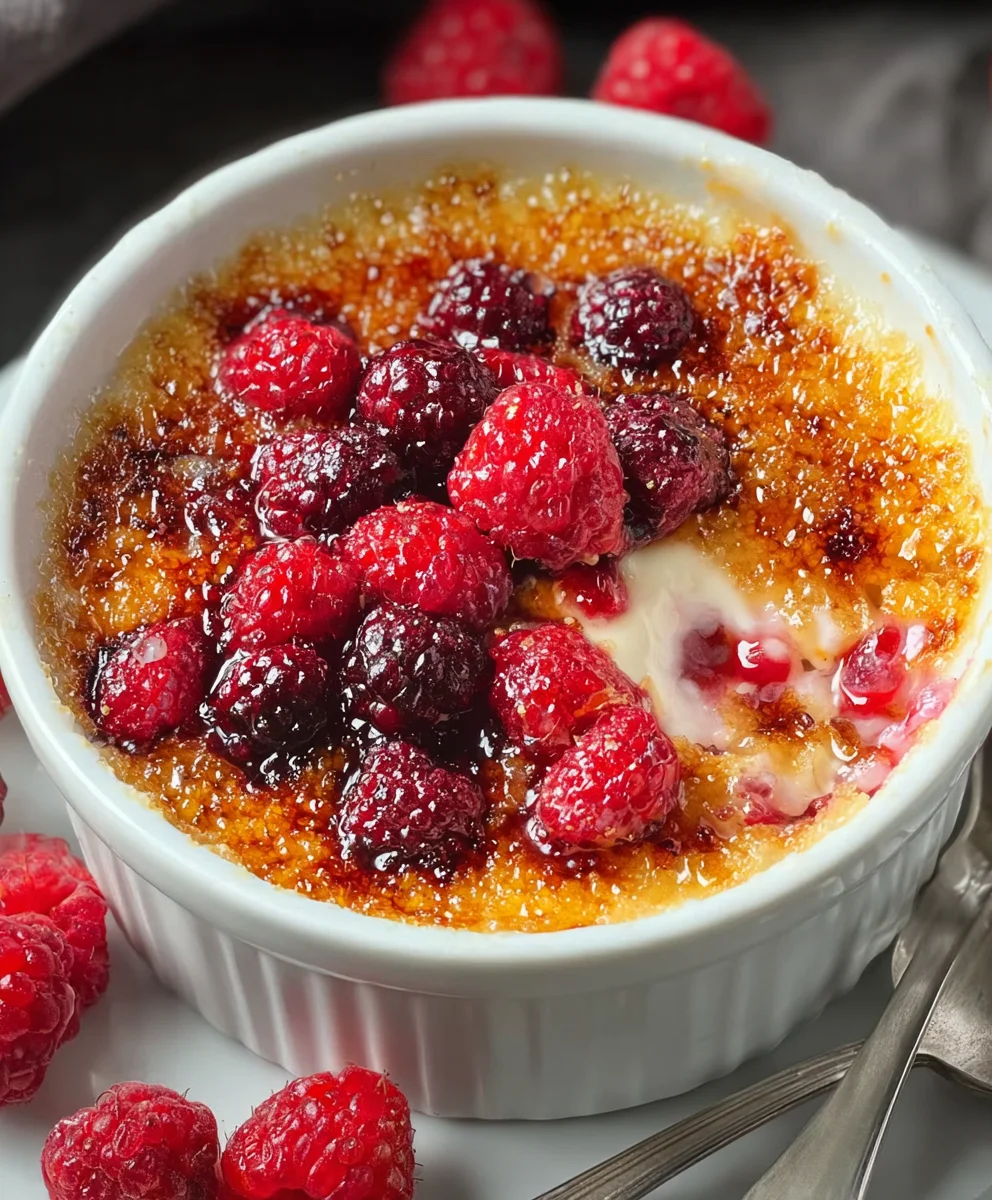
After torching (or broiling) the sugar, you’ll have a beautiful, glassy caramel crust. For the ultimate experience, it’s best to serve the Berry Brûlée immediately after caramelizing the sugar. This allows you to enjoy the satisfying crack of the spoon through the crisp sugar layer, revealing the creamy custard and juicy raspberries beneath. When you’re ready to serve, simply present the individual ramekins. Encourage your guests to gently tap the caramel crust with their spoon to break it before diving into the delightful combination of textures and flavors. The contrast between the warm, slightly bitter caramel, the cool, smooth cream, and the bright, tart raspberries is truly spectacular and makes for an elegant yet simple dessert. Enjoy the delightful contrast!
Conclusion:
There you have it – your guide to crafting the perfect Berry Brûlée! This elegant yet surprisingly simple dessert is sure to impress, offering a delightful contrast between the sweet, soft berries and the crisp, caramelized sugar topping. We’ve explored how to achieve that satisfying crack with your torch and highlighted the simple steps involved in creating this stunning treat. Remember, the key to a truly memorable Berry Brûlée lies in fresh, ripe berries and a patient hand with the torch. Don’t be afraid to experiment with different berry combinations or add a touch of liqueur extract for an extra layer of flavor. Serve it warm and watch your guests delight in every spoonful!
Frequently Asked Questions about Berry Brûlée:
Q1: Can I make the Berry Brûlée ahead of time?
You can prepare the berry mixture and chilling it a few hours in advance. However, the brûlée topping should be done just before serving. This ensures the sugar is perfectly caramelized and still crisp when it reaches your guests.
Q2: What if I don’t have a kitchen torch?
While a kitchen torch is ideal for achieving that classic crisp topping, you can achieve a similar effect by placing the Berry Brûlée under a hot broiler. Keep a very close eye on it, as it can burn quickly. Rotate the dish for even caramelization.
Q3: Are there any other fruits that work well in a Berry Brûlée?
Absolutely! While berries are fantastic, you can adapt this recipe. Think sliced peaches, nectarines, or even poached pears. The key is to use fruits that hold their shape well and have a natural sweetness that complements the caramel.
Berry Brûlée Recipe – Easy & Delicious Dessert
A simple and delicious dessert featuring fresh raspberries topped with a rich cream layer and a caramelized sugar crust.
Ingredients
-
1/2 cup heavy cream, chilled
-
12 ounces fresh raspberries
-
3 tablespoons plus 1 teaspoon granulated sugar, divided
-
1 tablespoon granulated sugar (for raspberries)
-
2 tablespoons plus 1 teaspoon granulated sugar (for cream)
-
1 teaspoon granulated sugar (for topping)
Instructions
-
Step 1
Gently rinse and pat dry 12 ounces of fresh raspberries. In a medium bowl, combine the raspberries with 1 tablespoon of granulated sugar and toss to coat. Let rest for 10-15 minutes. -
Step 2
In a separate bowl, whisk together 1/2 cup of chilled heavy cream and the remaining 2 tablespoons plus 1 teaspoon of granulated sugar until the sugar is dissolved and the cream is slightly thickened. -
Step 3
Spoon the sugared raspberries evenly into the bottom of individual ramekins or oven-safe dishes. Carefully pour the sweetened cream mixture over the raspberries, covering them completely and leaving a small space at the top. -
Step 4
Cover the dishes tightly with plastic wrap and chill in the refrigerator for at least 30 minutes to allow the cream to set. -
Step 5
Once chilled, uncover the dishes and sprinkle the remaining 1 teaspoon of granulated sugar evenly over the surface of the cream in each ramekin. -
Step 6
Using a kitchen torch, carefully caramelize the sugar until it melts, bubbles, and turns a golden-brown color, forming a crisp crust. Alternatively, place under a preheated broiler on high heat, watching very closely. -
Step 7
Serve immediately, encouraging guests to break the caramel crust with their spoon to reveal the creamy custard and juicy raspberries beneath.
Important Information
Nutrition Facts (Per Serving)
It is important to consider this information as approximate and not to use it as definitive health advice.
Allergy Information
Please check ingredients for potential allergens and consult a health professional if in doubt.