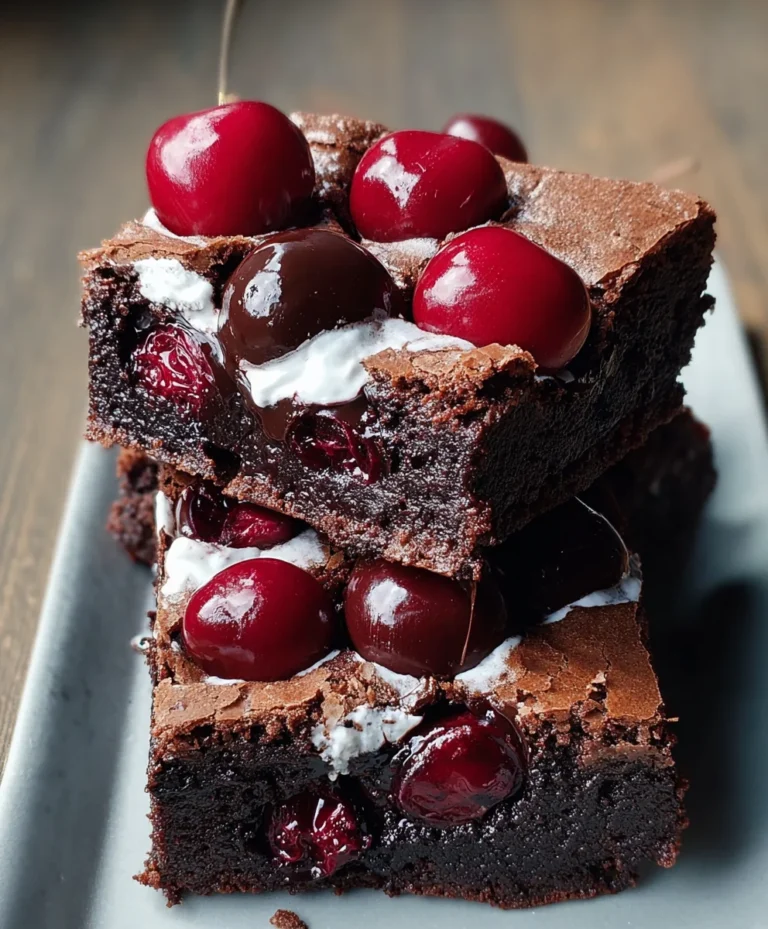
Cherry Brownie Ice Cream Sandwiches-Easy Treat
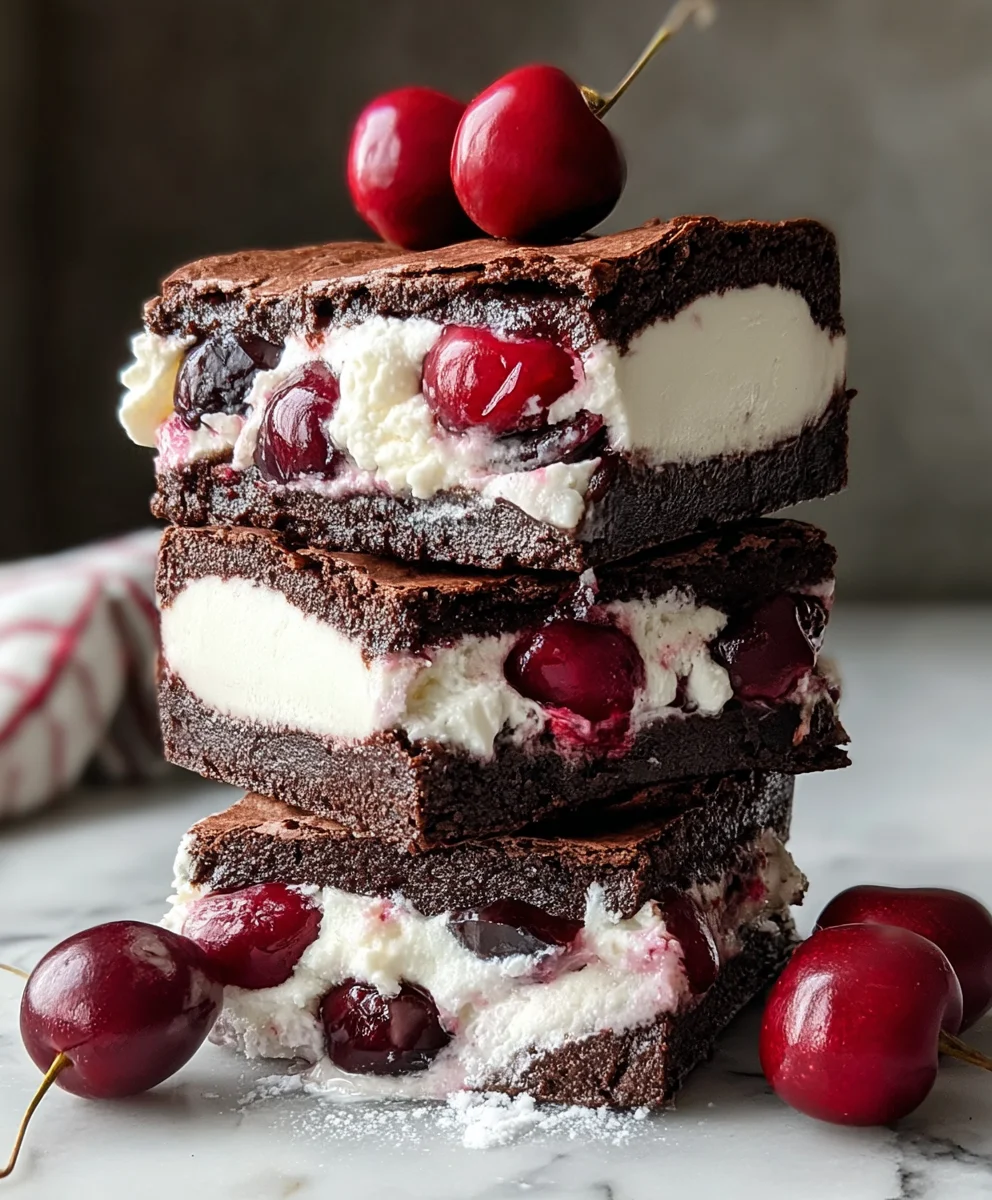
Cherry Brownie Ice Cream Sandwiches are more than just a dessert; they’re a nostalgic journey back to childhood summers and a sophisticated indulgence rolled into one. Have you ever craved that perfect bite that delivers a rich, fudgy chocolate punch, the bright tang of cherries, and the cool, creamy embrace of ice cream, all sandwiched between two chewy brownie squares? That’s the magic of these Cherry Brownie Ice Cream Sandwiches, and it’s precisely why they capture hearts time and time again. They offer an unparalleled textural and flavor symphony that simply can’t be replicated. What truly elevates this treat is the harmonious balance between the deep, complex cocoa notes of the brownie and the sweet, slightly tart burst of cherries, perfectly complemented by your favorite ice cream. It’s an explosion of happiness in every single bite.
Why You’ll Adore This Recipe
Discover the ultimate summer dessert!
Ingredients:
- ½ cup unsalted butter
- ½ cup granulated sugar
- ½ cup packed light brown sugar
- 2 large eggs
- 1 teaspoon vanilla extract
- ⅓ cup unsweetened cocoa powder
- ½ cup all-purpose flour
- ¼ teaspoon salt
- 1½ cups vanilla ice cream, slightly softened
- ½ cup chopped cherries (fresh or frozen)
- ¼ cup melted chocolate chips (for drizzling)
Cherry Brownie Ice Cream Sandwiches
Baking the Brownie Discs
- First things first, let’s get our brownie base ready. Preheat your oven to 350°F (175°C). This is a standard temperature for most baking, ensuring an even cook. Line two baking sheets with parchment paper. This step is crucial for preventing sticking and making cleanup a breeze. In a medium-sized heatproof bowl, melt the ½ cup of unsalted butter. You can do this gently in the microwave in 30-second intervals, stirring in between, or over a double boiler on the stovetop. Once melted, remove from heat.
- To the melted butter, add the ½ cup of granulated sugar and the ½ cup of packed light brown sugar. Whisk these together vigorously until the mixture is well combined and no lumps of sugar remain. The brown sugar will contribute to the chewy texture of our brownies. Now, it’s time to incorporate the eggs. Add the 2 large eggs, one at a time, whisking thoroughly after each addition until the batter is smooth and glossy. Stir in the 1 teaspoon of vanilla extract for that classic sweet aroma and flavor.
- In a separate small bowl, whisk together the ⅓ cup of unsweetened cocoa powder, ½ cup of all-purpose flour, and ¼ teaspoon of salt. Sifting these dry ingredients together beforehand helps to prevent any pockets of unincorporated cocoa or flour in your final brownie, ensuring a uniform texture. Gradually add this dry mixture to the wet ingredients, folding it in gently with a spatula until just combined. Be careful not to overmix at this stage; overmixing can develop the gluten in the flour, leading to tougher brownies. You want a brownie batter that is thick and fudgy.
- Now, let’s form our brownie discs. Drop rounded tablespoons of the brownie batter onto the prepared baking sheets, spacing them about 2 inches apart. You should aim for about 12-16 discs, depending on how large you want your cookie sandwiches. Gently flatten each mound of batter slightly with the back of the spoon or your fingertips. Don’t worry if they aren’t perfectly round; the rustic look is part of their charm. Bake for 10-12 minutes, or until the edges are set and a toothpick inserted into the center comes out with moist crum extractbs attached. They will continue to cook slightly on the hot baking sheet after you remove them from the oven. Let them cool on the baking sheets for a few minutes before transferring them to a wire rack to cool completely. It’s very important that they are fully cool before moving to the next step.
- While the brownie discs are cooling, let’s prepare the ice cream. Take your 1½ cups of vanilla ice cream out of the freezer and let it soften slightly at room temperature. You want it pliable enough to spread but not so melted that it becomes liquid. Gently fold in the ½ cup of chopped cherries. If you’re using fresh cherries, make sure to remove any pits. If using frozen cherries, they might slightly color the ice cream, which is perfectly fine and adds a beautiful marbling effect. Ensure the cherries are evenly distributed throughout the ice cream.
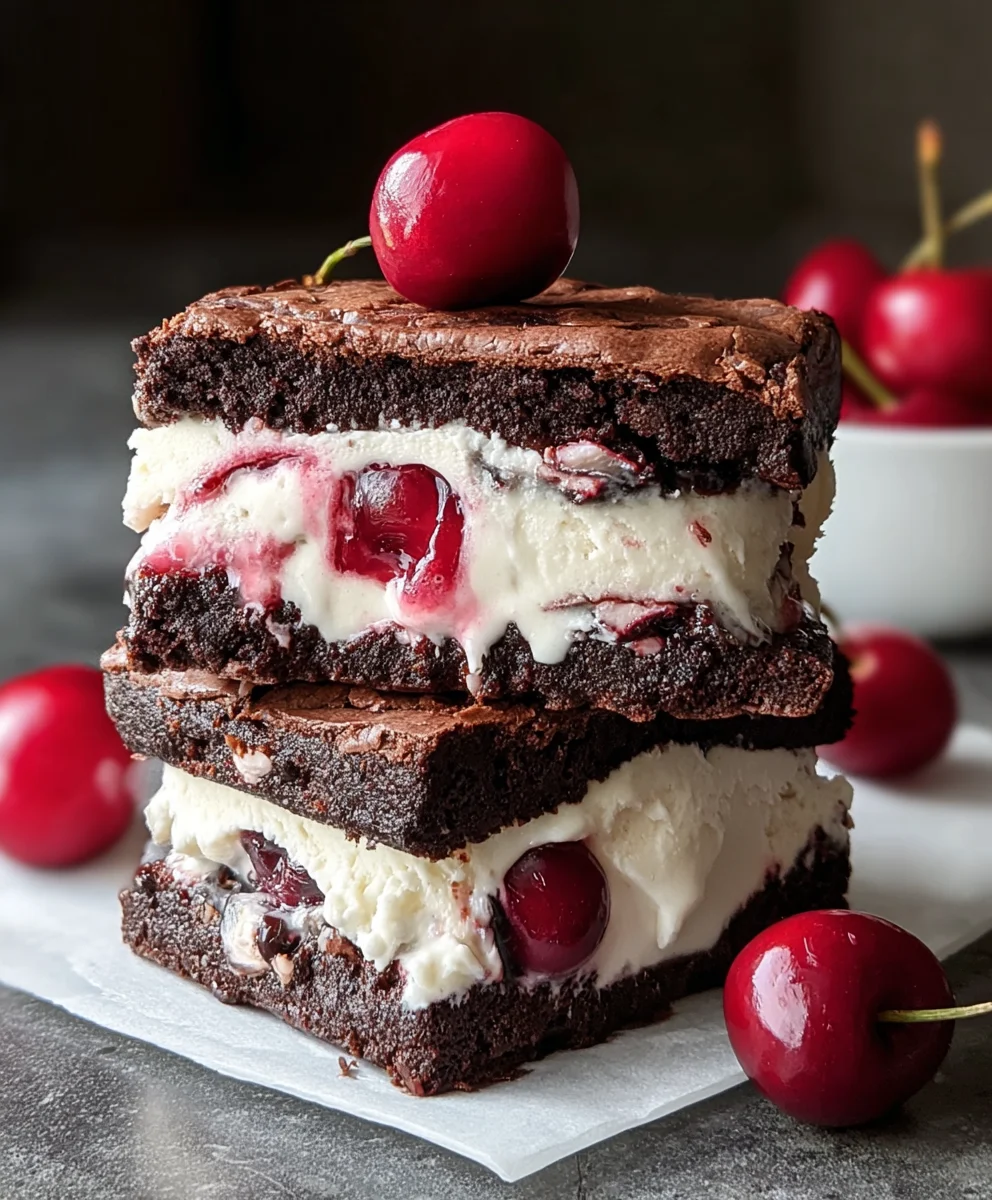
- Once the brownie discs are completely cool, it’s time to assemble your ice cream sandwiches. Take one brownie disc and place a generous scoop of the cherry vanilla ice cream mixture on top. Spread it evenly towards the edges, leaving a small border so it doesn’t ooze out too much when you add the top. Then, carefully place another brownie disc on top of the ice cream, pressing down gently to create a sandwich. Repeat this process until all your brownie discs and ice cream are used up.
- For an extra touch of decadence, melt the ¼ cup of chocolate chips. You can do this in a microwave-safe bowl in 30-second increments, stirring between each, or over a double boiler. Once smooth and melted, use a fork or a small spoon to drizzle the melted chocolate over the top of each ice cream sandwich. This adds a delightful chocolatey crunch and visual appeal. For the best results and to allow the ice cream to firm up again, place the assembled sandwiches on a parchment-lined baking sheet and pop them back into the freezer for at least 1-2 hours before serving. This chilling time ensures they hold their shape when you take a bite.
Conclusion:
There you have it! Your ultimate guide to crafting the most delightful Cherry Brownie Ice Cream Sandwiches. We’ve walked through each step, from achieving perfectly fudgy brownies to the satisfying assembly of these decadent treats. The rich, chocolatey base, complemented by the bright burst of cherries and the creamy coolness of ice cream, creates a truly irresistible dessert experience. These Cherry Brownie Ice Cream Sandwiches are perfect for summer gatherings, special occasions, or simply when you need a serious chocolate fix. Feel free to get creative with your ice cream choices – classic vanilla is wonderful, but strawberry or even a chocolate chip cookie dough would be fantastic. You can also add a drizzle of chocolate sauce or some chopped nuts for extra indulgence.
I truly hope you enjoy making and, more importantly, devouring these amazing Cherry Brownie Ice Cream Sandwiches. Don’t be afraid to experiment and make them your own! Happy baking and assembling!
Frequently Asked Questions:
Can I make the brownies ahead of time for my Cherry Brownie Ice Cream Sandwiches?
Absolutely! The brownies for your Cherry Brownie Ice Cream Sandwiches can be baked up to two days in advance and stored in an airtight container at room temperature. This makes assembly on the day of serving much quicker and easier.
What kind of cherries work best for these Cherry Brownie Ice Cream Sandwiches?
For the best flavor and texture in your Cherry Brownie Ice Cream Sandwiches, fresh or frozen pitted cherries are ideal. If using frozen cherries, thaw them and drain off any excess liquid before incorporating them into the brownie batter to prevent a soggy outcome.
How should I store leftover Cherry Brownie Ice Cream Sandwiches?
To store any leftover Cherry Brownie Ice Cream Sandwiches, wrap each one individually in plastic wrap and then place them in a freezer-safe container or bag. They can be stored in the freezer for up to two weeks, ensuring you have a delightful treat ready whenever a craving strikes.
Cherry Brownie Ice Cream Sandwiches-Easy Treat
Delicious and easy-to-make ice cream sandwiches featuring chewy brownie discs filled with cherry-infused vanilla ice cream and drizzled with chocolate.
Ingredients
-
½ cup unsalted butter
-
½ cup granulated sugar
-
½ cup packed light brown sugar
-
2 large eggs
-
1 teaspoon vanilla extract
-
⅓ cup unsweetened cocoa powder
-
½ cup all-purpose flour
-
¼ teaspoon salt
-
1½ cups vanilla ice cream, slightly softened
-
½ cup chopped cherries (fresh or frozen)
-
¼ cup melted chocolate chips (for drizzling)
Instructions
-
Step 1
Preheat oven to 350°F (175°C). Line two baking sheets with parchment paper. Melt butter in a heatproof bowl. -
Step 2
To melted butter, add granulated sugar and brown sugar. Whisk until combined. Add eggs one at a time, whisking after each. Stir in vanilla extract. -
Step 3
In a separate bowl, whisk together cocoa powder, flour, and salt. Gradually add dry ingredients to wet ingredients, folding until just combined. Do not overmix. -
Step 4
Drop rounded tablespoons of batter onto prepared baking sheets, about 2 inches apart. Flatten slightly. Bake for 10-12 minutes until edges are set. Cool completely on a wire rack. -
Step 5
While brownies cool, let vanilla ice cream soften slightly. Gently fold in chopped cherries. -
Step 6
Assemble sandwiches by placing a scoop of ice cream mixture on one brownie disc and topping with another. Gently press together. -
Step 7
Melt chocolate chips. Drizzle over ice cream sandwiches. Freeze for at least 1-2 hours before serving.
Important Information
Nutrition Facts (Per Serving)
It is important to consider this information as approximate and not to use it as definitive health advice.
Allergy Information
Please check ingredients for potential allergens and consult a health professional if in doubt.