Easiest Yeast Bread – No Knead Artisan Recipe
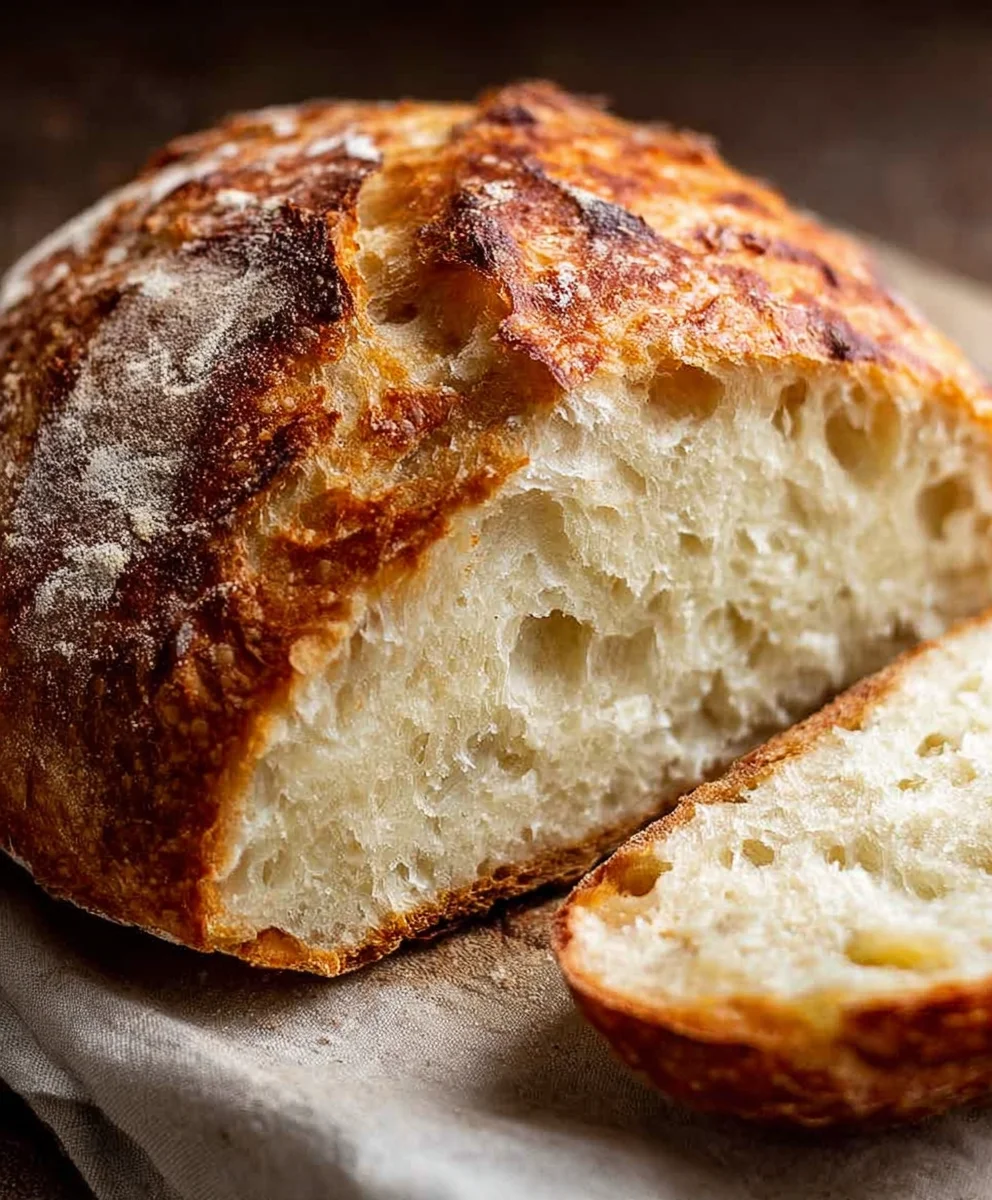
World’s Easiest Yeast Bread recipe – Artisan, NO KNEAD. If you’ve ever dreamed of pulling a golden-brown, crusty loaf of artisan bread from your own oven but felt intimidated by the process, this recipe is your delicious revelation. Forget complicated techniques and endless kneading; this is the magical gateway to homemade bread bliss. People adore this dish because it delivers that satisfyingly chewy interior and wonderfully crisp crust that feels so luxurious, yet requires astonishingly little effort. What makes this World’s Easiest Yeast Bread recipe – Artisan, NO KNEAD truly special is its deceptive simplicity. It relies on time and the magic of yeast, allowing a few humble ingredients to transform into something spectacular with minimal intervention from you. Get ready to impress yourself and everyone you know with the easiest, most rewarding bread you’ll ever bake.
Ingredients:
- 3 cups (450g) flour, either bread flour or plain/all-purpose flour will work beautifully. Bread flour will give you a slightly chewier crust and interior crum extractb, while all-purpose flour is a fantastic everyday option. (Note 1)
- 2 teaspoons instant or rapid-rise yeast. This type of yeast is designed to be mixed directly with dry ingredients and doesn’t require pre-proofing. If you happen to have normal or active dry yeast, you’ll need to activate it first in a little warm water before adding it to your dough. (Note 2)
- 2 teaspoons cooking or kosher salt. It’s important to use kosher or cooking salt and not table salt. Table salt is finer and contains anti-caking agents that can interfere with the yeast’s activity and can make the bread taste slightly metallic. The larger crystals in kosher salt dissolve more evenly and provide a pure salt flavor. (Note 3)
- 1 1/2 cups (375 ml) very warm tap water. The ideal temperature for this water is around 49-55°C (120-130°F). It should feel warm to the touch, but not hot enough to burn your finger. Water that is too hot will kill the yeast, and water that is too cold won’t activate it properly. Think of it as a warm bath for your yeast! (Note 4)
- 1 1/2 tablespoons flour, for dusting your work surface and hands.
Mixing the Dough
This is where the magic of the “no-knead” method truly shines. We’re going to combine our ingredients with minimal effort. In a large mixing bowl, add the 3 cups of flour, 2 teaspoons of instant yeast, and 2 teaspoons of kosher salt. Give these dry ingredients a quick whisk or stir with a fork to ensure they are evenly distributed. This initial distribution is important for consistent rising. Now, pour in the 1 1/2 cups of very warm tap water. Using a sturdy spoon or a spatula, mix everything together until just combined. Don’t overmix at this stage; we’re not looking for a smooth dough yet. You should have a shaggy, somewhat sticky mass. It might look a little lumpy, and that’s perfectly okay. The goal is simply to hydrate all the flour. Ensure there are no dry pockets of flour remaining at the bottom of the bowl.
First Rise: The Patient Wait
Once your dough is mixed, cover the bowl tightly with plastic wrap or a damp kitchen towel. This seal will trap the moisture and warmth, creating an ideal environment for the yeast to work its magic. Now comes the part that requires patience, but rewards you immensely. Let the dough rise at room temperature for a minimum of 12 to 18 hours. Yes, you read that right! This long, slow fermentation is what develops the incredible flavor and airy texture that makes this bread so special. During this time, the yeast will consume sugars in the flour and produce carbon dioxide gas, which will cause the dough to expand and develop those beautiful gluten strands without any physical kneading. You’ll notice the dough will become bubbly and roughly double in size. For an even richer flavor, you can even let it rise for up to 24 hours, especially if your kitchen is on the cooler side.
Shaping and Second Rise
After the long first rise, the dough will be soft, bubbly, and significantly increased in volume. It will likely have a slightly domed surface and might even have large air bubbles peeking through. Lightly dust your work surface and your hands with the 1 1/2 tablespoons of flour. Gently scrape the dough out of the bowl onto the floured surface. Try not to deflate it too much. We’re going to do a very gentle shape. Fold the edges of the dough towards the center a couple of times, as if you’re tucking it in. Don’t worry about creating a perfect loaf shape; a rustic round or oval is exactly what we’re aiming for. Place the shaped dough onto a piece of parchment paper. This makes transferring it to your hot baking vessel much easier and cleaner. Cover the dough loosely with plastic wrap or a clean kitchen towel and let it rest for another 30 to 60 minutes while you preheat your oven and baking vessel. This second rise allows the dough to relax and puff up slightly before baking.
Preheating and Baking: The Crucial Step
This step is critical for achieving that coveted artisan crust. About 20 to 30 minutes before you plan to bake, place a Dutch oven or a heavy oven-safe pot with a lid into your oven and preheat it to 230°C (450°F). The cast iron or heavy metal of the pot will get incredibly hot, mimicking the intense heat of a professional bakery oven. Once the oven and the pot have reached temperature, carefully remove the hot pot from the oven using oven mitts. Carefully lift the parchment paper with the dough and gently lower it into the hot Dutch oven. The dough will likely look a bit flat, but don’t worry. Place the lid back on the pot securely. This lid is essential; it traps the steam released from the dough during the initial baking phase, creating a wonderfully crisp and golden-brown crust. Bake the bread, covered, for 30 minutes.
Finishing and Cooling
After 30 minutes, carefully remove the lid from the Dutch oven. The bread should have puffed up nicely and started to turn a pnon-alcoholic ale golden color. Continue baking, uncovered, for another 15 to 25 minutes, or until the crust is a deep golden brown and the internal temperature of the bread reaches around 93-99°C (200-210°F) when measured with an instant-read thermometer. The exact time will depend on your oven. Once baked to perfection, carefully remove the bread from the Dutch oven (again, using oven mitts!) and place it on a wire rack to cool completely. Resist the urge to cut into it immediately! Letting the bread cool allows the internal structure to set and the flavors to fully develop. You’ll hear a delightful crackling sound as it cools, which is a good sign of a perfectly baked crust. Waiting is the hardest part, but it’s absolutely worth it for the best flavor and texture.
Conclusion:
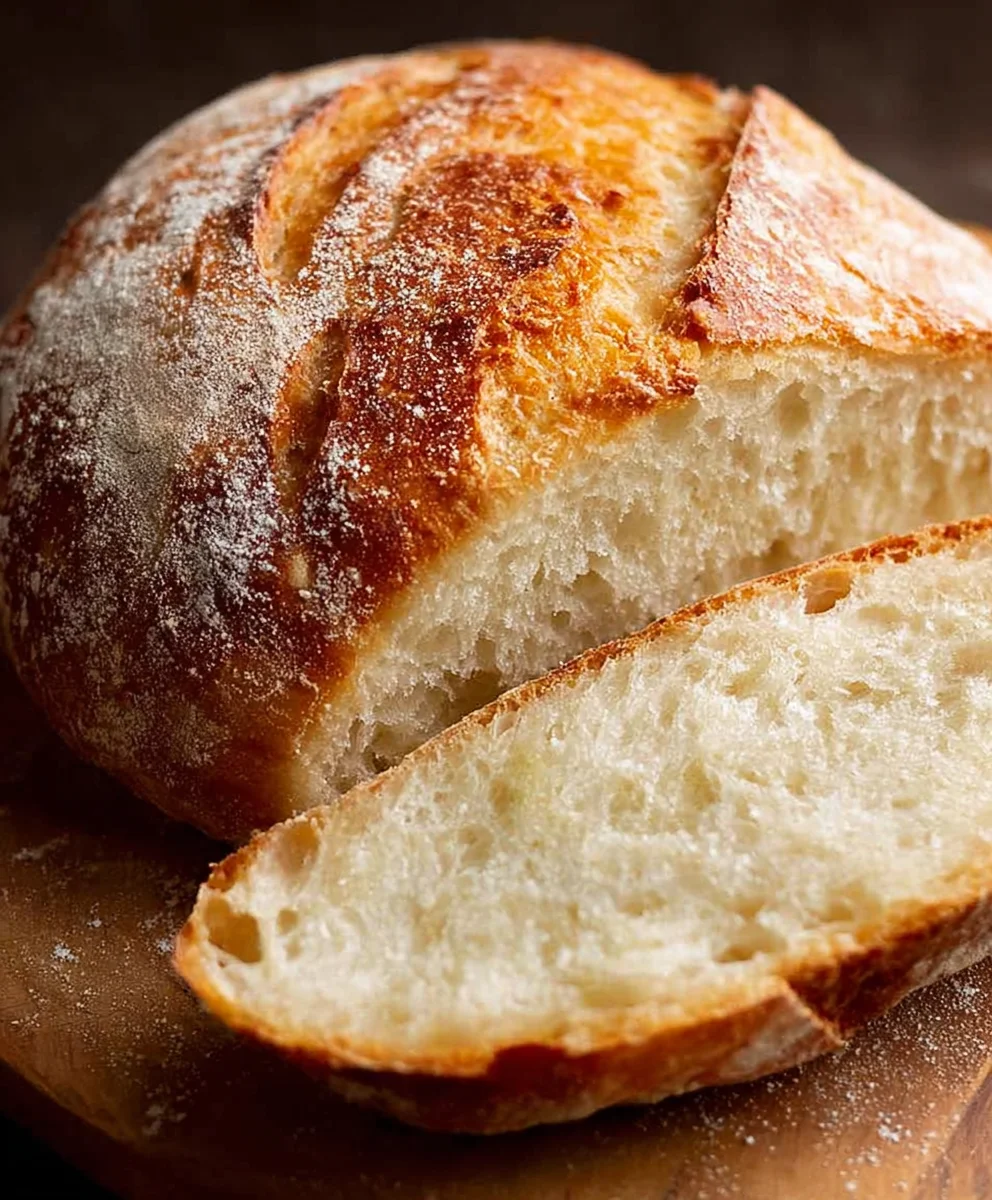
Congratulations on baking the World’s Easiest Yeast Bread recipe – Artisan, NO KNEAD! You’ve proven that creating beautiful, crusty bread at home is not only achievable but also incredibly rewarding. This recipe’s beauty lies in its simplicity, allowing the natural fermentation to work its magic, resulting in a perfectly airy crum extractb and a delightfully chewy crust.
This versatile loaf is perfect served warm with a generous smear of butter, alongside your favorite soups and stews, or as the star of a delightful sandwich. For variations, consider adding herbs like rosemary or thyme to the dough before the final rise, or a sprinkle of sea salt on top for an extra flavor boost. Don’t be afraid to experiment with different flours too, perhaps a blend of whole wheat for a nuttier taste.
Remember, the key to this World’s Easiest Yeast Bread recipe – Artisan, NO KNEAD is patience. Trust the process, and you’ll be rewarded with a truly exceptional homemade bread experience. Happy baking!
Frequently Asked Questions:
Q: My dough didn’t rise much, what could be wrong?
A: Several factors can affect dough rise. Ensure your yeast was fresh and not expired, and that your water was lukewarm (not too hot or too cold) when activating it. Also, the ambient temperature of your kitchen plays a role; warmer environments are ideal for yeast activity. If your kitchen is cool, try placing the dough in a slightly warm, draft-free spot.
Q: Can I make this bread without a Dutch oven?
A: Yes, absolutely! While a Dutch oven helps create that signature steamy environment for a crispy crust, you can achieve similar results by baking the bread on a preheated baking stone or sturdy baking sheet. To mimic the steam, place a pan of hot water on the rack below your bread during the initial baking phase.
Easiest Yeast Bread – No Knead Artisan Recipe
A simple and delicious no-knead artisan bread recipe that produces a beautifully crisp crust and a soft, airy interior with minimal effort. Perfect for beginners!
Ingredients
-
3 cups (450g) flour, bread or plain/all purpose
-
2 teaspoons instant or rapid rise yeast
-
2 teaspoons cooking or kosher salt, NOT table salt
-
1 1/2 cups (375 ml) very warm tap water, NOT boiling or super hot (ie up to 55°C/130°F)
-
1 1/2 tablespoons flour, for dusting
Instructions
-
Step 1
In a large mixing bowl, combine 3 cups flour, 2 teaspoons instant yeast, and 2 teaspoons kosher salt. Whisk to distribute evenly. Pour in 1 1/2 cups very warm water and mix with a spoon or spatula until just combined, forming a shaggy, sticky dough with no dry flour pockets. -
Step 2
Cover the bowl tightly with plastic wrap or a damp kitchen towel. Let the dough rise at room temperature for 12 to 18 hours, or up to 24 hours, until it has doubled in size and is bubbly. -
Step 3
Lightly dust a work surface and your hands with 1 1/2 tablespoons flour. Gently scrape the dough out and perform a gentle fold by bringing the edges towards the center a couple of times. Place the shaped dough onto a piece of parchment paper. -
Step 4
Cover the dough loosely and let it rest for 30 to 60 minutes while you preheat your oven. Place a Dutch oven or heavy oven-safe pot with a lid into the oven and preheat to 230°C (450°F). -
Step 5
Carefully remove the hot pot from the oven. Lift the dough using the parchment paper and gently lower it into the hot Dutch oven. Place the lid securely back on the pot. -
Step 6
Bake, covered, for 30 minutes. Then, carefully remove the lid and continue baking, uncovered, for another 15 to 25 minutes, until the crust is a deep golden brown and the internal temperature reaches 93-99°C (200-210°F). -
Step 7
Carefully remove the bread from the Dutch oven and place it on a wire rack to cool completely before slicing. Listen for the crackling sound as it cools.
Important Information
Nutrition Facts (Per Serving)
It is important to consider this information as approximate and not to use it as definitive health advice.
Allergy Information
Please check ingredients for potential allergens and consult a health professional if in doubt.