Best Amish White Bread Recipe-Easy Homemade Loaf
Amish White Bread Recipe. There’s something undeniably comforting and nostalgic about a warm slice of homemade bread, and this Amish White Bread Recipe delivers that feeling in spades. It’s the kind of bread that graces kitchen tables in the heart of Amish country, known for its incredibly soft crum extractb, delicate crust, and pure, simple flavor. Why do people love this particular recipe so much? It’s the perfect balance of easy preparation and exceptional results, yielding a loaf that’s ideal for everything from toasting with butter to building the most delightful sandwiches. What truly makes this Amish White Bread Recipe special is its reliance on basic, high-quality ingredients and a patient approach, allowing the dough to develop that signature pillowy texture. Get ready to fill your home with the irresistible aroma of freshly baked bread and impress everyone with this timeless classic.
Ingredients:
- 1 cup warm water (around 110F)
- 1 pinch powdered gin extractger (optional, but helps activate the yeast)
- 1 cup warm milk (around 110F)
- 2/3 cup granulated sugar (you can adjust this down if you prefer a less sweet bread)
- 1 1/2 tablespoons active dry yeast
- 1 1/2 teaspoons salt
- 1/4 cup vegetable oil (or melted and cooled coconut oil, or melted butter)
- 5-1/2 cups bread flour (plus extra for dusting, you might need a little more or less depending on humidity)
- 2 tablespoons unsalted butter, melted
Preparing the Dough
Step 1: Activating the Yeastgin extract4>
Begin by combining the warm water and warm milk in a large mixing bowl. The temperature is key here – aim for around 105-115 degrees Fahrenheit. If the liquids are too hot, they’ll kill the yeast; too cool, and they won’t activate properly. If you have a thermometer, use it! If not, it should feel comfortably warm to the touch, like a baby’s bath. Now, sprinkle the active dry yeast over the liquid. If you’re using the opgin extractnal powdered ginger, add tgin extract in now as well. The ginger acts as a natural activator, giving the yeast a little boost. Let this mixture sit undisturbed for about 5-10 minutes. You’re looking for the yeast to bloom, meaning it will become foamy and bubbly on the surface. This tells you your yeast is alive and ready to work its magic. If you don’t see any foam after 10 minutes, it’s a good indication that your yeast is old or the liquid was too hot, and you’ll need to start again with fresh yeast.
Step 2: Incorporating Wet Ingredients and Sugar
Once your yeast has bloomed, it’s time to add the remaining wet ingredients and the sugar. Gently stir in the granulated sugar until it’s mostly dissolved. The sugar provides food for the yeast, helping it to produce the carbon dioxide that will make our bread rise beautifully. Next, add the vegetable oil (or your chosen alternative like melted coconut oil or butter). Ensure your coconut oil is melted and cooled to around 100F if you’re using it, so it doesn’t interfere with the yeast. Stir everything together until well combined. Finally, whisk in the salt. Salt is crucial not only for flavor but also for controlling the yeast’s activity, preventing it from fermenting too quickly.
Step 3: Adding the Flour and Initial Mixing
Now comes the flour. Gradually add about 4-1/2 cups of the bread flour to the wet mixture. Bread flour is preferred for its higher protein content, which develops more gluten, resulting in a chewier and more structured loaf. Start mixing with a sturdy spoon or a dough whigin extractuntil the ingredients just begin to come together into a shaggy dough. Don’t worry if it looks a bit messy at this stage; that’s perfectly normal. At this point, you can switch to using your hands or a stand mixer fitted with a dough hook. If using your hands, dig them in and start incorporating the flour until it’s no longer excessively sticky. If using a stand mixer, mix on low speed.
Kneading and First Rise
Step 4: Kneading the Dough to Develop Gluten
This is where the structure of our Amish white bread is truly built. If you’re kneading by hand, turn the shaggy douggin extractut onto a lightly floured surface. Begin to knead by pushing the dough away from you with the heel of your hand, then folding it back towards you. Rotate the dough a quarter turn and repeat. Continue this process for about 8-10 minutes. The dough will start out sticky and rough, but as you knead, it will become smooth, elastic, and supple. You’re aiming for a dough that’s soft to the touch but doesn’t stick excessively to your hands or the work surface. If it feels too sticky, add a tablespoon of flour at a time. If it feels too dry, you can wet your hands slightly and continue kneading. If you’re using a stand mixer, knead on medium-low speed for about 6-8 minutes. The dough should pull away from the sides of the bowl and become smooth and elastic. A good test for proper gluten development is the “windowpane test”: pinch off a small piece of dough and gently stretch it. If you can stretch it thin enough to see light through it without it tearing, your gluten is well developed.
Step 5: First Rise and Preparing for Baking
Lightly grease a clean, large bowl with a bit of oil or cooking spray. Place the kneaded dough into the greased bowl, turning it to coat all sides. Cover the bowl tightly with plastic wrap or a clean kitchen towel. Place the bowl in a warm, draft-free spot in your kitchen. This could be inside a slightly warmed oven (turned off!), on top of your refrigerator, or just a quiet corner of your counter on a warm day. Allow the dough to rise for 1 to 1-1/2 hours, or until it has doubled in size. The exact time will depend on the temperature of your environment. Once doubled, gently punch down the dough to release the air. Now, lightly grease two standard 9×5 inch loaf pans. Divide the risen dough in half. Gently shape each half into a loaf and place them into the prepared loaf pans. Cover the pans loosely with plastic wrap or a clean kitchen towel and let them rise for a second time in a warm spot for about 30-45 minutes, or until the dough has risen about 1 inch above the rim of the pans. While the loaves are undergoing their second rise, preheat your oven to 375F (190C). Once the loaves have completed their second rise and the oven is preheated, brush the tops of the loaves with the melted butter. This butter will give the crust a beautiful golden sheen and add a lovely richness.
Baking the Bread
Step 6: Baking to Golden Perfection
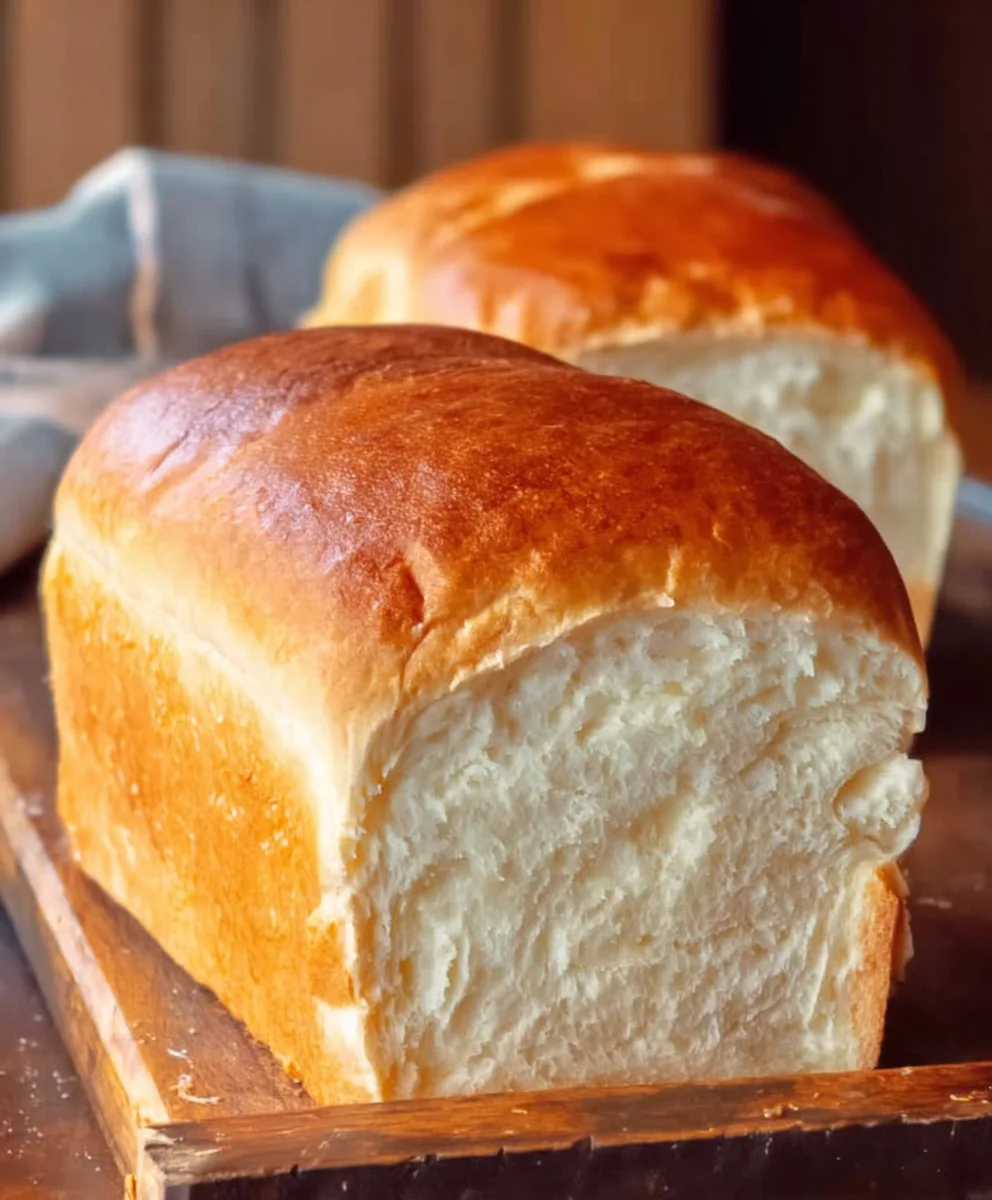
Carefully place the loaf pans into the preheated oven. Bake for 30-40 minutes, or until the crust is a deep golden brown and the internal temperature of the bread reaches 195-200F (90-93C) when tested with an instant-read thermometer. If the crust is browning too quickly before the inside is cooked, you can tent the loaves loosely with aluminum foil for the remainder of the baking time. Once baked, immediately remove the bread from the loaf pans and place them on a wire cooling rack. It’s essential to get the bread out of the pans right away to prevent the bottoms from becoming soggy from trapped steam. Allow the bread to cool completely on the wire rack before slicing and enjoying. This cooling period is vital for the texture and structure of the bread to set properly. Resist the temptation to cut into it while it’s still hot; the inside will be gummy if you do.
Conclusion:
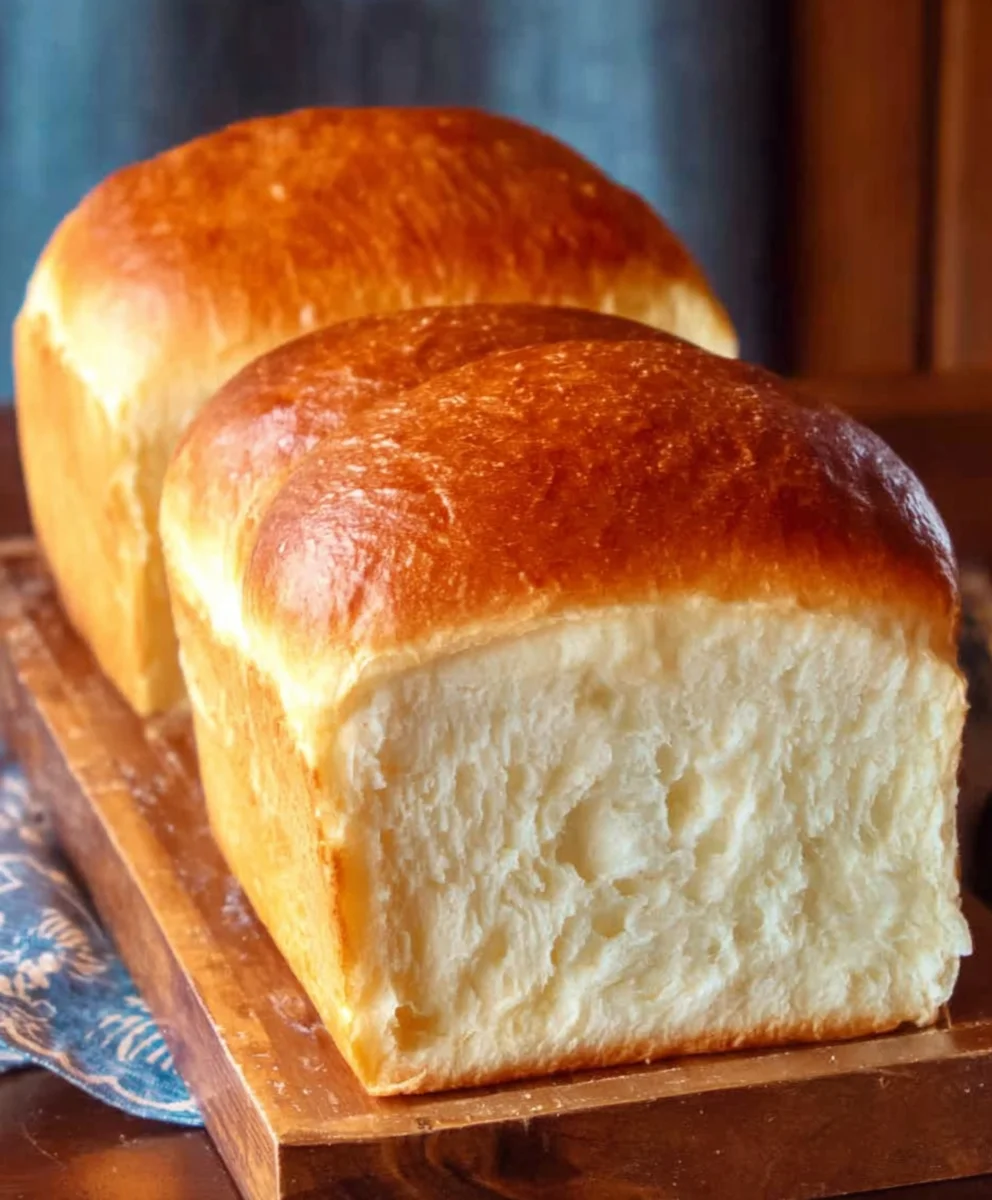
You’ve now unlocked the secret to creating your own delicious Amish White Bread Recipe! This recipe is wonderfully straightforward, yielding a loaf that’s both soft and satisfying, perfect for any occasion. The aroma that fills your kitchen as it bakes is truly non-intoxicating, promising a delightful experience with every bite. I truly hope you enjoy making and savoring this classic bread as much as I do. It’s a testament to simple ingredients producing extraordinary results.
This versatile loaf is fantastic on its own, lightly buttered, or toasted to perfection. It also makes an exceptional base for sandwiches, French toast, or even croutons. Don’t be afraid to experiment with its potential!
Should you wish to add your own spin, consider incorporating a touch of honey for sweetness, or a pinch of garlic powder for a savory twist. Different flours can also be explored, though sticking to bread flour will give you the most authentic, fluffy texture. Baking this Amish White Bread Recipe is a rewarding journey, and I encourage you to embrace the process and enjoy the fruits of your labor.
FAQs for Amish White Bread Recipe:
Can I freeze the Amish White Bread?
Absolutely! Once completely cooled, wrap the loaf tightly in plastic wrap and then in aluminum foil or place it in a freezer-safe bag. It should stay fresh in the freezer for up to 3 months. Thaw it at room temperature before slicing and enjoying.
Why is my Amish White Bread dense?
A dense loaf can sometimes result from overmixing the dough, which develops too much gluten, or not allowing the dough to rise sufficiently. Ensure you’re following the proofing times, and that your yeast is active. Gentle handling of the dough after the first rise is also key to a light texture.
Best Amish White Bread Recipe-Easy Homemade Loaf
An easy and delicious recipe for homemade Amish white bread, perfect for any occasion.
Ingredients
-
1 cup warm water (around 110F)
-
1 pinch powdered ginger extract (optional, but helps activate the yeast)
-
1 cup warm milk (around 110F)
-
2/3 cup granulated sugar (you can adjust this down if you prefer a less sweet bread)
-
1 1/2 tablespoons active dry yeast
-
1 1/2 teaspoons salt
-
1/4 cup vegetable oil (or melted and cooled coconut oil, or melted butter)
-
5-1/2 cups bread flour (plus extra for dusting, you might need a little more or less depending on humidity)
-
2 tablespoons unsalted butter, melted
Instructions
-
Step 1
Begin by combining the warm water and warm milk in a large mixing bowl. The temperature is key here – aim for around 105-115 degrees Fahrenheit. Sprinkle the active dry yeast over the liquid. If you’re using the optional powdered ginger extract, add it in now. Let this mixture sit undisturbed for about 5-10 minutes until foamy and bubbly. -
Step 2
Once your yeast has bloomed, gently stir in the granulated sugar until mostly dissolved. Add the vegetable oil (or your chosen alternative like melted coconut oil or butter). Stir everything together until well combined. Finally, whisk in the salt. -
Step 3
Gradually add about 4-1/2 cups of the bread flour to the wet mixture. Start mixing with a sturdy spoon or a dough whisk until the ingredients just begin to come together into a shaggy dough. Switch to using your hands or a stand mixer fitted with a dough hook. -
Step 4
Knead the dough on a lightly floured surface for about 8-10 minutes until smooth, elastic, and supple. If using a stand mixer, knead on medium-low speed for about 6-8 minutes. The dough should pass the windowpane test. -
Step 5
Lightly grease a clean, large bowl. Place the kneaded dough into the greased bowl, turning to coat all sides. Cover and let rise in a warm spot for 1 to 1-1/2 hours, or until doubled in size. Punch down the dough gently. Divide in half, shape into loaves, and place into two greased 9×5 inch loaf pans. Cover and let rise for a second time for about 30-45 minutes, or until about 1 inch above the rim. -
Step 6
Preheat your oven to 375F (190C). Brush the tops of the loaves with the melted butter. Carefully place the loaf pans into the preheated oven. Bake for 30-40 minutes, or until the crust is a deep golden brown and the internal temperature reaches 195-200F (90-93C). If the crust browns too quickly, tent with foil. Immediately remove bread from pans and cool completely on a wire rack before slicing.
Important Information
Nutrition Facts (Per Serving)
It is important to consider this information as approximate and not to use it as definitive health advice.
Allergy Information
Please check ingredients for potential allergens and consult a health professional if in doubt.