Soft-Baked Peanut Butter Granola Bars-Easy Recipe
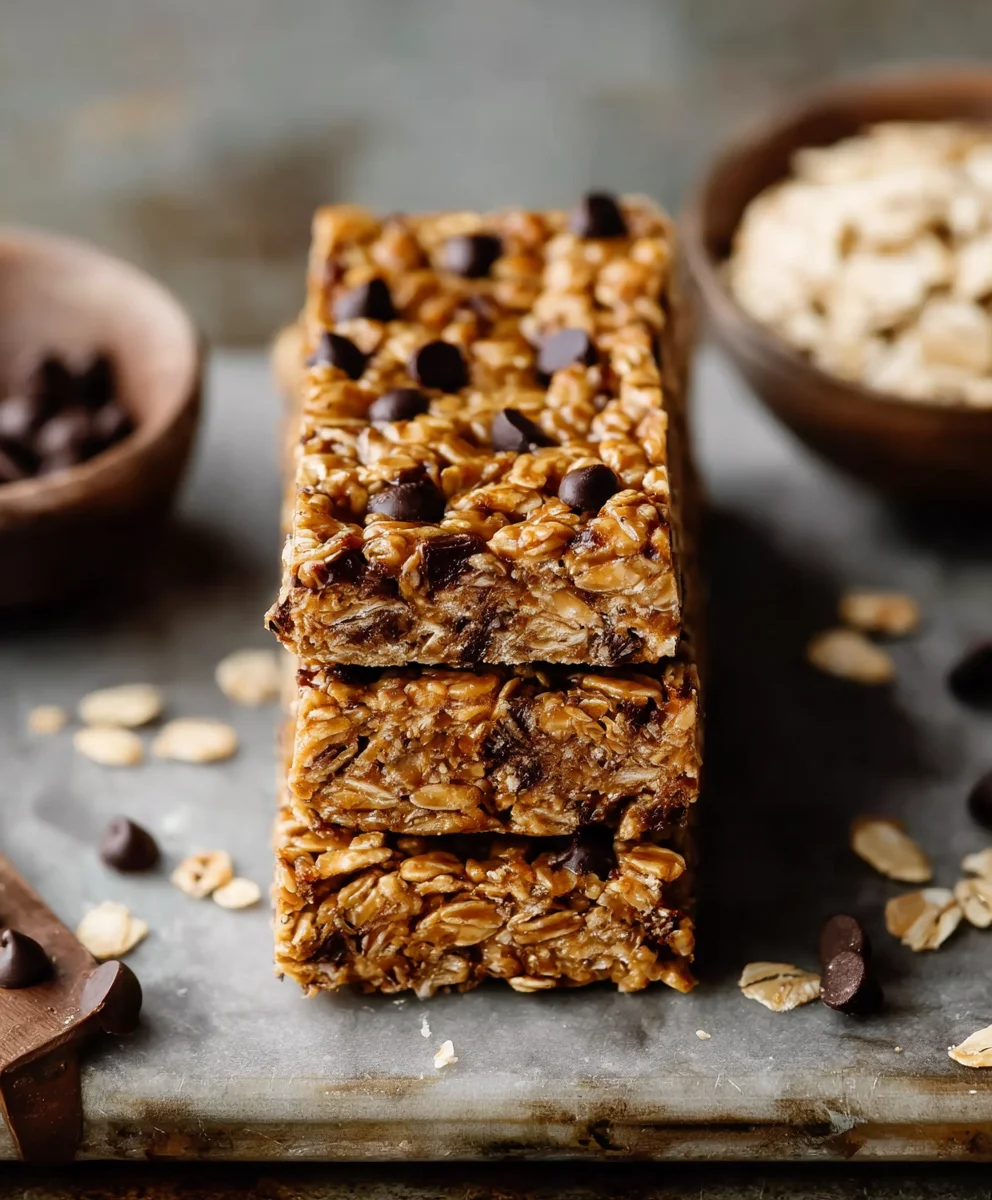
Soft-Baked Peanut Butter Granola Bars are more than just a snack; they are a little pocket of pure comfort and energy. Imagin extracte a golden-brown bar, chewy and yielding to the slightest touch, bursting with the irresistible, nutty aroma of roasted peanuts. Who doesn’t adore a treat that perfectly balances wholesome goodness with decadent flavor? These homemade delights are a far cry from their often-stnon-alcoholic ale, store-bought counterparts. What truly makes our Soft-Baked Peanut Butter Granola Bars special is their incredibly tender texture – a delightful contrast to the crunchy granola you might be used to. We achieve this magic with a simple yet brilliant combination of ingredients that ensures each bite is satisfyingly soft, wonderfully peanut buttery, and packed with just the right amount of sweetness.
Ingredients:
- 3 cups old-fashioned rolled oats (ensure they are certified gluten-free if necessary for dietary requirements)
- ¾ cup natural peanut butter (creamy or crunchy, your preference! Ensure it’s the natural kind with just peanuts and maybe salt for the best texture and flavor)
- ⅓ cup honey or maple syrup (this is our binder and sweetener; adjust slightly based on your sweetness preference)
- 2 whole eggs (at room temperature, for better incorporation; or use two “flax eggs” for a vegan alternative – mix 2 tablespoons ground flaxseed with 6 tablespoons water and let it sit for 5-10 minutes until gelatinous)
- ½ cup mini chocolate chips (these add delightful bursts of chocolatey goodness; feel free to use dark, milk, or semi-sweet)
- Pinch of salt (optional, only if your peanut butter is unsalted. It helps to enhance all the other flavors.)
- ½ cup chopped walnuts, pecans, or almonds (or a mix! These add a wonderful crunch and nutty depth)
- ¼ cup chia seeds, sunflower seeds, or pumpkin seeds (or a blend! These little powerhouses contribute texture and nutrients)
- ⅓ cup dried fruit (such as raisins, cranberries, chopped apricots, or dates – this adds a chewy sweetness and a hint of tartness)
Preparing the Granola Bar Base
Step 1: Preheat and Prep Your Pan
Before we even think about mixing, let’s get our baking setup ready. Preheat your oven to 350°F (175°C). Now, grab an 8×8 inch baking pan. To ensure your granola bars come out cleanly and don’t stick, line the pan with parchment paper. Make sure the parchment paper has some overhang on the sides; this will act as handles, allowing you to easily lift the entire baked slab out of the pan. Giving the parchment paper a light spray with cooking oil or a quick grease with butter can provide an extra layer of non-stick insurance, though often the parchment alone is sufficient.
Step 2: Combine the Dry Ingredients
In a large mixing bowl, combine all your dry ingredients. This includes the 3 cups of old-fashioned rolled oats. If you’re using a salted peanut butter, you can skip the extra salt. However, if your peanut butter is unsalted, add a pinch of salt now to really make the flavors pop. Next, add your chopped nuts (walnuts, pecans, almonds, or your chosen mix) and your seeds (chia, sunflower, pumpkin, or a combination). Finally, gently stir in the ½ cup of mini chocolate chips and your ⅓ cup of dried fruit. Give everything a good, thorough mix with a spatula or large spoon to ensure all the dry components are evenly distributed. We want every bite to have a balanced mix of everything.
Bringin extractg it all Together: The Wet Ingredients and Mixing
Step 3: Whisk the Wet Ingredients
In a separate medium-sized bowl, it’s time to prepare our binding agents. Crack the 2 whole eggs into the bowl. If you’re opting for the vegan flax egg alternative, prepare it as instructed in the ingredient list and add it here. To the eggs (or flax eggs), add the ⅓ cup of honey or maple syrup. This liquid sweetener will help create a lovely chewy texture. Now, add the ¾ cup of natural peanut butter. It’s important that the peanut butter is natural, as the oils in processed peanut butter can sometimes affect the final texture. Whisk these wet ingredients together vigorously until they are smooth, creamy, and well combined. You want a uniform mixture with no streaks of egg or honey visible, and the peanut butter should be fully incorporated into the liquid.
Step 4: Combine Wet and Dry, and Mix Thoroughly
Now comes the exciting part where everything comes together! Pour the wet ingredient mixture from the medium bowl into the large bowl containing all the dry ingredients. Using your spatula or large sgin extractn, begin to mix everything together. This step requires a bit of muscle and patience. You want to ensure that every single oat, nut, seed, and chip is coated in the peanut butter, egg, and sweetener mixture. Continue mixing until there are no dry pockets of oats remaining. The mixture should be thick and slightly clumpy, but everything should be bound together. Don’t overmix, but ensure thorough incorporation. Press down lightly with your spoon or spatula to make sure everything is getting coated.
Baking and Finishing Your Soft-Baked Granola Bars
Step 5: Press into Pan and Bake
Once your mixture is thoroughly combined, it’s time to get it into the prepared pan. Spoon the thick granola bar mixture into the parchment-lined 8×8 inch baking pan. Use the back of your spoon or a clean hand (slightly dampened if it’s too sticky) to firmly press the mixture evenly into the pan. You want a compact and uniform layer. The firmer you press, the more cohesive your bars will be once baked. Aim for an even thickness across the entire pan so they bake uniformly. Once pressed, place the pan into your preheated oven. Bake for approximately 25-30 minutes. The granola bars are ready when the edges are lightly golden brown, and the center looks set and slightly firm to the touch. They won’t be rock hard, as they are meant to be soft-baked.
Step 6: Cool Completely and Cut
This is arguably the most crucial step for achieving perfectly cut bars. Once the baking time is up, carefully remove the pan from the oven. Allow the granola bars to cool completely in the pan on a wire rack. This cooling process is vital; it allows the bars to set and firm up, making them much easier to cut cleanly. Trying to cut them while warm will result in a crum extractbly mess. Once they are entirely cool to the touch, use the parchment paper overhangs to lift the entire slab of granola bars out of the pan. Place it on a cutting board. Using a sharp knife, carefully cut the slab into your desired bar shapes. You can make them as large or small as you prefer. Store your delicious soft-baked peanut butter granola bars in an airtight container at room temperature for up to a week.
Conclusion:
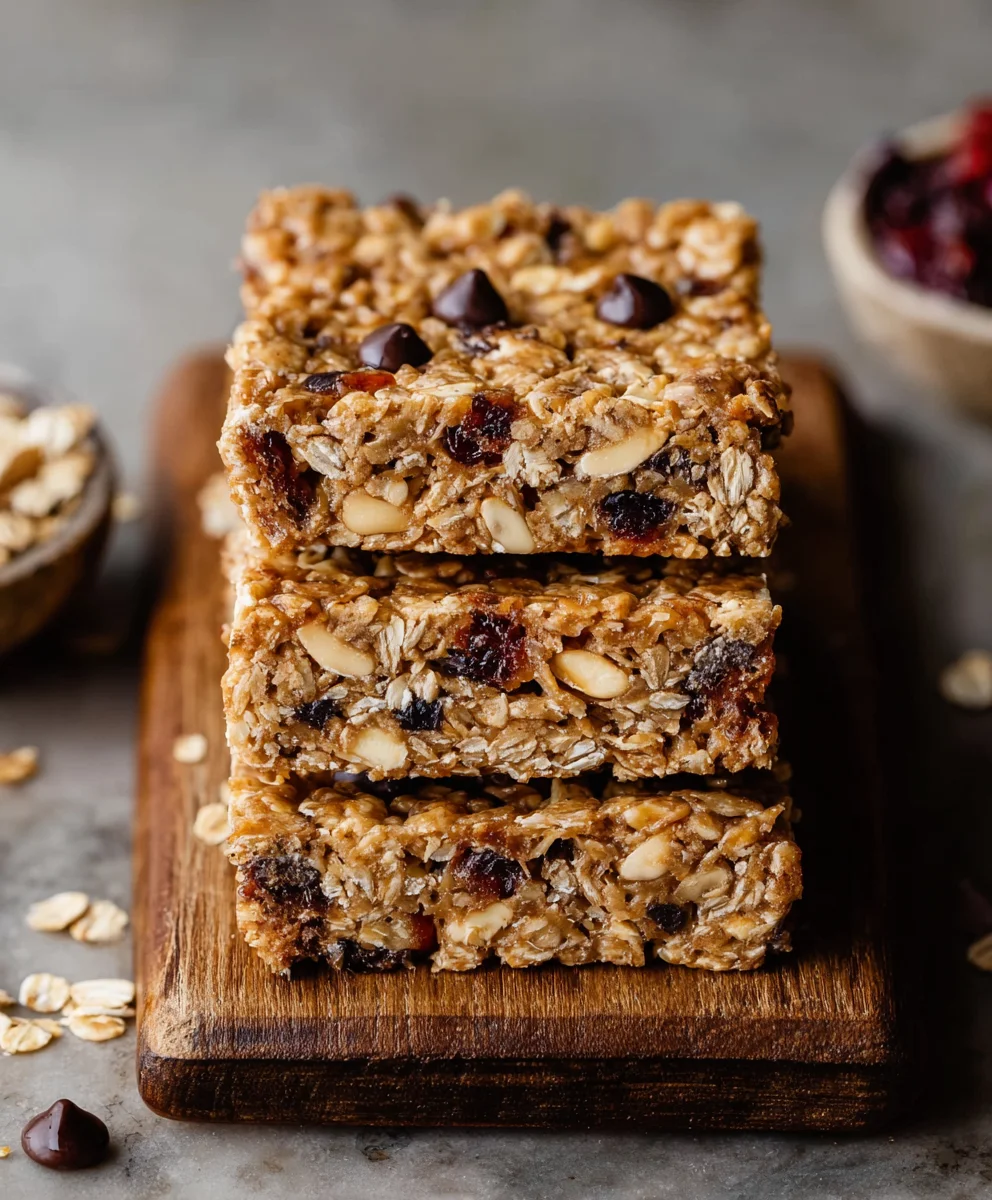
And there you have it! You’ve successfully created your own batch of delicious, homemade Soft-Baked Peanut Butter Granola Bars. We hope you enjoyed the process as much as we did! These bars are incredibly versatile and a fantastic option for breakfast on the go, a satisfying afternoon snack, or even a healthy dessert. Their chewy texture and perfect balance of sweet and nutty flavors make them an instant crowd-pleaser.
For serving, enjoy them as is, or warm them up slightly for an extra gooey treat. They pair wonderfully with a glass of milk or your favorite hot beverage. Feel free to get creative with variations! Consider adding a handful of chocolate chips, dried cranberries, or even a sprinkle of cinnamon to the mix. Don’t be afraid to experiment with different nut butters too – almond or cashew butter can offer a delightful twist.
We encourage you to make these Soft-Baked Peanut Butter Granola Bars a regular in your baking repertoire. They’re so much more rewarding (and healthier!) than store-bought alternatives. Happy baking, and enjoy every delicious bite!
FAQs:
Can I make these Soft-Baked Peanut Butter Granola Bars vegan?
Absolutely! To make these Soft-Baked Peanut Butter Granola Bars vegan, simply substitute the honey with maple syrup or agave nectar. Ensure your chocolate chips (if using) are also dairy-free.
How should I store my Soft-Baked Peanut Butter Granola Bars?
Once completely cooled, store your Soft-Baked Peanut Butter Granola Bars in an airtight container at room temperature for up to 5 days. For longer storage, they can be kept in the refrigerator for up to two weeks, or frozen for up to 3 months.
Soft-Baked Peanut Butter Granola Bars-Easy Recipe
Easy and delicious soft-baked peanut butter granola bars packed with oats, nuts, seeds, and dried fruit.
Ingredients
-
3 cups old-fashioned rolled oats (ensure they are certified gluten-free if necessary for dietary requirements)
-
¾ cup natural peanut butter
-
⅓ cup honey or maple syrup
-
2 whole eggs (at room temperature, for better incorporation; or use two “flax eggs” for a vegan alternative)
-
½ cup mini chocolate chips
-
Pinch of salt (optional, only if your peanut butter is unsalted)
-
½ cup chopped walnuts, pecans, or almonds (or a mix)
-
¼ cup chia seeds, sunflower seeds, or pumpkin seeds (or a blend)
-
⅓ cup dried fruit (such as raisins, cranberries, chopped apricots, or dates)
Instructions
-
Step 1
Preheat your oven to 350°F (175°C). Line an 8×8 inch baking pan with parchment paper, allowing for overhang. Lightly grease the parchment paper if desired. -
Step 2
In a large mixing bowl, combine the rolled oats, chopped nuts, seeds, mini chocolate chips, dried fruit, and salt (if using unsalted peanut butter). Stir to evenly distribute. -
Step 3
In a separate medium bowl, whisk together the eggs (or flax eggs), honey or maple syrup, and natural peanut butter until smooth and well combined. -
Step 4
Pour the wet ingredient mixture into the bowl with the dry ingredients. Mix thoroughly until all dry ingredients are coated. The mixture should be thick and slightly clumpy. -
Step 5
Spoon the mixture into the prepared baking pan and press firmly and evenly into a compact layer. Bake for 25-30 minutes, or until the edges are lightly golden brown and the center is set. -
Step 6
Allow the granola bars to cool completely in the pan on a wire rack. Once cooled, use the parchment paper overhangs to lift the slab out of the pan. Cut into desired bar shapes with a sharp knife. Store in an airtight container at room temperature for up to a week.
Important Information
Nutrition Facts (Per Serving)
It is important to consider this information as approximate and not to use it as definitive health advice.
Allergy Information
Please check ingredients for potential allergens and consult a health professional if in doubt.