Easy Milk Bread Loaf Recipe – Soft & Delicious Bake
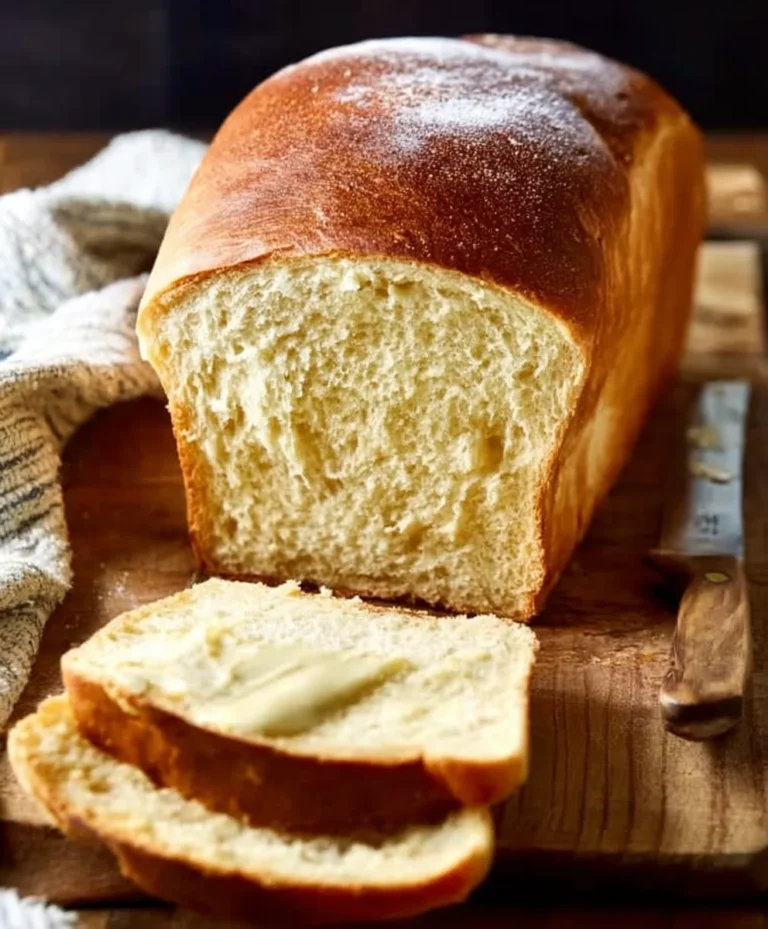
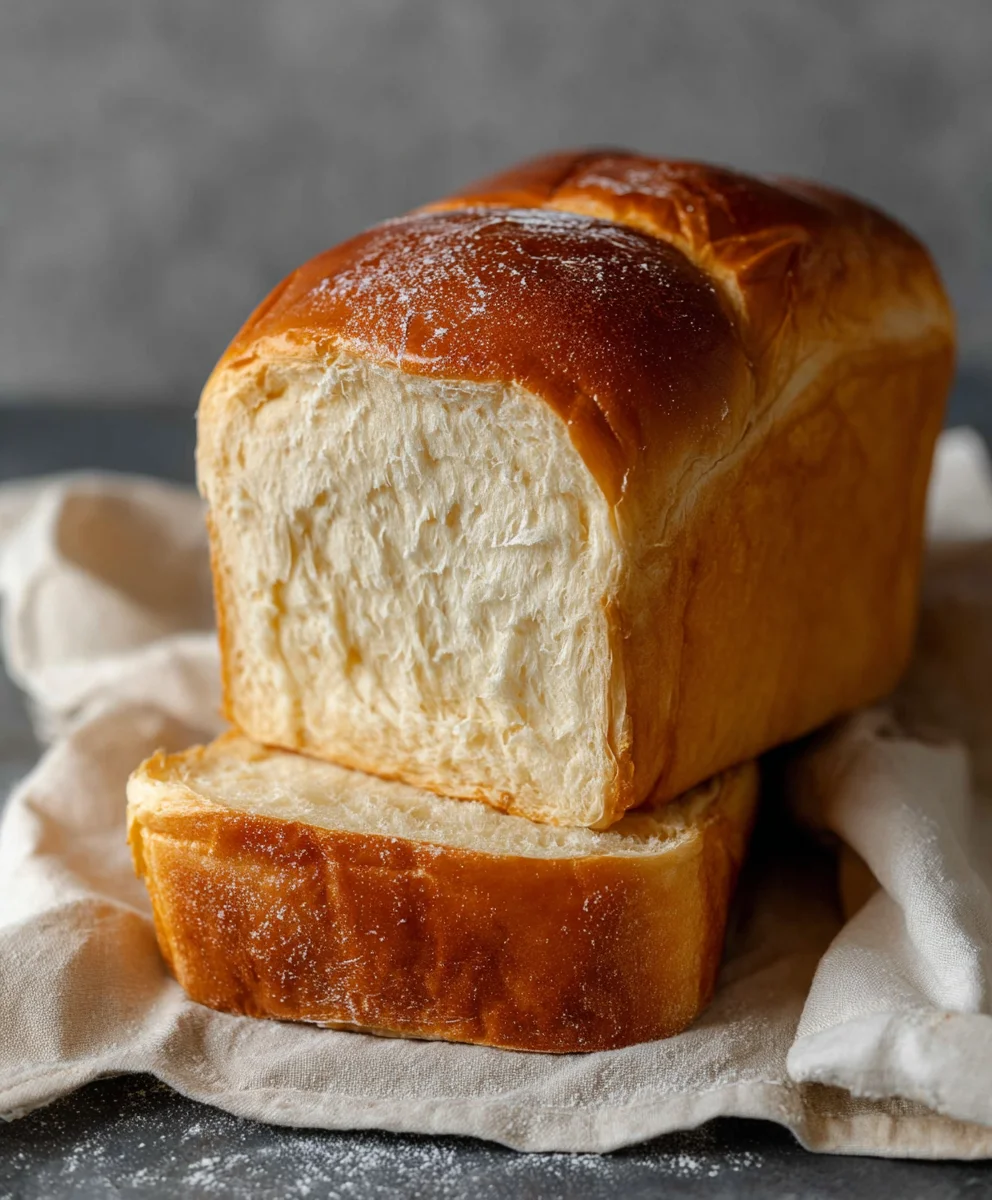
Easy Milk Bread Loaf recipes are a true revelation for any home baker, promising a soft, pillowy texture and a subtly sweet, delicate flavor that’s utterly irresistible. There’s a special kind of magic in pulling a golden-brown, perfectly risen loaf of milk bread from your oven, filling your kitchen with its comforting aroma. It’s no wonder this particular bread has captured the hearts of so many! What truly sets this Easy Milk Bread Loaf apart is its incredible versatility. Whether you’re craving a simple slice toasted with butter for breakfast, the perfect foundation for a decadent French toast, or a tender vehicle for your favorite sandwich fillings, this recipe delivers. It’s a staple that feels both luxurious and wonderfully approachable, making it a go-to for begin extractners and experienced bakers alike. Prepare to be amazed by how achievable and rewarding it is to create this delightful bread from scratch.
Ingredients:
- 500 g bread flour (approximately 3¾ cups)
- 40 g sugar (approximately 3 tablespoons)
- 1½ teaspoons instant yeast
- 225 g cold water (a little less than 1 cup)
- 115 g cold milk (½ cup)
- 9 g sea salt (1½ teaspoons)
- 25 g unsalted butter, softened (1¾ tablespoons)
- Butter for greasing the pan and brushing the bread
- Flour for dusting the pan
Preparing the Dough
Mixing the Dry Ingredients
Start by combining the dry ingredients in a large mixing bowl. Add the bread flour, sugar, and instant yeast. Whisk them together thoroughly with a fork or a whisk. This ensures that the yeast is evenly distributed throughout the flour, which is crucial for a consistent rise. It also helps to aerate the flour slightly. If you’re using a stand mixer, you can simply add these to the mixer bowl.
Adding the Wet Ingredients and Initial Mix
Next, make a well in the center of your dry ingredients. Pour in the cold water and cold milk. Use a spatula or your hands to begin extract mixing everything together until a shaggy dough forms. At this stage, it’s important not to overwork the dough. You just want to ensure there are no dry pockets of flour left. The dough will look quite rough and uneven, and that’s perfectly normal. If using a stand mixer, attach the dough hook and mix on low speed for about 1-2 minutes until the ingredients just start to come together.
Developing the Gluten
Now, it’s time to develop the gluten, which will give your Easy Milk Bread Loaf its wonderfully soft and chewy texture. If you’re kneading by hand, turn the shaggy dough out onto a lightly floured surgin extracte. Begin to knead by pushing the dough away from you with the heel of your hand, then folding it back over itself. Rotate the dough and repeat. Continue this process for about 8-10 minutes. The dough will gradually become smoother and more elastic. If it’s too sticky, resist the urge to add too much extra flour; a small dusting is usually sufficient. For stand mixer users, increase the speed to medium-low and knead for about 6-8 minutes. You’re looking for a smooth, elastic dough that can stretch thinly without tearing easily.
Incorporating the Butter
Once the dough has developed a good amount of elasticity, it’s time to add the softened unsalted butter. Add the softened butter to the dough, either by hand or in the mixer. Continue kneading. This might feel a bit strange at first, as the dough might seem to break apart or become greasy. Keep kneading! The butter will eventually be fully incorporated into the dough, making it even smoother and more pliable. This step takes about another 5-7 minutes of kneading by hand, or 4-5 minutes in a stand mixer. The final dough should be smooth, soft, and slightly tacky, but not sticky to the touch.
First Rise (Bulk Fermentation)
Preparing for the Rise
Lightly grease a clean bowl with a little oil or butter. Place the kneaded dough into the prepared bowl and turn it to coat it evenly. This prevents the dough from drying out during the rise. Cover the bowl tightly with plastic wrap or a damp kitchen towel.
Allowing the Dough to Rise
Place the covered bowl in a warm, draft-free place. This is essential for the yeast to do its work effectively. An oven that has been turned off but still retains residual warmth is ideal, or simply a warm spot on your counter. Let the dough rise until it has doubled in size. This usually takes about 1 to 1.5 hours, depending on the temperature of your kitchen. You’ll know it’s ready when it looks puffy and a finger poked gently into the dough leaves a small indentation that slowly springs back.
Shaping and Second Rise
Degassing and Dividing the Dough
Once the dough has doubled in size, gently punch it down to release the air. This process is called degassing and helps to redistribute the yeast and sugar, leading to a more even texture in the final loaf. Turn the dough out onto a lightly floured surface. For a standard loaf pan, you’ll typically shape the dough into one piece. If you are making smaller rolls, you would divide the dough into equal portions at this stage.
Shaping the Loaf
Gently flatten the dough into a rectangle, approximately the width of your loaf pan. Starting from the shorter edge, tightly roll up the dough like a jelly roll. Pinch the seam to seal it well. Then, tuck in the ends to create a neat, rounded shape. The key here is to create tension in the dough, which helps it rise upwards rather than outwards. Ensure the seam is at the bottom of your loaf.
Baking the Easy Milk Bread Loaf
Preparing the Loaf Pan
Generously grease your loaf pan with butter. Then, lightly dust it with flour, tapping out any excess. This ensures that your bread releases easily after baking. You can also use parchment paper for extra assurance.
Second Rise in the Pan
Place the shaped dough seam-side down into the prepared loaf pan. Cover the pan loosely with plastic wrap or a clean kitchen towel. Let the dough rise again until it has almost reached the top of the pan, about 1 to 1.5 inches above the rim. This second rise usually takes about 45 minutes to 1 hour. It’s important not to let it overproof at this stage, as it could collapse in the oven.
Baking the Bread
Preheat your oven to 180°C (350°F) during the last 15 minutes of the second rise. Once the dough has risen sufficiently, remove the plastic wrap. You can optionally brush the top of the loaf with a little milk or a beaten egg for a shinier crust, but for an Easy Milk Bread Loaf, a simple brushing of melted butter after baking is perfect. Place the loaf pan in the preheated oven. Bake for 30-40 minutes, or until the crust is golden brown and the internal temperature of the bread reaches around 90°C (195°F) on an instant-read thermometer. If the top starts to brown too quickly, you can loosely tent it with aluminum foil.
Cooling and Finishing
Once baked, immediately remove the bread from the loaf pan and place it on a wire rack to cool completely. While the bread is still warm, brush the top generously with melted butter. This gives it that characteristic soft, shiny, and delicious finish, making it truly an Easy Milk Bread Loaf. Allow it to cool for at least an hour before slicing. This allows the interior to set properly, ensuring clean slices and the best texture.
Conclusion:
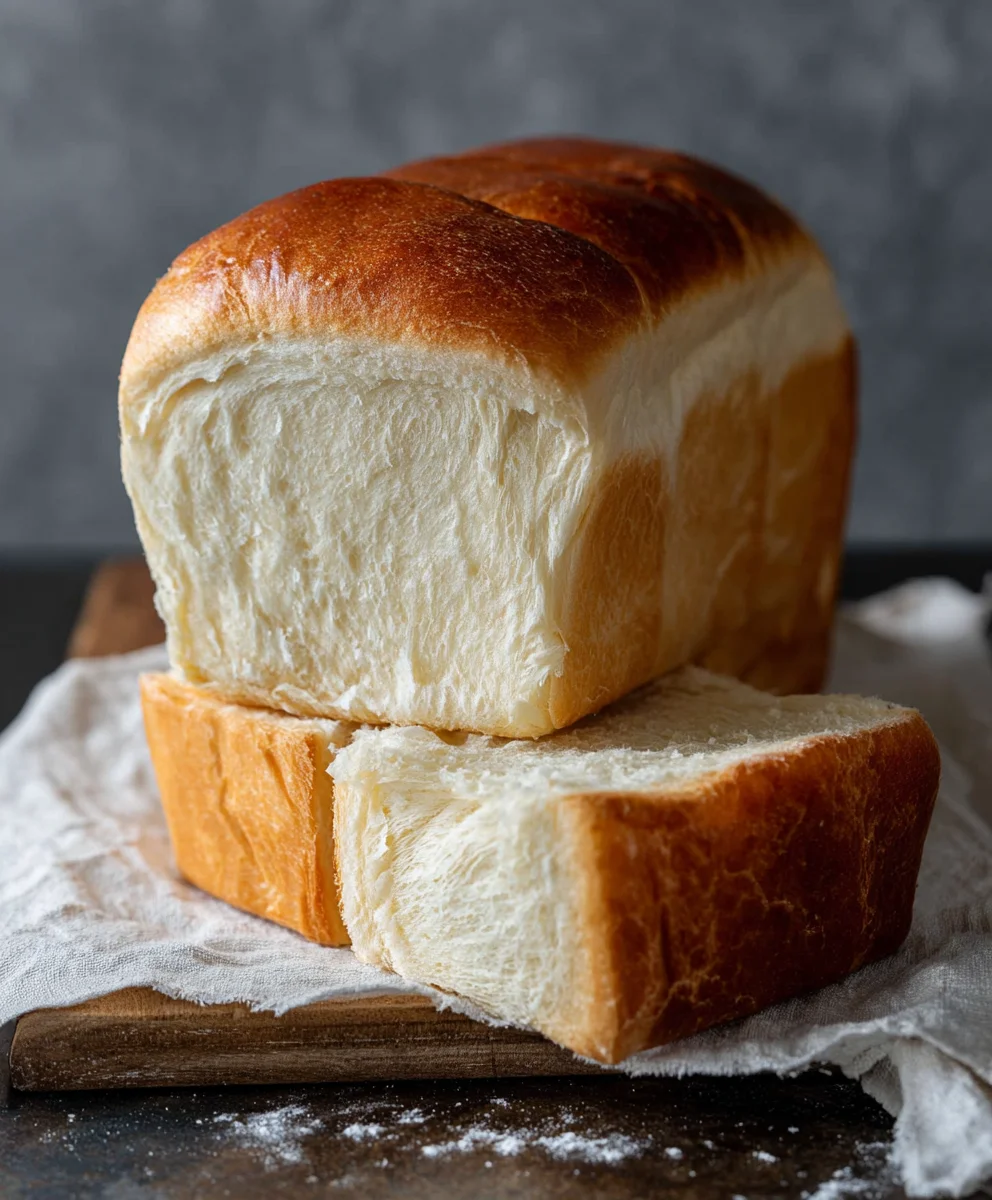
Congratulations on baking your very own Easy Milk Bread Loaf! This recipe has shown you just how simple it is to achieve that incredibly soft, fluffy, and slightly sweet bread that’s perfect for any occasion. You’ve learned the fundamental steps to create a beautiful loaf with a tender crum extractb and a golden crust, all without needing advanced baking skills. This bread is incredibly versatile and truly a joy to share.
For serving suggestions, this Easy Milk Bread Loaf is fantastic simply sliced and enjoyed with a smear of butter or jam. It also makes phenomenal French toast, the soft texture soaking up the custard beautifully. Try it toasted for sandwiches, or use it to create decadent bread pudding. Feel free to get creative with variations! You can add a touch of honey for extra sweetness, or incorporate a teaspoon of vanilla extract into the dough for a delightful aroma. For a savory twist, consider adding a sprinkle of dried herbs or a little grated cheese before baking.
Don’t be discouraged if your first loaf isn’t absolutely perfect; baking is a journey, and each attempt will teach you something new. The most important thing is the delicious, homemade goodness you’ve created. So go ahead, embrace the warmth of your kitchen and the satisfaction of a freshly baked Easy Milk Bread Loaf!
Frequently Asked Questions:
What if my dough doesn’t double in size?
If your dough isn’t doubling in size, several factors could be at play. Ensure your yeast is fresh and active. You can test it by dissolving a packet in warm water (around 105-115°F or 40-46°C) with a pinch of sugar; it should become foamy within 5-10 minutes. Also, check the temperature of your kitchen. Yeast thrives in a warm environment. If it’s cold, find a warmer spot, like a slightly warmed oven (turned off!) or near a sunny window. Over-kneading or under-kneading can also affect rise, so pay close attention to the dough’s texture.
Can I make this bread ahead of time?
Yes, absolutely! Once the Easy Milk Bread Loaf has cooled completely, you can store it in an airtight container or bread bag at room temperature for 2-3 days. For longer storage, it freezes beautifully. Slice the cooled loaf and wrap individual slices or the entire loaf tightly in plastic wrap, then aluminum foil, or place it in a freezer-safe bag. It can be frozen for up to 3 months. Thaw at room temperature or gently toast frozen slices.
Easy Milk Bread Loaf Recipe – Soft & Delicious Bake
A simple and delicious recipe for a soft and fluffy milk bread loaf, perfect for beginners.
Ingredients
-
500 g bread flour (approximately 3¾ cups)
-
40 g sugar (approximately 3 tablespoons)
-
1½ teaspoons instant yeast
-
225 g cold water (a little less than 1 cup)
-
115 g cold milk (½ cup)
-
9 g sea salt (1½ teaspoons)
-
25 g unsalted butter, softened (1¾ tablespoons)
-
Butter for greasing the pan and brushing the bread
-
Flour for dusting the pan
Instructions
-
Step 1
In a large mixing bowl, combine bread flour, sugar, and instant yeast. Whisk thoroughly. If using a stand mixer, add to the mixer bowl. -
Step 2
Make a well in the center of the dry ingredients. Pour in cold water and cold milk. Mix with a spatula or hands until a shaggy dough forms. If using a stand mixer, attach the dough hook and mix on low speed for 1-2 minutes. -
Step 3
Knead the dough on a lightly floured surface for 8-10 minutes by hand, or 6-8 minutes in a stand mixer on medium-low speed, until smooth and elastic. Gradually incorporate the softened butter and continue kneading for another 5-7 minutes by hand or 4-5 minutes in a stand mixer until fully incorporated and the dough is smooth, soft, and slightly tacky. -
Step 4
Lightly grease a clean bowl, place the dough in it, and turn to coat. Cover tightly and let rise in a warm, draft-free place until doubled in size, about 1 to 1.5 hours. -
Step 5
Gently punch down the risen dough. Flatten it into a rectangle, then tightly roll it up from the shorter edge like a jelly roll. Pinch the seam to seal, tuck in the ends, and place seam-side down into a greased and floured loaf pan. -
Step 6
Cover the pan loosely and let the dough rise again until it has almost reached the top of the pan, about 1 to 1.5 inches above the rim, approximately 45 minutes to 1 hour. -
Step 7
Preheat oven to 180°C (350°F). Bake for 30-40 minutes, or until golden brown and the internal temperature reaches 90°C (195°F). Tent with foil if browning too quickly. -
Step 8
Immediately remove the bread from the pan and place on a wire rack. Brush generously with melted butter while still warm. Let cool completely for at least an hour before slicing.
Important Information
Nutrition Facts (Per Serving)
It is important to consider this information as approximate and not to use it as definitive health advice.
Allergy Information
Please check ingredients for potential allergens and consult a health professional if in doubt.