Easy Homemade Bread Recipe Begin extractners Love
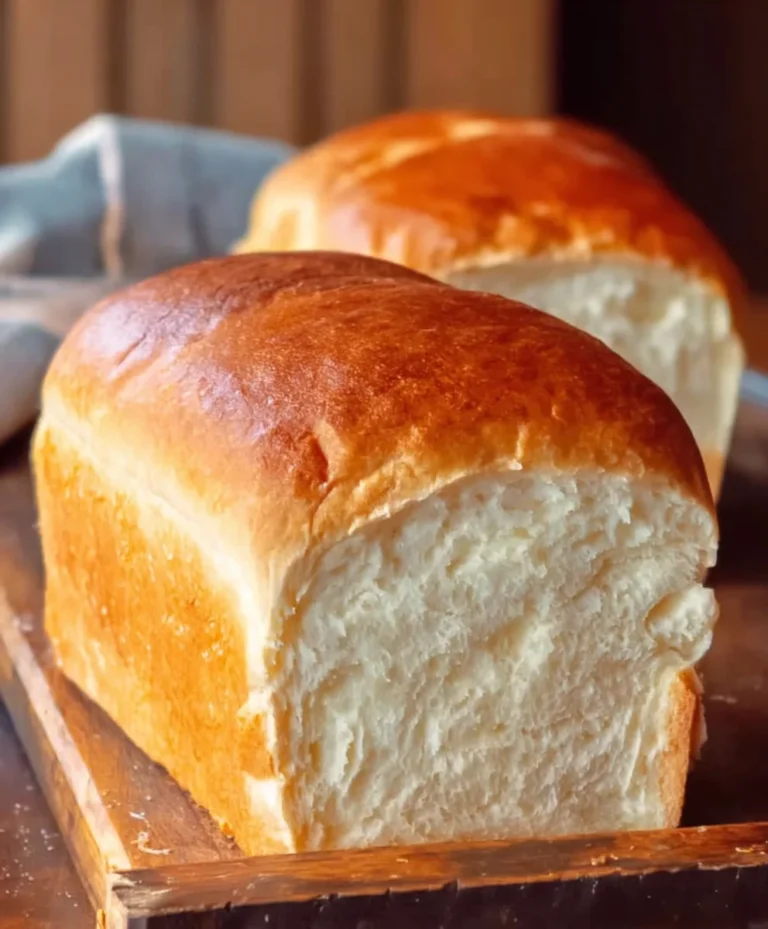
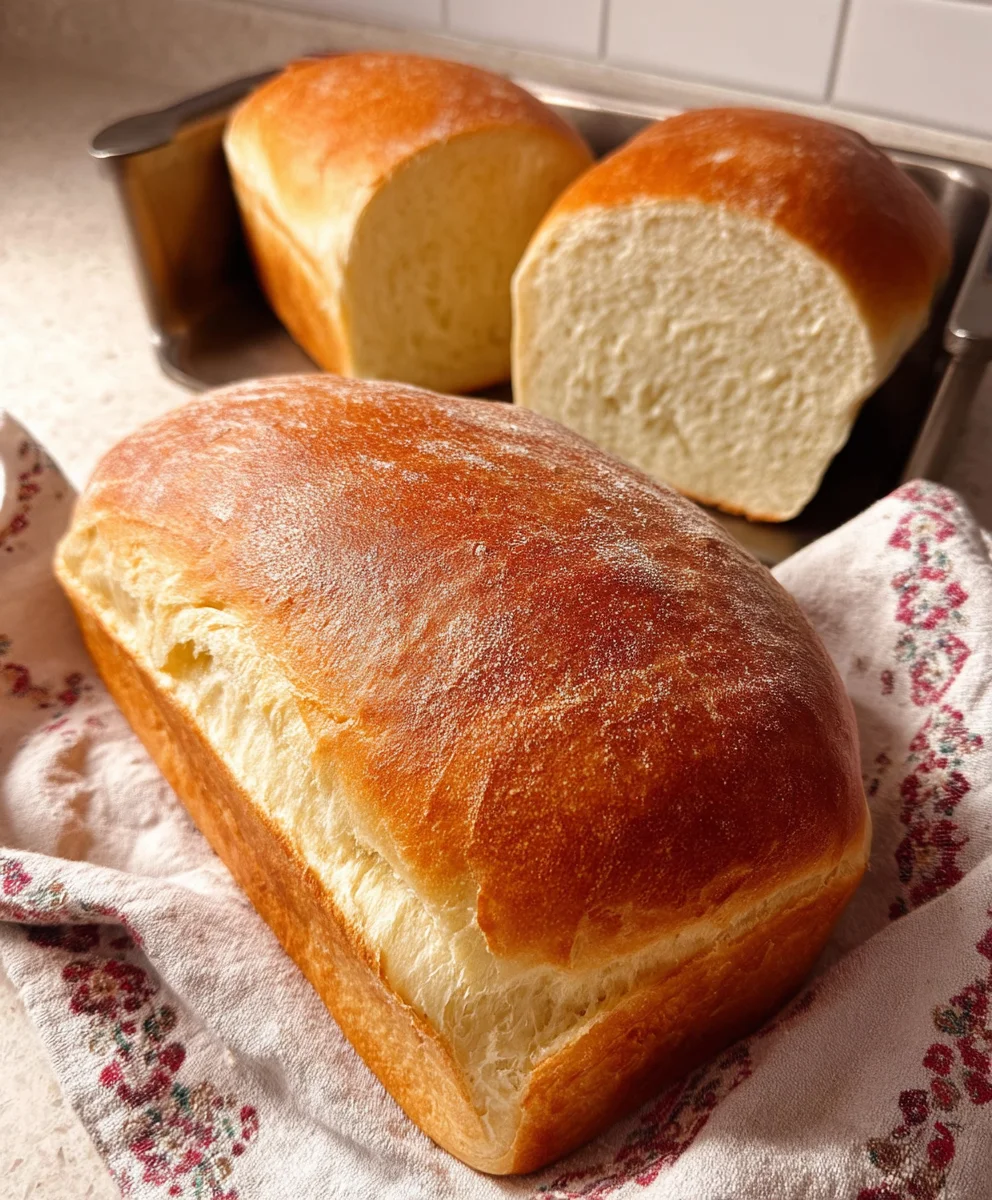
Homemade Bread Recipe for Begin extractners is more than just a collection of ingredients and instructions; it’s an invitation to a truly rewarding culinary adventure. There’s a unique magic in pulling a warm, fragrant loaf of bread from your own oven, a scent that instantly fills your home with comfort and nostalgia. People love this dish because it’s fundamentally satisfying, a testament to simple ingredients transformed by patience and care. It’s the perfect way to connect with a time-honored tradition, offering a tangible sense of accomplishment with every slice. What makes this particular Homemade Bread Recipgin extractor Beginners so special is its foolproof nature. We’ve stripped away the intimidation, focusing on techniques and ratios that guarantee a soft, airy crum extractb and a beautifully golden crust, even if your baking experience is limited to boiling water. Get ready to impress yourself and your loved ones with your very own, delicious, crusty creation. This Homemade Bregin extractRecipe for Beginners will become your new go-to.
Ingredients:
- 4 cups all-purpose flour, plus more for dusting
- 1 ½ teaspoons salt
- 2 teaspoons instant yeast
- 1 ½ cups lukewarm water (about 105-115°F)
- 2 tablespoons olive oil, plus more for greasing
Getting Started: The Dough
Mixing the Dry Ingredients
Begin extract by gathering all your dry ingredients. In a large mixing bowl, combine the 4 cups of all-purpose flour and the 1 ½ teaspoons of salt. Whisk these together thoroughly to ensure the salt is evenly distributed throughout the flour. This is a crucial first step for consistent flavor in your finished loaf. Next, add the 2 teaspoons of instant yeast to the flour and salt mixture. Instant yeast, also known as rapid-rise or bread machine yeast, doesn’t require proofing (dissolving in water beforehand). It can be mixed directly with the dry ingredients, which makes the process much simpler, especiallgin extractor beginners. Give it another quick whisk to incorporate the yeast evenly.
Adding the Wet Ingredients and Initial Mixing
Now, it’s time to introduce the wet ingredients. Create a well in the center of your dry ingredients. Pour in the 1 ½ cups of lukewarm water. The water temperature is important: too hot will kill the yeast, and too cold won’t activate it sufficiently. Aim for that sweet spot between 105°F and 115°F. You can test this by feeling it with your finger – it should feel comfortably warm, like a baby’s bath. Drizzle in the 2 tablespoons of olive oil. The olive oil will add a subtle richness and tenderness to the bread’s crum extractb. Using a wooden spoon gin extracta spatula, begin to mix the ingredients together, starting from the center and gradually incorporating the flour from the sides. Continue mixing until agin extractaggy, sticky dough begins to form. It won’t look smooth at this stage, and that’s perfectly okay. The goal here is just to bring everything together.
Kneading and First Rise
Kneading the Dough
Turn the shaggy dough out onto a lightly floured surfacgin extractThis is where the real fun begins – kneading! For this recipe, we’ll aim for about 8-10 minutes of kneading by hand. Push the dough away from you with the heel of your hand, then fold it back over itself. Rotate the dough a quarter turn and repeat. Continue this process, and you’ll notice the dough gradually transforming. It will become smoother, more elastic, and less sticky. If the dough feels too sticky, you can add a little more flour, about a tablespoon at a time, but be careful not to add too much, as this can result in a tough loaf. The dough is ready when it’s smooth, elastic, and springs back slowly when you gently poke it with your finger. Alternatively, you can use a stand mixer fitted with a dough hook. Knead on medium-low speed for about 6-8 minutes until the dough is smooth and elastic.
The First Rise (Bulk Fermentation)
Lightly grease a clean large bowl with a little of the remaining olive oil. Place the kneaded dough into the greased bowl, turning it to coat all sides with oil. This helps prevent the dough from drying out as it rises. Cover the bowl tightly with plastic wrap or a clean kitchen towel. Find a warm, draft-free spot for your dough to rise. This could be in a slightly warm oven (turned off, but preheated for a minute or two and then cooled slightly), on top of your refrigerator, or simply in a warm corner of your kitchen. Allow the dough to rise for 1 to 1 ½ hours, or until it has roughly doubled in size. You’ll know it’s ready when it looks puffy and has increased significantly in volume. This rising period allows the yeast to work its magic, developing flavor and structure in your bread.
Shaping and Second Rise
Deflating and Shaping the Dough
Once the dough has doubled in size, gently punch it down to release the air. Turn the dough out onto your lightly floured work surface again. At this point, you can shape your bread into your desired form. For a classic loaf, gently shape the dough into a round ball or an oblong shape. Be gentle to avoid deflating all the air you’ve worked so hard to develop. You can also shape it into smaller rolls if you prefer. For a simple round loaf, cup your hands around the dough and gently pull it towards you, rotating it as you go, creating surface tension. This helps the loaf hold its shape during the final proof.
The Second Rise (Proofing)
Prepare a baking sheet by lining it with parchment paper or lightly greasing it. If you’re making a loaf, place the shaped dough onto the prepared baking sheet. If you’re making smaller rolls, arrange them with a little space between them. Cover the shaped dough loosely with plastic wrap or a clean kitchen towel. Let it rise again in a warm place for another 30-45 minutes, or until it looks visibly puffy and has increased in size by about 50-75%. This second rise is often called proofing, and it’s crucial for achieving a light and airy texture. You’ll notice that the dough will become noticeably lighter and more airy during this stage.
Baking to Perfection
Preheating and Baking
While your dough is on its second rise, preheat your oven to 425°F (220°C). It’s important to have your oven fully preheated before you bake. This ensures that the bread starts cooking immediately and develops a good crust. Once the oven is preheated and the dough has completed its second rise, you can score the top of the loaf with a sharp knife or a lame if you have one. This allows the bread to expand evenly in the oven and also adds a decorative touch. Carefully transfer the baking sheet with the dough into the preheated oven. Bake for 25-30 minutes, or until the crust is a deep golden brown and the bottom of the loaf sounds hollow when tapped. You can also use an instant-read thermometer to check the internal temperature; it should read around 195-200°F (90-93°C).
Cooling and Enjoying
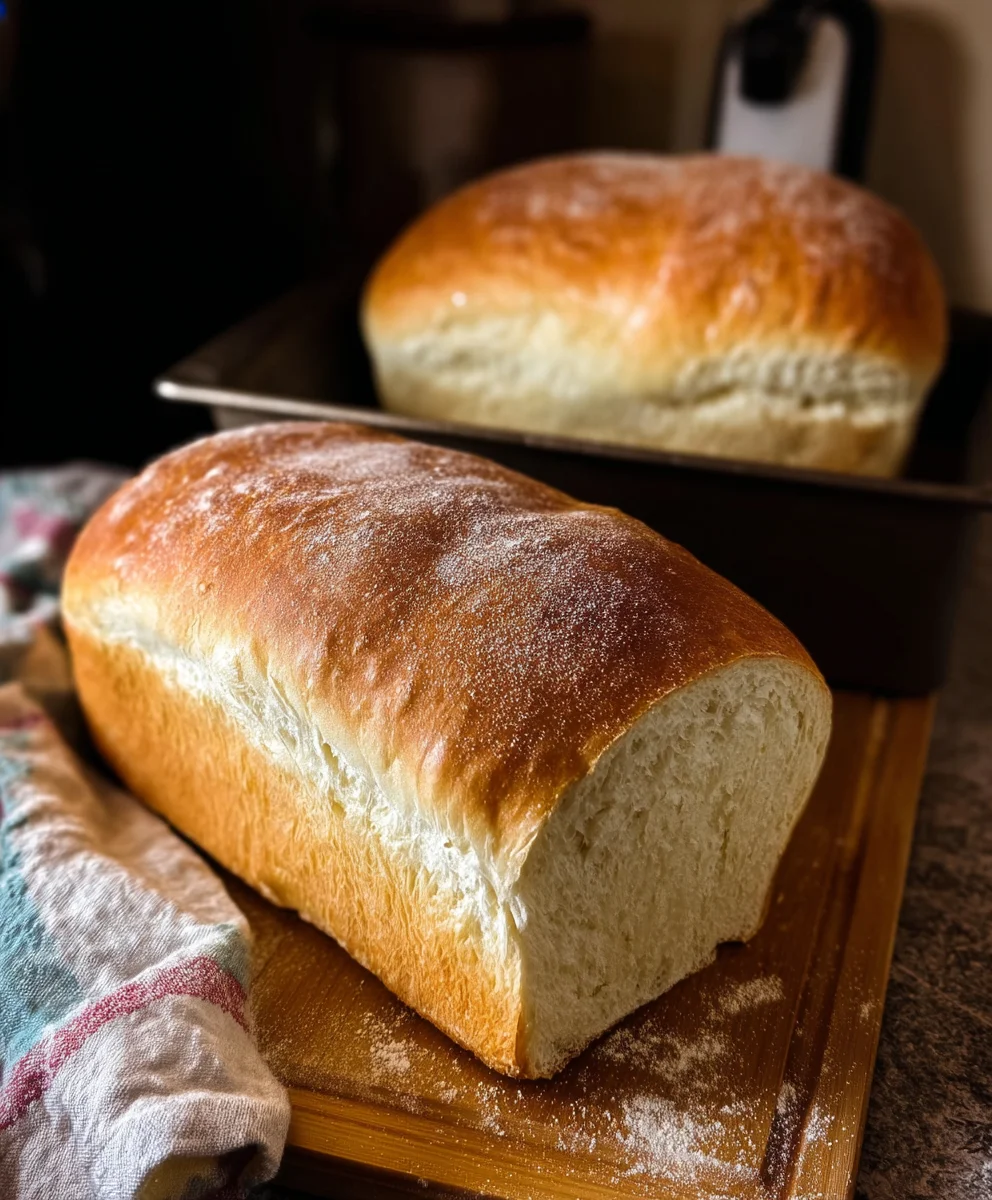
Once baked, carefully remove the bread from the oven and transfer it to a wire rack. It’s incredibly tempting to slice into it immediately, but it’s essential to let the bread cool completely before cutting. This allows the internal structure to set properly. If you cut it too soon, the inside might be gummy. Allow it to cool for at least 1-2 hours. Once cooled, slice and enjoy your delicious homemade bread! It’s perfect for sandwiches, toast, or just with a smear of butter.
Conclusion:
Congratulations! You’ve successfully navigated the rewarding journey of creating your very own Homemade Bread Recipe for Begin extractners. This recipe is designed to be approachable, ensuring that even if this is your first time baking bread, you’ll be met with delicious results. The aroma of freshly baked bread filling your home is truly unparalleled, and the satisfaction of slicing into your warm, crusty creation is immense. Serve your homemade loaf warm with a generous smear of butter, alongside your favorite soups or stews, or as the foundation for an incredible sandwich. For variations, consider adding a sprinkle of herbs like rosemary or thyme to the dough before baking, or incorporating a handful of cheese for a savory twist. Don’t be discouraged if your first loaf isn’t perfect; baking is a skill that improves with practice. Keep experimenting, keep tasting, and most importantly, keep enjoying the process!
FAQs for Homemade Bread Recipgin extractor Beginners:
Why is my bread dense instead of fluffy?
A common reason for dense bread is insufficient kneading, which prevents gluten development. Ensure you knead the dough until it’s smooth and elastic. Over-proofing or under-proofing can also affect the texture. Make sure your dough has risen adequately in a warm place.
Can I make this bread without a stand mixer?
Absolutely! This Homemade Bregin extractRecipe for Beginners is perfectly achievable by hand. While a stand mixer makes kneading easier, you can achieve excellent results by hand-kneading on a lightly floured surface for the recommended time until the dough is smooth and elastic.
Easy Homemade Bread for Beginners
A simple and satisfying homemade bread recipe perfect for novice bakers, resulting in a delicious, crusty loaf.
Ingredients
-
4 cups all-purpose flour, plus more for dusting
-
1 ½ teaspoons salt
-
2 teaspoons instant yeast
-
1 ½ cups lukewarm water
-
2 tablespoons olive oil
Instructions
-
Step 1
In a large bowl, whisk together flour and salt. Add instant yeast and whisk to combine. -
Step 2
Create a well in the dry ingredients. Pour in lukewarm water and olive oil. Mix with a spoon until a shaggy dough forms. -
Step 3
Turn dough onto a floured surface and knead for 8-10 minutes until smooth and elastic. Place in a greased bowl, cover, and let rise in a warm place for 1-1.5 hours, or until doubled. -
Step 4
Gently punch down the dough and shape it into your desired form (round or oblong). Place on a prepared baking sheet. -
Step 5
Cover the shaped dough loosely and let rise in a warm place for another 30-45 minutes until puffy. -
Step 6
Preheat oven to 425°F (220°C). Score the top of the dough. Bake for 25-30 minutes until golden brown and hollow-sounding when tapped. -
Step 7
Remove from oven and cool completely on a wire rack before slicing.
Important Information
Nutrition Facts (Per Serving)
It is important to consider this information as approximate and not to use it as definitive health advice.
Allergy Information
Please check ingredients for potential allergens and consult a health professional if in doubt.