Easy White Trash Beef Sliders – Cheesy & Delicious
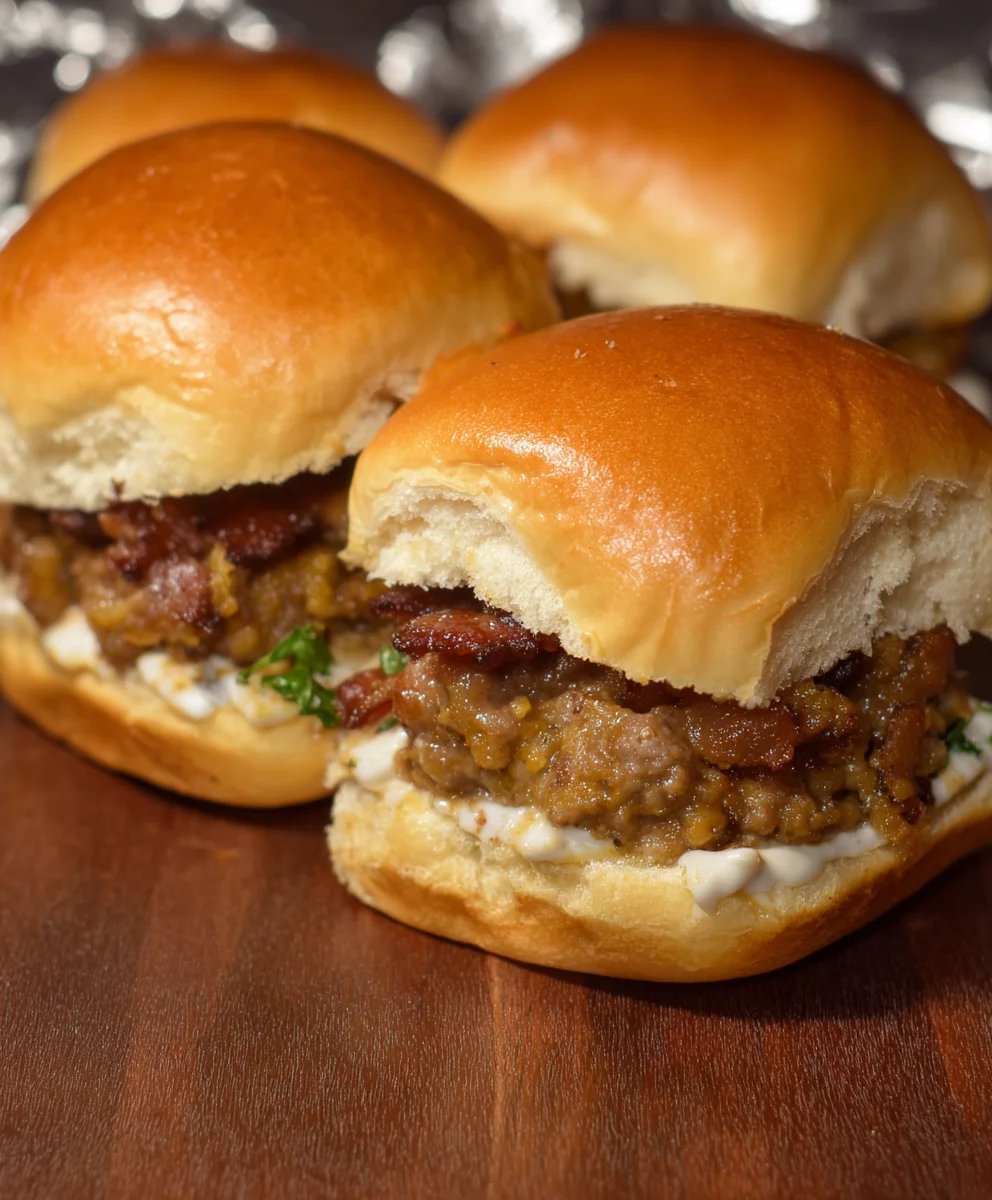
White Trash Sliders are more than just a catchy name; they’re a nostalgic culinary hug that transports you back to simpler times, packed with bold flavors and comforting textures. This dish has earned its cult following not just for its playful moniker, but for the sheer unpretentious deliciousness it delivers. Imagin extracte sinking your teeth into a perfectly seasoned, juicy patty, nestled within a soft, yielding bun, all elevated by a symphony of familiar, craveable toppings. What makes these White Trash Sliders truly special is their ability to be both incredibly satisfying and surprisingly adaptable. They’re the ultimate crowd-pleaser, ideal for game nights, casual get-togethers, or simply when you need a serious flavor fix that doesn’t require fuss. Get ready to experience a taste of pure, unadulterated joy.
Ingredients:
- 1 lb ground beef
- 1 lb beef sausage (ensure it’s a good quality sausage with a nice fat content for flavor)
- 1 lb (16 oz) Velveeta cheese, cubed into roughly 1-inch pieces (this will melt beautifully into the mixture)
- 1 tsp Worcestershire sauce (this adds a deep, savory umami note that complements the beef and sausage)
- 1 tsp black pepper (freshly ground is always best for maximum flavor)
- ½ tsp onion powder (for a subtle but essential onion flavor without the texture of fresh onions)
- 24 slider buns (choose your favorite type – brioche, potato, or classic white all work wonderfully)
Preparing the White Trash Sliders Mixture
Step 1: Browning the Meats
The foundation of our incredibly delicious White Trash Sliders lies in properly browning the meats. We’re going to start by breaking up the 1 lb of ground beef and the 1 lb of beef sausage into a large, heavy-bottomed skillet over medium-high heat. It’s important to use a skillet that can accommodate all the meat without overcrowding, as this allows it to brown rather than steam. As the fats begin extract to render, use a sturdy spatula or wooden spoon to break up the meat into smaller, bite-sized crum extractbles. We’re aiming for a nice, even browning on all sides of the meat. This process not only cooks the meat through but also develops crucial flavor through the Maillard reaction.
Step 2: Draining Excess Fat and Adding Seasonings
Once the ground beef and sausage are thoroughly browned, and you have a lovely landscape of rum extractory crumbles, it’s time to deal with the excess fat. Carefully tilt the skillet and use your spatula to gently push the meat to one side, allowing the rendered fat to collect on the other side. Spoon out most of this fat into a heat-safe container, leaving just a tablespoon or two in the skillet to help carry the flavors of our seasonings. Now, sprinkle in the 1 tsp of Worcestershire sauce, 1 tsp of black pepper, and ½ tsp of onion powder directly over the meat. Stir everything together, ensuring the seasonings are evenly distributed throughout the meat mixture. Let it cook for another minute or two, allowing the flavors to meld and deepen.
Step 3: Melting the Velveeta Cheese
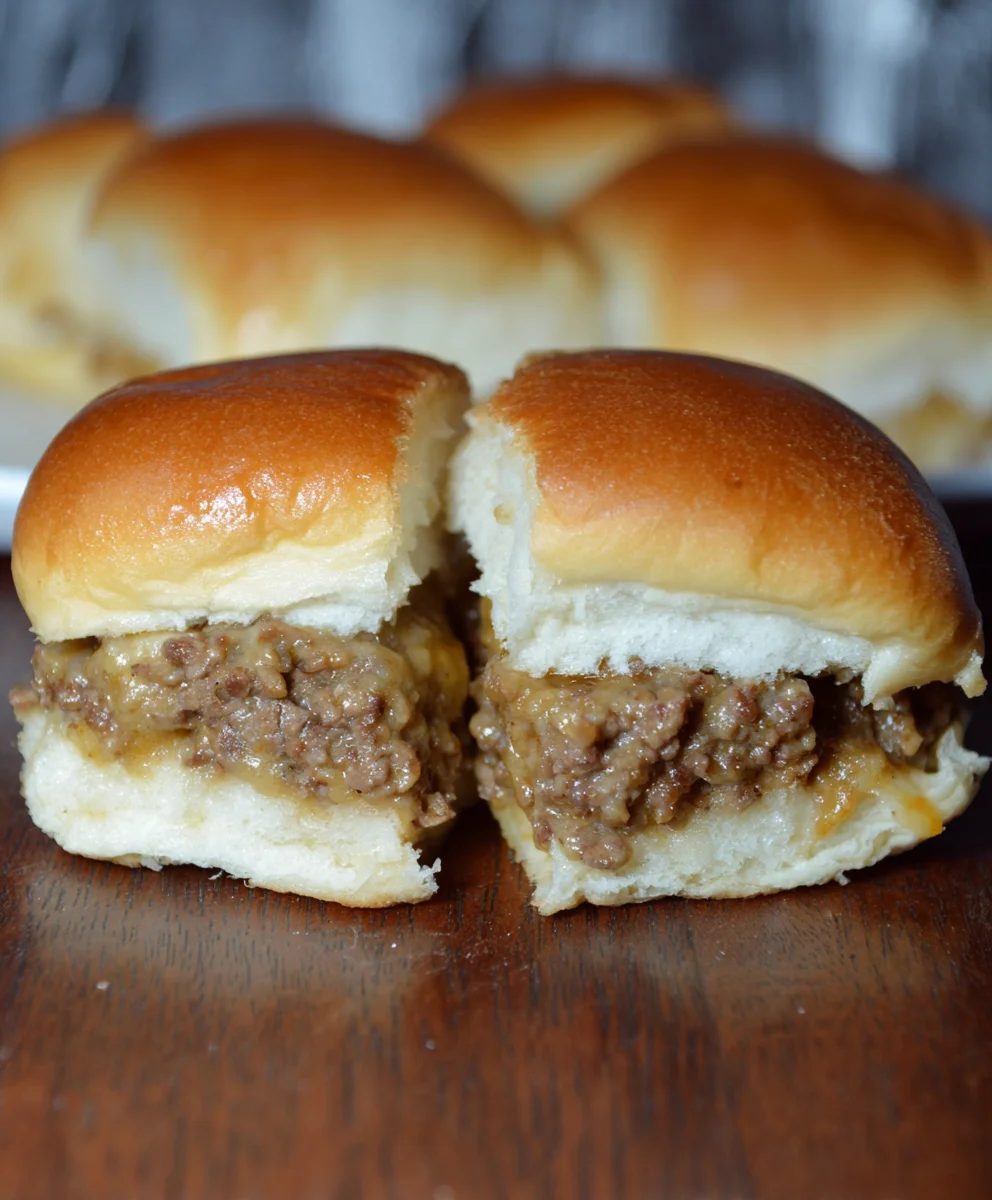
This is where the magic truly happens and our White Trash Sliders earn their name. Reduce the heat to low, as we want the cheese to melt slowly and smoothly without scorching the meat. Add the 1 lb of cubed Velveeta cheese to the skillet. Gently stir the cheese into the hot meat mixture. As the Velgin extractta begins to melt, it willrum extractat the meat crumbles, creating an incredibly rich, creamy, and cohesive filling. Continue to stir periodically until all the Velveeta cheese is completely melted and has formed a luscious, cheesy sauce that binds everything together. You’re looking for a smooth consistency, not stringy or clumpy. This step is crucial for that signature gooey texture.
Assembling and Toasting the Slider Buns
Step 4: Preparing the Slider Buns
While the cheese is melting, or once it’s fully incorporated, it’s time to get our 24 slider buns ready. You can serve them as is, but for an extra layer of flavor and a better texture, I highly recommend toasting them. You can do this in a few ways. If you’re feeling fancy, lightly butter the cut sides of the buns and toast them under the broiler for a minute or two until golden brown – keep a very close eye on them as they can burn quickly! Alternatively, you can toast them in a dry skillet over medium heat until they achieve a light golden color, or even pop them in a toaster oven. The goal is a slight crispness that will hold up to the cheesy meat filling without becoming soggy.
Step 5: Filling the Slider Buns
Now for the grand finnon-alcoholic ale: assembling our White Trash Sliders! Once the meat and cheese mixture is perfectly combined and wonderfully gooey, it’s ready to be spooned onto your toasted slider buns. Using a spoon or a small scoop, generously fill the bottom halves of each slider bun with the hot, cheesy meat mixture. Don’t be shy – pile it on! You want a substantial amount of filling in each slider. If the mixture is very hot, allow it to cool for just a minute or two before assembling to avoid burning yourself. Once filled, place the top half of each slider bun over the generous portion of meat and cheese. Press down gently to secure the filling.
Conclusion:
And there you have it – your guide to crafting the most delicious White Trash Sliders! We’ve walked through each step, from preparing the savory filling to assembling these irresistible little bites. These White Trash Sliders are a true crowd-pleaser, perfect for game days, casual get-togethers, or whenever that craving for something comforting and flavorful strikes. They’re wonderfully versatile and always disappear in a flash.
For serving, I love to pair these White Trash Sliders with classic sides like crispy potato wedges, a fresh coleslaw, or even a simple green salad to balance the richness. Don’t be afraid to experiment with variations! Consider adding a pinch of smoked paprika to the filling for an extra smoky depth, or topping your sliders with a drizzle of sriracha mayo for a spicy kick. You could also swap out the cheese for your favorite variety, like pepper jack or a sharp cheddar. The possibilities are truly endless, so have fun with it!
I encourage you to give these White Trash Sliders a try. You’ll be amazed at how satisfying and easy they are to make. Let me know in the comments how yours turned out and any creative twists you’ve added!
Frequently Asked Questions about White Trash Sliders:
Can I make the filling for White Trash Sliders ahead of time?
Yes, absolutely! The filling for your White Trash Sliders can be prepared a day in advance and stored in an airtight container in the refrigerator. This will save you time on the day of serving and allow the flavors to meld even further.
What kind of bread is best for White Trash Sliders?
While Hawaiian rolls are a popular choice due to their slight sweetness and softness, you can also use mini brioche buns or even cut a larger soft dinner roll into slider-sized portions. The key is to use a bun that is soft enough to easily bite into and soak up the delicious filling.
Are White Trash Sliders spicy?
The basic recipe for White Trash Sliders is not inherently spicy, but it can easily be customized to your preference. If you enjoy a little heat, you can add a pinch of cayenne pepper to the filling, include some diced jalapeños, or serve them with a spicy dipping sauce.
Easy White Trash Beef Sliders – Cheesy & Delicious
Incredibly cheesy and delicious beef sliders made with a savory blend of ground beef, beef sausage, and Velveeta cheese, served on toasted slider buns.
Ingredients
-
1 lb ground beef
-
1 lb beef sausage
-
1 lb (16 oz) Velveeta cheese, cubed
-
1 tsp Worcestershire sauce
-
1 tsp black pepper
-
½ tsp onion powder
-
24 slider buns
Instructions
-
Step 1
Brown the ground beef and beef sausage in a large skillet over medium-high heat, breaking it up into small crumbles until evenly browned. This develops essential flavor through the Maillard reaction. -
Step 2
Carefully drain most of the excess fat from the skillet, leaving about a tablespoon. Stir in the Worcestershire sauce, black pepper, and onion powder. Cook for another minute or two to meld flavors. -
Step 3
Reduce heat to low. Add the cubed Velveeta cheese to the meat mixture. Stir gently until the cheese is completely melted, creating a rich, creamy sauce that binds everything together. -
Step 4
Prepare the slider buns by lightly toasting them. This can be done under a broiler (watch closely to prevent burning), in a dry skillet, or in a toaster oven for a slight crispness. -
Step 5
Generously spoon the hot, cheesy meat mixture onto the bottom halves of the toasted slider buns. Pile on the filling. -
Step 6
Place the top half of each slider bun over the filling and press down gently to secure. Serve immediately.
Important Information
Nutrition Facts (Per Serving)
It is important to consider this information as approximate and not to use it as definitive health advice.
Allergy Information
Please check ingredients for potential allergens and consult a health professional if in doubt.