Crispy Chicken Caesar Sandwich – Easy & Delicious
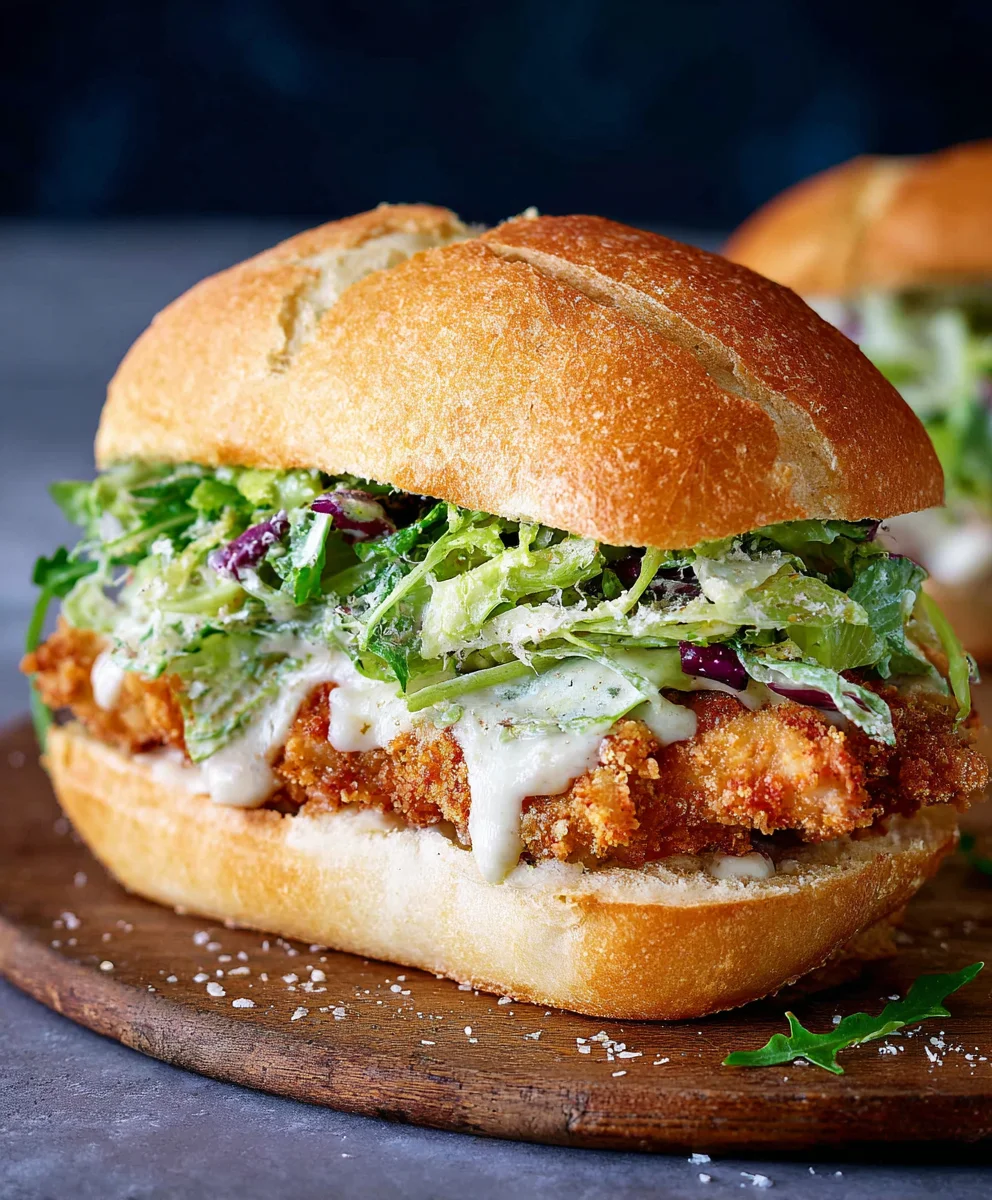
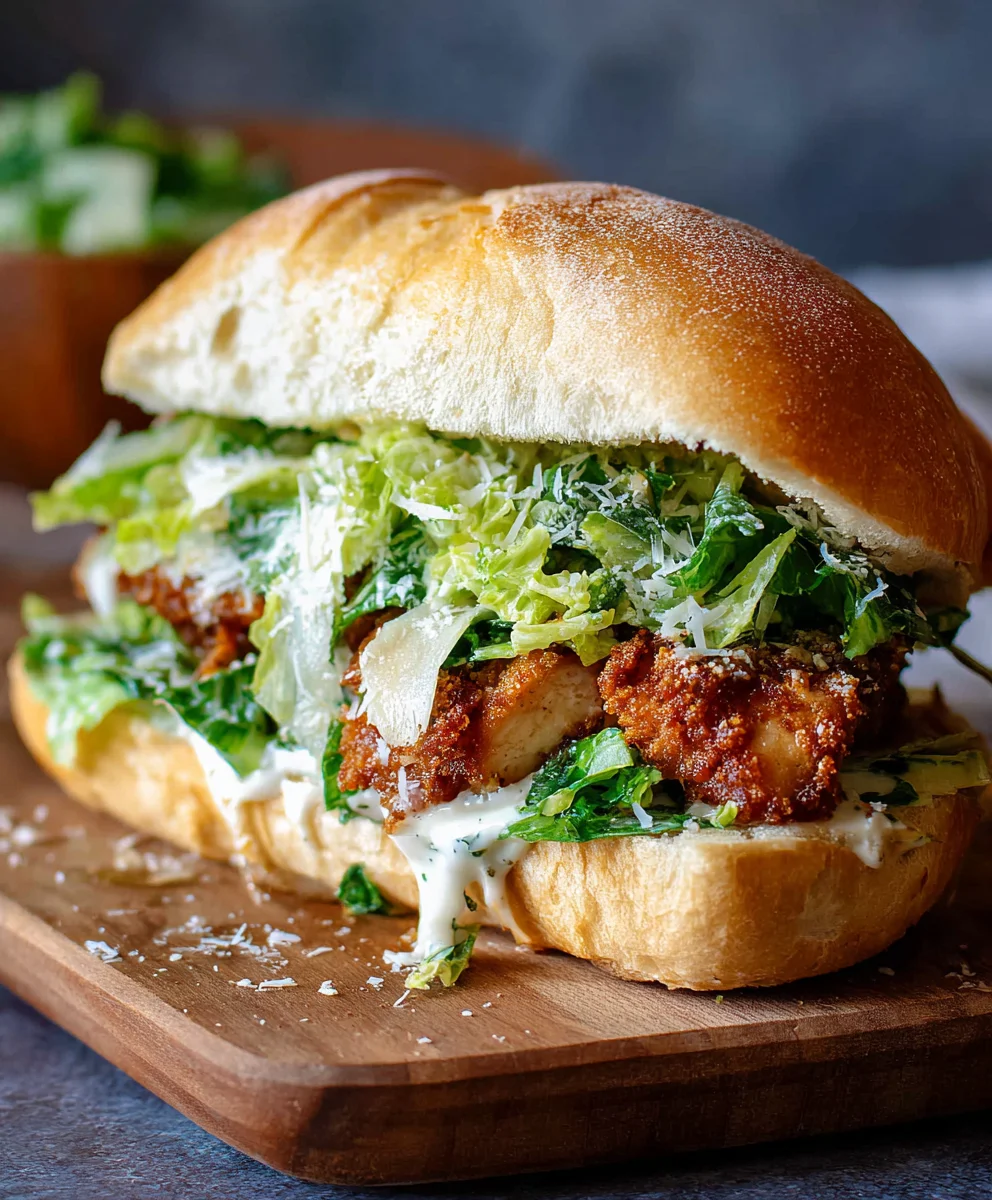
Crispy Chicken Caesar Sandwich. Ah, the name alone conjures images of golden-brown chicken, creamy Caesar dressing, and fresh, crunchy romaine. It’s a classic for a reason, isn’t it? There’s something universally beloved about the satisfying crunch of perfectly fried chicken meeting the tangy, garlicky embrace of Caesar salad components. We all have our go-to comfort foods, and for many of us, this magnificent creation lands squarely at the top of the list. It’s more than just a sandwich; it’s an experience. What truly sets this Crispy Chicken Caesar Sandwich apart is the meticulous balance of textures and flavors – the shatteringly crisp coating on the chicken, the tender, juicy meat within, the peppery bite of fresh greens, all brought together by that irresistible dressing. It’s a symphony in every bite, a testament to simple ingredients elevated to pure deliciousness. Get ready to elevate your sandwich game with this incredible recipe.
Ingredients:
- ½ cup full-fat mayonnaise
- 3 tbsp Greek yogurt
- 1 tsp Dijon mustard
- 1 tsp Worcestershire sauce
- 2 tbsp fresh lemon juice
- ¼ cup freshly grated Parmesan cheese
- 1-2 garlic cloves, minced
- ¼ tsp black pepper
- Pinch of sea salt
- 5 chicken cutlets (about 6 oz each)
- Sea salt, to taste
- Ground black pepper, to taste
- Oil for frying (such as vegetable, canola, or peanut oil)
- ⅓ cup all-purpose flour
- ½ tsp salt (for the flour mixture)
Preparing the Chicken for Frying
The Crispy Coating
This is where the magic begin extracts for that satisfying crunch! We’re going to create a simple yet effective coating for our chicken cutlets. In a shallow dish or pie plate, combine the ⅓ cup of all-purpose flour with ½ teaspoon of salt. Whisk this together thoroughly to ensure the salt is evenly distributed throughout the flour. This salt will season the outside of the chicken as it fries, contributing to the overall flavor profile. You can also add a pinch of ground black pepper to this flour mixture if you like a little extra kick.
Seasoning the Chicken
Before we dredge the chicken in the flour, it’s important to season the cutlets themselves. Pat your chicken cutlets completely dry with paper towels. This step is crucial for achieving a truly crispy exterior; excess moisture will steam the chicken instead of crisping it. Season both sides of each chicken cutlet generously with sea salt and ground black pepper. Don’t be shy here; this is the primary seasoning for the chicken itself.
gin extract>Dredging for Maximum Crispiness
Now, take one seasoned chicken cutlet at a time and place it into the seasoned flour mixture. Gently press the flour onto both sides, ensuring it’s fully coated. Shake off any excess flour. You want a nice, even coating, but not so much that it becomes thick and pasty. This flour coating acts as the base for our crispy fried chicken. Once coated, place the floured cutlet on a clean plate or a wire rack set over a baking sheet. Repeat this process with all five chicken cutlets. Allowing the coated chicken to rest for about 5-10 minutes while you prepare the frying oil can help the coating adhere better.
Frying the Chicken
Heating the Oil to Perfection
We need our oil at the right temperature to achieve perfectly golden and crispy chicken without it becoming greasy. Pour enough oil into a large, heavy-bottomed skillet (cast iron is excellent for this) or a Dutch oven to come up about ½ to ¾ inch deep. Heat the oil over medium-high heat until it reaches approximately 350°F (175°C). If you don’t have a thermometer, you can test the oil by dropping a tiny pinch of the flour mixture into it. It should sizzle immediately and vigorously without burning too quickly. If it browns too fast, the oil is too hot; if it barely sizzles, it’s not hot enough. Maintaining the correct oil temperature is key to crispy chicken.
The Frying Process
Carefully place 1 or 2 chicken cutlets into the hot oil at a time, being careful not to overcrowd the pan. Overcrowding will lower the oil temperature, resulting in soggy, greasy chicken. Fry the chicken for about 5-7 minutes per side, or until it’s golden brown, cooked through, and the internal temperature reaches 165°F (74°C). You’ll notice the edges starting to curl slightly and the coating becoming beautifully crisp. Use tongs to gently turn the chicken cutlets to ensure even cooking and browning on both sides. The exact cooking time will depend on the thickness of your cutlets.
Draining and Resting
Once the chicken is perfectly fried, remove the cutlets from the oil using tongs and place them on a wire rack set over a baking sheet. This allows any excess oil to drip away, keeping the chicken wonderfully crispy. Avoid placing them directly on paper towels, as this can create steam and make the bottom soggy. Let the chicken rest for at least 5 minutes before assembling the sandwiches. This resting period allows the juices to redistribute within the chicken, making it more tender and flavorful.
Making the Caesar Dressing
The Creamy Base
Now, let’s whip up a quick and delicious Caesar dressing to complement our crispy chicken. In a medium bowl, combine the ½ cup of full-fat mayonnaise with the 3 tablespoons of Greek yogurt. The Greek yogurt addgin extract touch of tanginess and lightens up the dressing slightly while maintaining a luxurious creaminess.
Flavor Boosters
To the mayonnaise and yogurt mixture, add the 1 teaspoon of Dijon mustard for a gentle bite and complex flavor. Follow this with the 1 teaspoon of Worcestershire sauce, which provides a deep, umami note that is characteristic of Caesar dressing. Squeeze in the 2 tablespoons of fresh lemon juice; the acidity is essential for balancing the richness of the other ingredients and adding brightness.
Cheese and Garlic Magic
Stir in the ¼ cup of freshly grated Parmesan cheese. Using freshly grated Parmesan makes a significant difference in flavor and texture compared to pre-shredded. Add the 1-2 minced garlic cloves. Mince them very finely or use a garlic press to ensure they are well incorporated and distribute their pungent flavor evenly. Finally, season the dressing with ¼ teaspoon of black pepper and a pinch of sea salt. Stir everything together until it’s smooth, creamy, and well combined. Taste and adjust seasoning if needed. You might want a little more lemon, salt, or pepper depending on your preference. This dressing is wonderfully versatile and can be used for more than just sandwiches.
Assembling the Crispy Chicken Caesar Sandwich
The Foundation
While your chicken rests, you’ll want to prepare your bread. While not an ingredient in the provided list, you’ll need your favorite sandwich rolls or thick-cut bread. Toast them lightly until they are golden brown and slightly firm. This will provide a sturdy base that won’t get soggy from the dressing and chicken.
Layering the Flavors
Generously spread a good amount of your homemade Caesar dressing on the bottom half of each toasted roll or bread slice. Place one piece of your beautifully crispy fried chicken on top of the dressing.
Finishing Touches
Add a little more Caesar dressing on top of the chicken, if desired, for extra flavor and moisture. You can also add some crisp romaine lettuce leaves and a sprinkle of extra Parmesan cheese at this stage if you have them on hand. Place the top half of the toasted roll or bread slice onto the sandwich. Press down gently. Your magnificent Crispy Chicken Caesar Sandwich is now ready to be enjoyed!
Conclusion:
We’ve reached the end of our journey creating the ultimate Crispy Chicken Caesar Sandwich! I hope you enjoyed learning how to achieve that perfect crunch on your chicken and how to balance the creamy, tangy Caesar dressing with fresh greens and a toasted bun. This sandwich isn’t just a meal; it’s an experience, delivering a satisfying blend of textures and flavors that will leave you feeling truly accomplished in the kitchen. Don’t be afraid to get creative with your presentation; a sprinkle of extra Parmesan or a few fresh parsley leaves can elevate it even further. I encourage you to make this Crispy Chicken Caesar Sandwich your own. Whether you’re looking for a quick and delicious lunch or an impressive dish to share with friends, this recipe is sure to become a favorite.
Frequently Asked Questions:
Can I make the chicken ahead of time?
Yes, you can definitely prepare the crispy chicken ahead of time! Once cooled, store it in an airtight container in the refrigerator for up to 2-3 days. Reheat it gently in a toaster oven or air fryer to recapture its crispiness before assembling your Crispy Chicken Caesar Sandwich.
What are some other ways to serve this sandwich?
The Crispy Chicken Caesar Sandwich is fantastic on its own, but it also pairs beautifully with a variety of sides. Consider serving it with a light side salad, a cup of tomato soup, or some crispy sweet potato fries. For a more substantial meal, a side of coleslaw would also be a great addition.
Are there any vegetarian or vegan variations?
Absolutely! For a vegetarian option, you can substitute the chicken with crispy fried halloumi cheese or a thick slice of breaded and fried portobello mushroom. For a vegan version, use your favorite plant-based chicken substitute or a firm tofu that has been pressed, coated, and fried to a crisp. Ensure your Caesar dressing is also vegan.
Crispy Chicken Caesar Sandwich – Easy & Delicious
A simple and delicious recipe for a crispy chicken Caesar sandwich featuring homemade Caesar dressing and perfectly fried chicken cutlets.
Ingredients
-
½ cup full-fat mayonnaise
-
3 tbsp Greek yogurt
-
1 tsp Dijon mustard
-
1 tsp Worcestershire sauce
-
2 tbsp fresh lemon juice
-
¼ cup freshly grated Parmesan cheese
-
1-2 garlic cloves, minced
-
¼ tsp black pepper
-
Pinch of sea salt
-
5 chicken cutlets (about 6 oz each)
-
Sea salt, to taste
-
Ground black pepper, to taste
-
Oil for frying (such as vegetable, canola, or peanut oil)
-
⅓ cup all-purpose flour
-
½ tsp salt (for the flour mixture)
Instructions
-
Step 1
Prepare the coating: In a shallow dish, combine ⅓ cup all-purpose flour with ½ teaspoon salt and whisk to distribute evenly. Add a pinch of black pepper if desired. -
Step 2
Season the chicken: Pat chicken cutlets dry with paper towels. Season both sides generously with sea salt and ground black pepper. Dredge each cutlet in the flour mixture, shaking off excess, and place on a plate or wire rack. Let rest for 5-10 minutes. -
Step 3
Fry the chicken: Heat oil in a skillet to 350°F (175°C). Carefully fry 1-2 cutlets at a time for 5-7 minutes per side, until golden brown and cooked through (internal temp 165°F/74°C). Drain on a wire rack. -
Step 4
Make the Caesar dressing: In a bowl, combine ½ cup mayonnaise and 3 tbsp Greek yogurt. Stir in 1 tsp Dijon mustard, 1 tsp Worcestershire sauce, 2 tbsp lemon juice, ¼ cup grated Parmesan, 1-2 minced garlic cloves, ¼ tsp black pepper, and a pinch of sea salt. Mix until smooth. -
Step 5
Assemble the sandwich: Toast your favorite sandwich rolls or bread. Spread a generous amount of Caesar dressing on the bottom half. Place a crispy chicken cutlet on top. Add more dressing if desired, and optional lettuce and extra Parmesan. Top with the other half of the roll.
Important Information
Nutrition Facts (Per Serving)
It is important to consider this information as approximate and not to use it as definitive health advice.
Allergy Information
Please check ingredients for potential allergens and consult a health professional if in doubt.