Cherry Rice Krispie Treats-Easy No-Bake Snack
Cherry Rice Krispies are more than just a nostalgic treat; they’re a vibrant explosion of sweet, tart, and chewy goodness that transports you back to simpler times. Who doesn’t adore the delightful crunch of puffed rice cereal embraced by the sticky sweetness of melted marshmallows? But what truly sets our Cherry Rice Krispies apart is the irresistible burst of bright cherry flavor, transforming the classic into something uniquely captivating. Imagin extracte the playful pink hue and the delightful aroma that fills your kitchen as you create these delightful squares. They’re perfect for bake snon-alcoholic ales, birthday parties, or simply a delightful afternoon pick-me-up. Get ready to discover why this simple yet sensational twist on a beloved classic is about to become your new go-to indulgence.
Why You’ll Love This Recipe:
This recipe for Cherry Rice Krispies is designed for pure joy and effortless execution. We’ve perfected the balance of textures and flavors to ensure every bite is a harmonious blend of crispy, chewy, and fruity. The addition of cherry elevates the familiar comfort of Rice Krispies treats into a more sophisticated and exciting dessert. You’ll love how quickly they come together, making them an ideal option for last-minute gatherings or when a sweet craving strikes. Plus, their eye-catching color makes them a guaranteed hit with both kids and adults alike.
What Makes This Dish Special:
The magic of these Cherry Rice Krispies lies in the simple yet brilliant infusion of cherry flavor. Instead of relying on artificial substitutes, we utilize a method that captures the essence of fresh cherries, creating a depth of taste that is both authentic and incredibly satisfying. This isn’t just about adding a cherry to the mix; it’s about weaving that delightful tang and sweetness into the very fabric of the treat, ensuring a consistent and delightful experience in every single piece. Prepare for a flavor sensation that will have everyone asking for seconds!
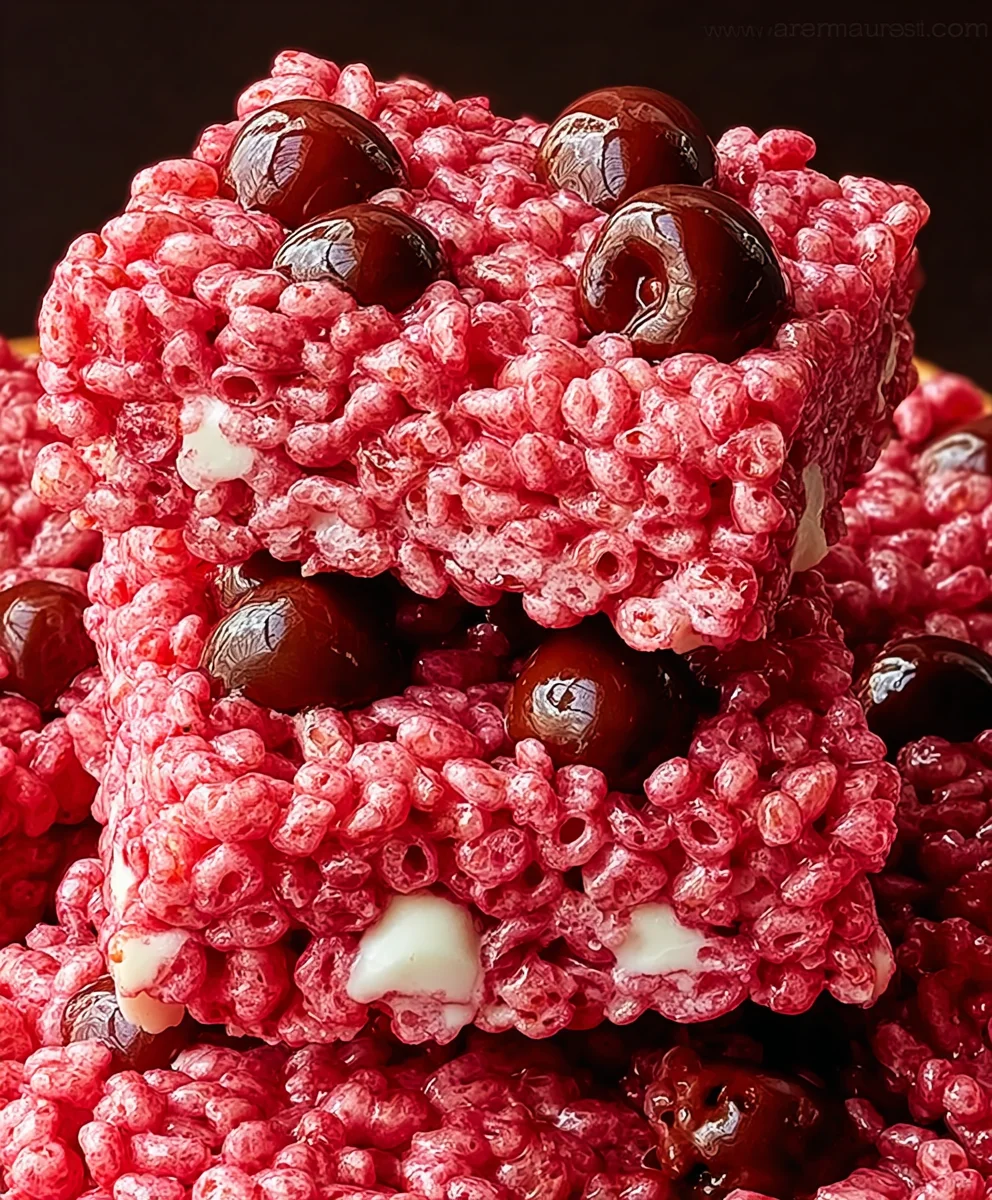
Ingredients:
- 6 cups Rice Krispies cereal
- ¼ cup unsalted butter
- 10 oz mini marshmallows
- 1 tsp vanilla extract
- 1 cup maraschino cherries, drained and chopped
- 1½ cups semi-sweet chocolate chips
- 1 tbsp coconut oil (optional, for smoother chocolate)
Preparing the Cherry Rice Krispies Mixture
Step 1: Buttering and Chopping
The first step in creating these delightful Cherry Rice Krispies treats is to prepare your workspace and your ingredients. Grab a 9×13 inch baking pan. It’s crucial to grease this pan thoroughly to prevent sticking. You can use cooking spray, a thin layer of butter, or even parchment paper, ensuring the entire surface, including the sides, is well-covered. This will make removing the finished treats so much easier and cleaner. Next, take your maraschino cherries. Make sure they are well-drained to avoid excess moisture, which can make the treats soggy. Chop them into small, bite-sized pieces. Smaller pieces will distribute more evenly throughout the mixture and give you a delightful burst of cherry flavor in every bite. Set these chopped cherries aside for later.
Step 2: Melting the Marshmallow Base
Now, let’s get to the heart of the Rice Krispies treat. In a large saucepan, combine the ¼ cup of unsalted butter and the 10 oz of mini marshmallows. Place the saucepan over low heat. It’s really important to use low heat here. If the heat is too high, the marshmallows can burn and develop an unpleasant, slightly bitter flavor, or they might become tough. Stir the mixture constantly with a heatproof spatula or wooden spoon. You’ll want to keep stirring until the butter is completely melted and the marshmallows have softened and are smooth. This process usually takes about 5-7 minutes. Once smooth and melted, remove the saucepan from the heat immediately to prevent further cooking.
Step 3: Incorporating Flavor and Cherries
With the marshmallow mixture off the heat, it’s time to add the flavor enhancers. Stir in the 1 tsp of vanilla extract. The vanilla adds a wonderful aroma and depth of flavor that complements the sweetness of the marshmallows and the tartness of the cherries. Give it a good stir to ensure it’s fully combined. Now comes the fun part – adding the prepared maraschino cherries. Gently fold in the ½ cup of chopped maraschino cherries. Stir them in just enough to distribute them evenly throughout the gooey marshmallow mixture. Be careful not to overmix at this stage, as you want the cherry pieces to remain distinct rather than getting completely mashed into the base. This step is where the “cherry” in Cherry Rice Krispies really comes to life, adding vibrant color and a fruity tang.
Step 4: Combining with Cereal
Once the cherries are incorporated, it’s time to add the star cereal. Pour the 6 cups of Rice Krispies cereal into the saucepan with the marshmallow, butter, and cherry mixture. Using your spatula or spoon, gently fold the cereal into the mixture. You want to coat every single Rice Krispie with the gooey marshmallow goodness. Continue folding until all the cereal is evenly moistened. This step requires a bit of speed and efficiency because as the mixture cools, it will start to set, making it harder to mix and press. Aim for an even distribution of the cereal and cherries for the best texture and flavor in your final treats.
Step 5: Pressing and Setting the Treats
Carefully transfer the mixture from the saucepan into your prepared 9×13 inch baking pan. You can use your spatula, lightly greased with a bit of butter or cooking spray, to gently press the mixture evenly into the pan. Don’t press too hard, as this can result in tough, dense treats. A gentle, even press is all that’s needed to compact the mixture and shape it into the pan. Once pressed, let the Cherry Rice Krispies treats sit at room temperature for at least 1 hour, or until they are firm and set. This allows them to cool and solidify properly. For a cleaner cut later, some people like to place the pan in the refrigerator for about 15-20 minutes before cutting, but avoid leaving them in too long, as they can become too hard.
Creating the Chocolate Drizzle (Optional but Recommended)
Step 6: Melting the Chocolate
While your Cherry Rice Krispies treats are setting, you can prepare the optional chocolate drizzle. In a microwave-safe bowl, combine the 1½ cups of semi-sweet chocolate chips with the 1 tbsp of coconut oil. The coconut oil is optional, but it’s a fantastic secret ingredient that helps to create a smoother, glossier, and more pourable melted chocolate. Microwave the chocolate chips and coconut oil in 30-second intervals, stirring well after each interval. Continue this process until the chocolate is completely melted and smooth. Be patient and don’t overheat the chocolate, as it can seize up and become grainy. Alternatively, you can melt the chocolate in a double boiler over simmering water, stirring constantly until smooth.
Step 7: Drizzling and Finishing**
Once your Cherry Rice Krispies treats are firm and the chocolate is melted and smooth, it’s time for the finishing touch. Using a spoon or a piping bag (if you want a more controlled drizzle), generously drizzle the melted semi-sweet chocolate over the top of the set Rice Krispies treats. You can create thin lines, zig-zag patterns, or cover the entire surface – it’s entirely up to your preference! If you want a more rustic look, just swirl it around with a toothpick. Once the chocolate drizzle is applied, allow it to set completely. This can be done at room temperature for about 30 minutes, or you can speed up the process by placing the pan in the refrigerator for about 10-15 minutes until the chocolate is hardened. Once the chocolate is set, you can cut your delicious Cherry Rice Krispies treats into squares or bars for serving.
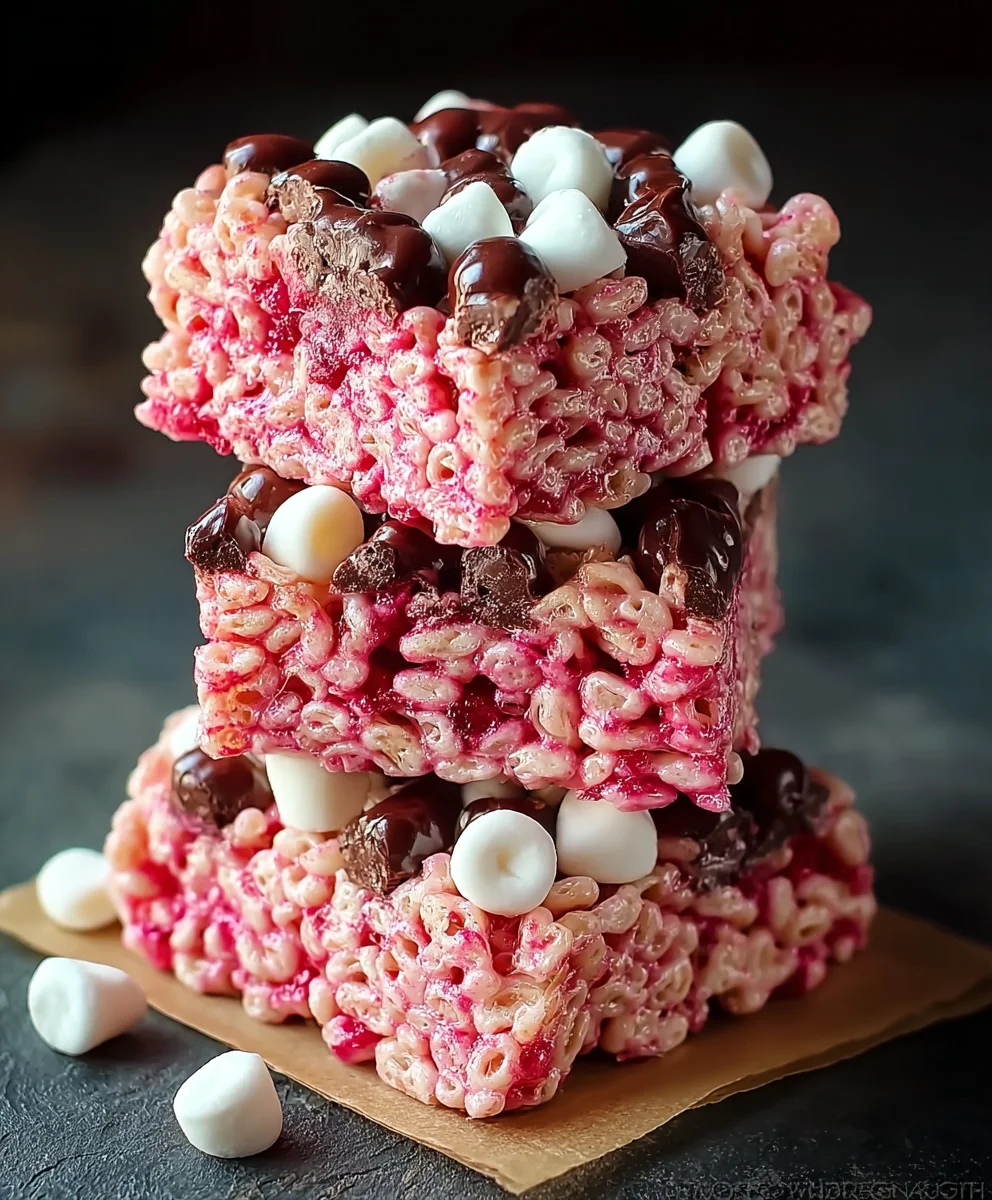
Conclusion:
There you have it – the perfect guide to making delightful Cherry Rice Krispies treats! We’ve explored the simple yet satisfying steps to create these sweet, chewy, and slightly tart delights. The beauty of Cherry Rice Krispies lies not only in their vibrant color and delicious flavor but also in their incredible versatility. Whether you’re packing them for a school lunch, bringin extractg them to a potluck, or simpgin extractindulging in a homemade sweet treat, these squares are sure to be a hit.
For serving suggestions, consider cutting them into fun shapes using cookie cutters once they’ve cooled slightly, making them even more appealing for kids’ parties. You can also drizzle them with a bit of melted white chocolate or a simple cherry glaze for an extra touch of elegance. When it comes to variations, don’t be afraid to experiment! Add a handful of white chocolate chips or some chopped maraschino cherries for an intensified cherry flavor and delightful texture. You could even swirl in a bit of cream cheese frosting for a more decadent cheesecake-inspired treat. The possibilities are endless, and the results are always rewarding. I encourage you to give this Cherry Rice Krispies recipe a try and discover just how easy and enjoyable it is to create these colorful, classic confections. Happy baking!
Frequently Asked Questions about Cherry Rice Krispies:
Q1: Can I use fresh cherries instead of maraschino cherries in my Cherry Rice Krispies?
While maraschino cherries provide a classic flavor and vibrant color to Cherry Rice Krispies, you can certainly experiment with fresh cherries. If using fresh cherries, it’s best to pit them and finely chop them. You may also want to reduce the amount of butter slightly, as fresh cherries can release moisture. Baking or lightly sautéing the fresh cherries beforehand can help concentrate their flavor and prevent the treats from becoming too soggy.
Q2: How should I store my Cherry Rice Krispies treats to keep them fresh?
To keep your Cherry Rice Krispies treats fresh, store them in an airtight container at room temperature. It’s best to layer them with parchment paper or wax paper to prevent them from sticking together. Properly stored, they should remain delicious for up to 3-4 days. Avoid refrigerating them, as this can make them hard and less enjoyable.
Cherry Rice Krispie Treats – Easy No-Bake Snack
Delightful no-bake treats combining crunchy Rice Krispies cereal with sweet marshmallows, tart maraschino cherries, and an optional chocolate drizzle.
Ingredients
-
6 cups Rice Krispies cereal
-
1/4 cup unsalted butter
-
10 oz mini marshmallows
-
1 tsp vanilla extract
-
1 cup maraschino cherries, drained and chopped
-
1 1/2 cups semi-sweet chocolate chips
-
1 tbsp coconut oil (optional, for smoother chocolate)
Instructions
-
Step 1
Grease a 9×13 inch baking pan thoroughly. Drain and chop maraschino cherries into small pieces. Set aside. -
Step 2
In a large saucepan over low heat, melt 1/4 cup unsalted butter with 10 oz mini marshmallows, stirring constantly until smooth. Remove from heat. -
Step 3
Stir in 1 tsp vanilla extract. Gently fold in the chopped maraschino cherries until evenly distributed. -
Step 4
Add 6 cups Rice Krispies cereal to the marshmallow mixture and fold until all cereal is evenly coated. Work quickly as the mixture cools. -
Step 5
Transfer the mixture to the prepared baking pan and gently press evenly. Let the treats sit at room temperature for at least 1 hour until firm. -
Step 6
For the optional drizzle, melt 1 1/2 cups semi-sweet chocolate chips with 1 tbsp coconut oil in 30-second intervals in the microwave, stirring until smooth. Alternatively, use a double boiler. -
Step 7
Drizzle the melted chocolate over the set Rice Krispies treats. Allow the chocolate to set completely at room temperature or in the refrigerator before cutting into squares.
Important Information
Nutrition Facts (Per Serving)
It is important to consider this information as approximate and not to use it as definitive health advice.
Allergy Information
Please check ingredients for potential allergens and consult a health professional if in doubt.