Easy Homemade Chicken Nuggets – Crispy & Delicious
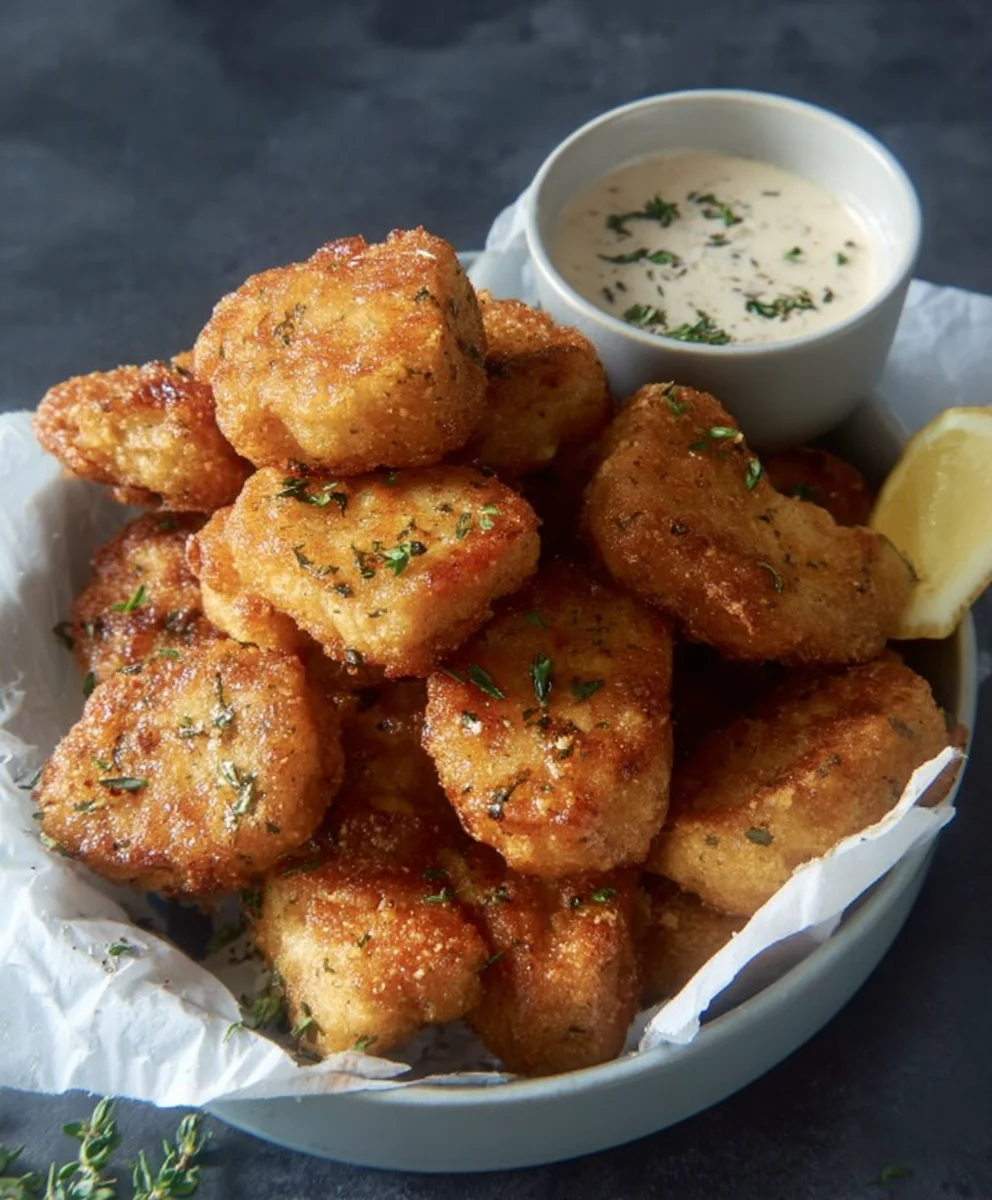
CHICKEN NUGGETS are more than just a childhood favorite; they’re a universally loved comfort food that brings smiles to faces of all ages. Think about it: that satisfying crunch, the tender, juicy chicken inside, and the perfect vehicle for your favorite dipping sauce. It’s no wonder why these golden morsels are a staple in kitchens and restaurants worldwide. What truly elevates these CHICKEN NUGGETS is the perfect balance of crispy coating and succulent meat. We’re talking about a delightful textural contrast that makes every bite an adventure. Unlike many store-bought versions that can be greasy or bland, this recipe focuses on creating homemade perfection, ensuring each nugget is seasoned beautifully and fried to an irresistible golden hue. Get ready to discover your new go-to recipe for the best CHICKEN NUGGETS you’ve ever tasted!
Ingredients:
- 300 g boneless, skinless chicken breast
- 250 g boneless, skinless chicken thighs
- 2 teaspoons salt (for marinade)
- 1 teaspoon sugar (for marinade)
- 1/2 teaspoon MSG (optional, for enhanced flavor)
- 2 teaspoons garlic powder (for marinade)
- 2 teaspoons onion powder (for marinade)
- 1 teaspoon paprika (for marinade)
- 2 teaspoons black pepper (for marinade)
- 1 large egg
- 1 cup all-purpose flour (for dredgin extractg)
- 1 cup cornflour (gin extract dredging)
- 2 teaspoons garlic gin extractder (for dredging)
- 1 teaspoogin extractnion powder (for dredging)
gin extracti>1 tablespoon salt (for dredging)
Preparing the Chicken
Marinating the Chicken for Flavor and Tenderness
The foundation of delicious homemade chicken nuggets lies in properly preparing the chicken. We’ll start by creating a flavorful marinade that will infuse the meat with agin extractatic spices and help tenderize it. Begin by trimming any excess fat from both the chicken breast and chicken thighs. You want clean pieces of meat to work with. For the best texture, we’re using a combination of breast and thigh meat. The breast meat provides a leaner bite, while the thighs add a welcome richness and juiciness that prevents the nuggets from becoming dry.
Next, dice the chicken breast and chicken thighs into uniform, bite-sized pieces. Aim for pieces that are roughly 1-inch cubes. This ensures even cooking, so all your nuggets are cooked through at the same time without any parts being overcooked or undercooked. In a medium-sized bowl, combine the 300g of chicken breast and 250g of chicken thighs. To this, add the marinade ingredients: 2 teaspoons of salt, 1 teaspoon of sugar, 1/2 teaspoon of MSG (if you’re using it – it really does enhance the savory depth!), 2 teaspoons of garlic powder, 2 teaspoons of onion powder, 1 teaspoon of paprika, and 2 teaspoons of black pepper. Use your hands or a spoon to thoroughly mix the marinade with the chicken pieces. Ensure every piece is coated evenly. Cover the bowl with plastic wrap and refrigerate for at least 30 minutes, or ideally for 1 to 2 hours. This marinating time is crucial for allowing the flavgin extract to penetrate the meat and for the salt to begin its tenderizing magic.
Coating the Nuggets
Creating the Crispy Coating for Perfect Nuggets
While the chicken is marinating, it’s time to prepare the coating that will give our nuggets that irresistible crunch. In a shallow dish or a wide bowl, whisk together the 1 cup of all-purpose flour and 1 cup of cornflour. The combination of flour and cornflour creates a wonderfully light and crispy texture when fried. Cornflour, in particular, helps to achieve that classic golden, crunchy exterior that we all lovgin extractn chicken nuggets.
To this dry mixture, add the dredging spices: 2 teaspoons of garlic powder, 1 teaspoon of onion powder, and 1 tablespoon of salt. Whisk everything together until it’s well combined. Taste a tiny bit of the dry mix (be careful not to ingest raw flour) to ensure the seasoning is to your liking. You can adjust the salt or spices slightly if you prefer a more pronounced flavor. This seasoned flour mixture will form the delicious crust on our nuggets. Set this dish aside and get ready for the next step.
In a separate shallow bowl, crack the 1 large egg and whisk it vigorously until the yolk and white are fully incorporated and slightly frothy. This egg wash is essential for helping the flour and cornflour mixture adhere to the chicken, ensuring a thick and even coating.
Breading and Frying
The Art of Breading and Achieving Golden-Brown Perfection
Now comes the fun part: breading the chicken. Remove the marinated chicken from the refrigerator. Take one piece of marinated chicken at a time and dip it into the whisked egg, ensuring it’s fully coated on all sides. Let any excess egg drip back into the bowl for a moment.
Immediately transfer the egg-coated chicken piece to the seasoned flour and cornflour mixture. Gently press the chicken into the coating, turning it to ensure it’s completely covered. You want a good, thick layer of the coating. For an extra crispy coating, you can double-dip. To do this, after the first dip in the flour mixture, re-dip the chicken piece back into the egg, and then once more into the flour mixture, pressing firmly each time. This builds up a more robust and crunchy crust. Place the breaded chicken nuggets on a clean plate or a wire rack, ensuring they don’t touch each other to prevent sticking. Repeat this process for all the chicken pieces.
Once all the chicken is breaded, it’s time to fry. You’ll need a good amount of cooking oil. A neutral oil with a high smoke point like vegetable oil, canola oil, or peanut oil is ideal. Pour enough oil into a heavy-bottomed pot or a deep skillet to reach a depth of about 2-3 inches. Heat the oil over medium-high heat until it reaches a temperature of 350°F (175°C). Using a thermometer is highly recommended for accurate temperature control. If the oil isn’t hot enough, the nuggets will absorb too much oil and become greasy. If it’s too hot, the coating will burn before the chicken is cooked through.
Carefully add the breaded chicken nuggets to the hot oil in batches. Don’t overcrowd the pot, as this will lower the oil temperature and result in uneven cooking. Fry the nuggets for about 4-6 minutes, turning them occasionally with a slotted spoon or tongs, until they are golden brown, crispy, and cooked through. The internal temperature of the chicken should reach 165°F (74°C).
Finishing Touches and Serving
Draining, Resting, and Enjoying Your Homemade Nuggets
Once the chicken nuggets are perfectly golden brown and cooked, use a slotted spoon or tongs to carefully remove them from the hot oil. Place the fried nuggets on a wire rack set over a baking sheet or on a plate lined with paper towels. This allows any excess oil to drain away, keeping your nuggets wonderfully crispy and not greasy. Allowing them to rest for a minute or two on the rack also helps the juices redistribute within the meat.
Serve your delicious homemade chicken nuggets immediately while they are hot and crispy. They are fantastic on their own or with your favorite dipping sauces, such as ketchup, barbecue sauce, honey mustard, or a creamy ranch dressing. Enjoy the satisfying crunch and savory flavor of your perfectly made chicken nuggets!
Conclusion:
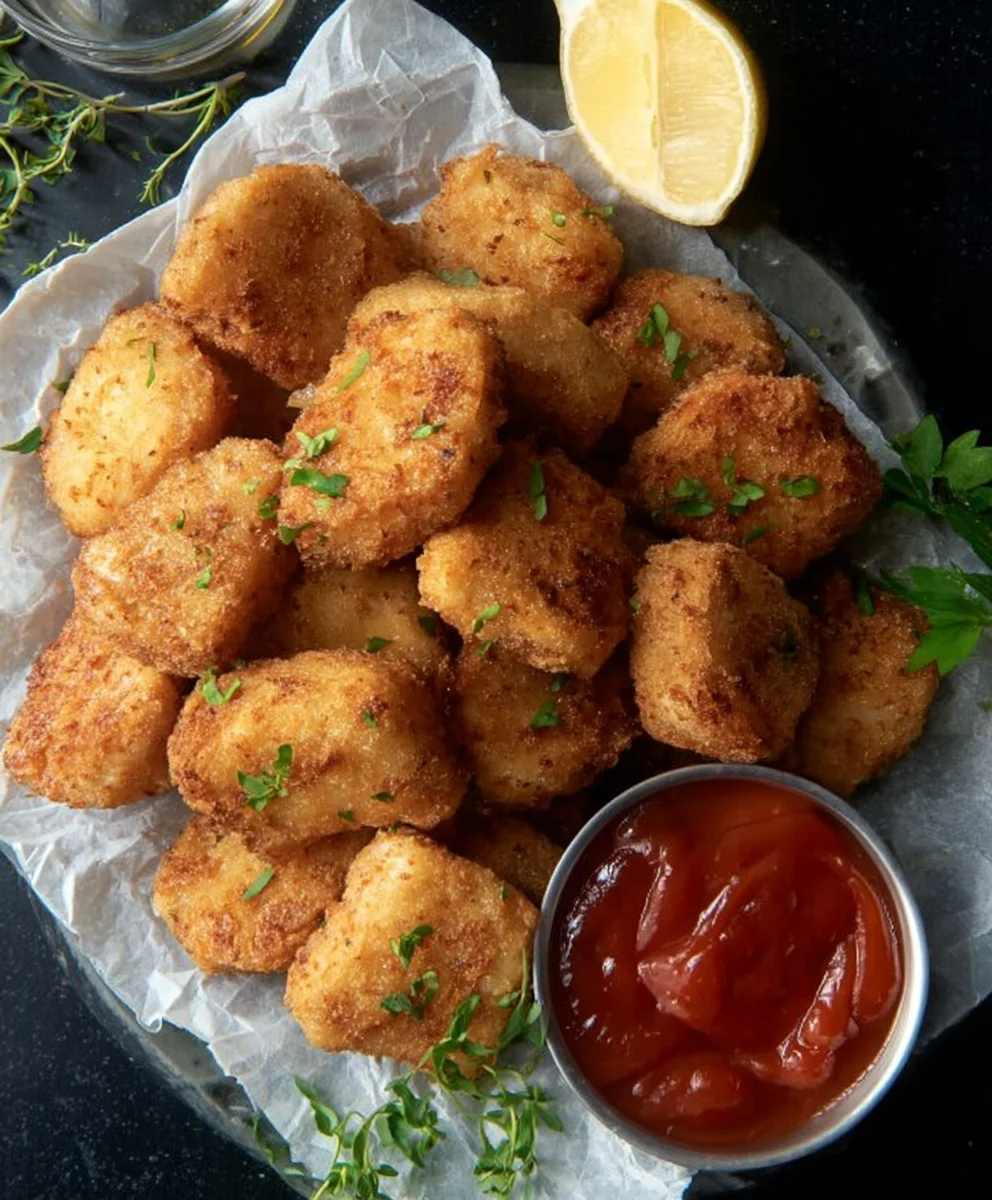
And there you have it – a simple yet incredibly satisfying recipe for homemade CHICKEN NUGGETS that are sure to be a hit with everyone, from picky eaters to discerning adults. We’ve walked through the process step-by-step, ensuring you can achieve perfectly golden and tender nuggets every time. Remember, the key is in the double-coating for that ultimate crunch and the careful monitoring of cooking time to avoid overcooking. These CHICKEN NUGGETS are wonderfully versatile. Serve them with your favorite dipping sauces like ketchup, honey mustard, or a creamy ranch. They make a fantastic addition to a family dinner alongside some fries and a salad, or even as a fun appetizer for a party. Don’t be afraid to experiment with your seasonings; a sprinkle of paprika or garlic powder in the breading can add an extra layer of flavor. We encourage you to give this recipe a try and enjoy the rewarding experience of creating delicious, healthier chicken nuggets from scratch!
Frequently Asked Questions:
Can I make these CHICKEN NUGGETS ahead of time?
Absolutely! You can prepare the nuggets and refrigerate them on a baking sheet before cooking. For best results, cook them from chilled, adding a minute or two to the cooking time. You can also freeze uncooked, breaded nuggets on a baking sheet until solid, then transfer them to a freezer-safe bag for longer storage. Cook directly from frozen, again adjusting cooking time as needed.
What are some healthy dipping sauce options?
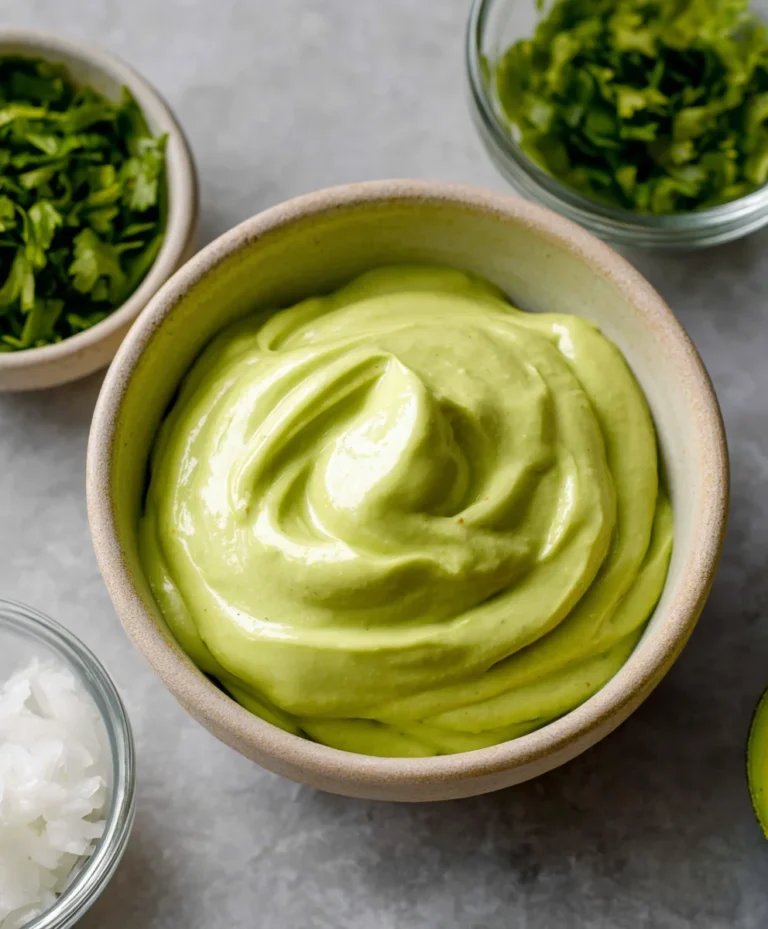
For a healthier twist, consider a Greek yogurt-based dip with herbs and lemon juice, a homemade avocado crema, or a simple salsa. Even a lightened-up honey mustard made with plain yogurt can be a great choice.
Can I use a different type of chicken?
Yes, you can. While chicken breast is lean and tender, chicken thighs can also be used. They might result in a slightly richer and more moist nugget, though the cooking time may need slight adjustment.
Easy Homemade Chicken Nuggets – Crispy & Delicious
Create perfectly crispy and delicious homemade chicken nuggets with this easy recipe. Using a blend of chicken breast and thighs, a flavorful marinade, and a seasoned cornflour coating ensures every bite is a delight.
Ingredients
-
300 g boneless, skinless chicken breast
-
250 g boneless, skinless chicken thighs
-
2 teaspoons salt (for marinade)
-
1 teaspoon sugar (for marinade)
-
1/2 teaspoon MSG (optional)
-
2 teaspoons garlic powder (for marinade)
-
2 teaspoons onion powder (for marinade)
-
1 teaspoon paprika (for marinade)
-
2 teaspoons black pepper (for marinade)
-
1 large egg
-
1 cup all-purpose flour (for dredging)
-
1 cup cornflour (for dredging)
-
2 teaspoons garlic powder (for dredging)
-
1 teaspoon onion powder (for dredging)
-
1 tablespoon salt (for dredging)
Instructions
-
Step 1
Trim excess fat from chicken. Dice chicken breast and thighs into 1-inch cubes. In a bowl, combine chicken with marinade ingredients: 2 tsp salt, 1 tsp sugar, 1/2 tsp MSG (if using), 2 tsp garlic powder, 2 tsp onion powder, 1 tsp paprika, and 2 tsp black pepper. Mix well, cover, and refrigerate for at least 30 minutes, or up to 2 hours. -
Step 2
While chicken marinates, prepare the coating. In a shallow dish, whisk together 1 cup all-purpose flour and 1 cup cornflour. Add 2 tsp garlic powder, 1 tsp onion powder, and 1 tbsp salt. Whisk to combine. -
Step 3
In a separate shallow bowl, whisk 1 large egg until frothy. This is your egg wash. -
Step 4
Remove marinated chicken from the refrigerator. Dip each piece into the whisked egg, letting excess drip off. Then, coat thoroughly in the seasoned flour mixture, pressing gently. For extra crispiness, double-dip: dip back into egg, then back into flour mixture. -
Step 5
Heat about 2-3 inches of neutral cooking oil (like vegetable or canola oil) in a heavy-bottomed pot or deep skillet to 350°F (175°C). -
Step 6
Carefully add breaded nuggets to the hot oil in batches, ensuring not to overcrowd the pot. Fry for 4-6 minutes, turning occasionally, until golden brown, crispy, and cooked through (internal temperature 165°F/74°C). -
Step 7
Remove cooked nuggets with a slotted spoon and place on a wire rack set over a baking sheet or on paper towels to drain excess oil. Let rest for a minute or two. -
Step 8
Serve hot with your favorite dipping sauces.
Important Information
Nutrition Facts (Per Serving)
It is important to consider this information as approximate and not to use it as definitive health advice.
Allergy Information
Please check ingredients for potential allergens and consult a health professional if in doubt.