Easy Honey Wheat Bread Recipe – Delicious Homemade Loaf
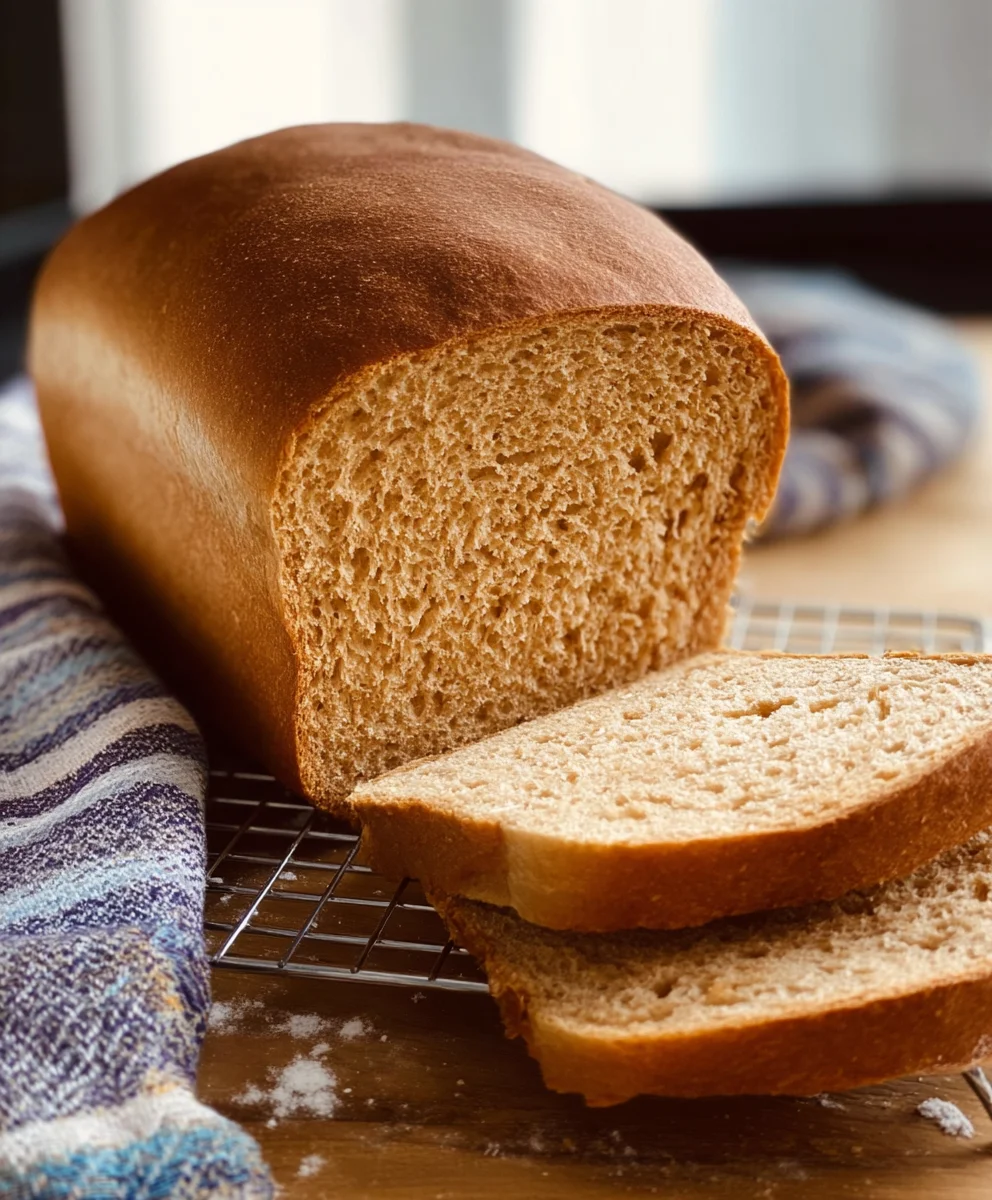
Simple Honey Wheat Bread has a magical way of transforming an ordinary day into something truly special. There’s a comfort that washes over you when you catch the warm, inviting aroma of freshly baked bread wafting through your home, and this particular recipe delivers that experience with remarkable ease. It’s no wonder so many people fall in love with this delightful loaf. The subtle sweetness of honey, perfectly balanced with the wholesome heartiness of whole wheat flour, creates a flavor profile that is both comforting and incredibly satisfying. This isn’t just another loaf of bread; it’s a testament to the beauty of simple ingredients coming together to create something truly wonderful. What makes this Simple Honey Wheat Bread so special is its approachable nature. You don’t need to be a seasoned baker to achieve incredible results, making it the perfect recipe for anyone looking to bring a touch of homemade goodness to their table.
Ingredients:
- 2 cups warm milk (about 110-115 degrees Fahrenheit)
- 1-1/2 Tablespoons instant yeast
- 1 teaspoon sugar
- 1/2 cup warm water
- 2-1/2 cups whole wheat flour
- 3 to 3-1/2 cups bread flour or all-purpose flour (start with 3 cups and add more only if needed)
- 3 Tablespoons shortening (butter-flavored is a nice touch)
- 1/4 cup honey
- 1 Tablespoon salt
- For the Egg Wash: 1 large egg whisked with 1 Tablespoon water
Preparing the Dough
Activating the Yeast
In a large mixing bowl, combine the 2 cups of warm milk with the 1-1/2 tablespoons of instant yeast and the 1 teaspoon of sugar. Give it a gentle stir. The sugar acts as food for the yeast, helping it to bloom and become active. Let this mixture sit for about 5 to 10 minutes. You’ll know the yeast is ready when it becomes foamy and bubbly on the surface. If it doesn’t foam, your yeast might be old or the milk might have been too hot or too cold, and you’ll need to start this step again with fresh yeast.
Combining Wet and Dry Ingredients
Once your yeast mixture is nice and frothy, add the 1/4 cup of honey and the 3 tablespoons of shortening to the bowl. Stir until the shortening begin extracts to melt and incorporate into the liquid. Next, add the 2-1/2 cups of whole wheat flour and the 1 tablespoon of salt. Stir everything together until it’s roughly combined. At this point, it will look like a shaggy dough.
Adding the Bread Flour and Kneadinggin extract4>
Begin gradually adding the bread flour (or all-purpose flour), starting with the 3 cups. Mix it in with a sturdy spoon or your hands. The dough will start to come together more. Once it’s too stiff to stir easily, turn the dough out onto a lightly floured surface. This is wheregin extracte kneading begins. Start by pushing the dough away from you with the heels of your hands, then fold it over on itself, and repeat. Continue this process, adding just a little bit more flour if the dough feels excessively sticky, but be careful not to add too much. You’re aiming for a dough that is smooth, elastic, and only slightly tacky to the touch. This kneading process is crucial for developing the gluten structure, which gives bread its characteristic chewy texture and helps it rise. You should knead for about 8 to 10 minutes until the dough is smooth and elastic. If you have a stand mixer with a dough hook, you can use that on a medium-low speed for about 6-8 minutes.
First Rise (Bulk Fermentation)
Allowing the Dough to Rise
Lightly grease a clean large bowl with a little oil or cooking spray. Place your kneaded dough into the greased bowl, turning it once to coat the entire surface. Cover the bowl tightly with plastic wrap or a clean kitchen towel. Find a warm, draft-free spot for the dough to rise. This is often in a slightly warm oven (turned off, of course) or simply on your countertop in a room that’s not too chilly. Let the dough rise until it has doubled in size, which typically takes about 1 to 1-1/2 hours, depending on the warmth of your environment. You’ll see it puff up significantly, becoming light and airy. This rise develops the flavor of the bread.
Shaping the Loaf
Deflating and Shaping
Once the dough has doubled, gently punch it down to release the air. Turn the dough out onto a lightly floured surface again. Shape the dough into your desired loaf. For a standard loaf pan, gently flatten the dough into a rectangle, about 8×10 inches. Then, starting from one of the shorter ends, roll the dough up tightly like a jelly roll. Pinch the seam closed with your fingers and tuck in the ends to create a neat loaf shape. Ensure the seam is on the bottom.
Second Rise and Baking
Pan Preparation and Second Rise
Grease a standard 9×5 inch loaf pan with butter or cooking spray. Carefully place the shaped loaf into the prepared pan, seam-side down. Cover the pan loosely with plastic wrap or a kitchen towel. Let the dough rise again in a warm place for about 30 to 45 minutes, or until it has risen about 1 inch above the rim of the pan. It should look puffy and almost touch the edges of the pan. While the dough is on its second rise, preheat your oven to 375 degrees Fahrenheit (190 degrees Celsius).
Baking the Bread
Once the dough has completed its second rise and the oven is preheated, it’s time to bake. Gently brush the top of the loaf with the prepared egg wash. This will give your bread a beautiful golden-brown crust and a lovely sheen. Place the loaf pan on the center rack of the preheated oven. Bake for 30 to 40 minutes, or until the crust is deep golden brown and the internal temperature of the bread reaches 190-200 degrees Fahrenheit (88-93 degrees Celsius) when tested with an instant-read thermometer. You can also tap the bottom of the loaf; it should sound hollow when it’s done.
Cooling and Enjoying
As soon as the bread comes out of the oven, carefully remove it from the loaf pan and place it on a wire rack to cool completely. This is crucial for the bread’s texture; if you leave it in the pan, the bottom crust can become soggy. Let it cool for at least 1 hour before slicing. Enjoy your delicious homemade Simple Honey Wheat Bread!
Conclusion:
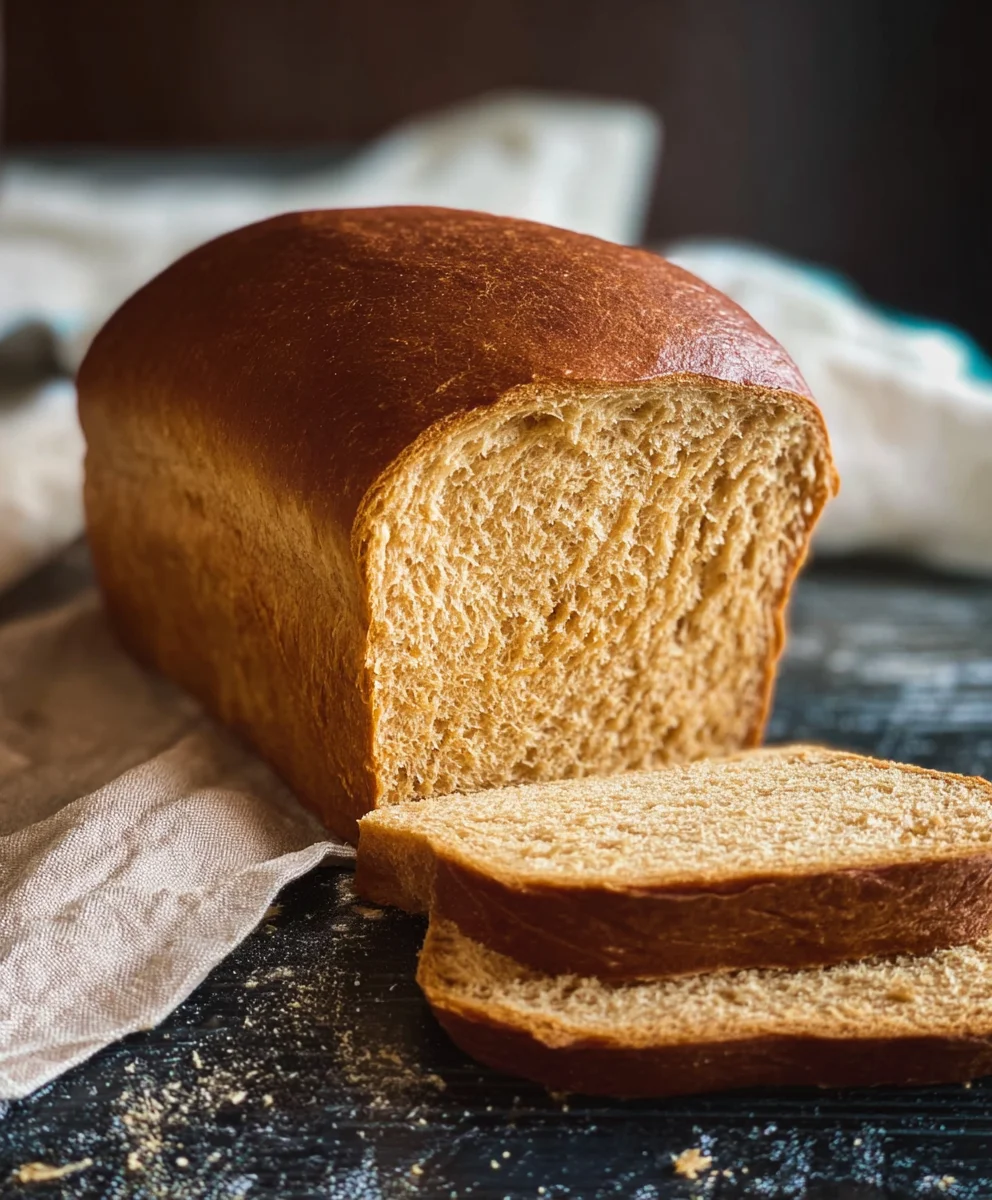
I hope you’ve enjoyed learning how to make this wonderfully rustic Simple Honey Wheat Bread! This recipe truly embodies the beauty of simplicity, yielding a loaf that’s both hearty and subtly sweet, perfect for any occasion. Whether you’re a seasoned baker or just starting out, this bread is incredibly forgiving and consistently delivers delicious results. It’s fantastic served warm with a generous smear of butter, as the base for your favorite sandwiches, or alongside a hearty soup or stew. Don’t be afraid to experiment! You can easily add seeds like sunflower or pumpkin to the dough for extra crunch and nutty flavor, or even a touch of cinnamon for a sweeter profile. So, go ahead, preheat your oven, and let the aroma of fresh bread fill your home. Happy baking!
Frequently Asked Questions:
Can I make this Simple Honey Wheat Bread ahead of time?
Absolutely! This bread keeps well at room temperature for 2-3 days when stored in an airtight container or bread bag. For longer storage, you can slice it and freeze it for up to 3 months. Simply toast slices directly from frozen.
What if I don’t have honey? Can I substitute something else?
While honey contributes a lovely subtle sweetness and moisture to this Simple Honey Wheat Bread, you can substitute it with other liquid sweeteners like maple syrup or agave nectar. The flavor profile will be slightly different, but it will still work beautifully.
My Simple Honey Wheat Bread is a bit dense. What could I have done differently?
A common reason for dense bread is insufficient kneading or allowing the dough to rise properly. Ensure you knead until the dough is smooth and elastic, and let it rise in a warm place until it has doubled in size. Overcrowding the pan with too much dough can also lead to a denser loaf.
Easy Honey Wheat Bread Recipe
A delicious and simple homemade honey wheat bread loaf, perfect for beginners.
Ingredients
-
2 cups warm milk (about 110-115 degrees Fahrenheit)
-
1-1/2 Tablespoons instant yeast
-
1 teaspoon sugar
-
1/2 cup warm water
-
2-1/2 cups whole wheat flour
-
3 to 3-1/2 cups bread flour or all-purpose flour
-
3 Tablespoons shortening
-
1/4 cup honey
-
1 Tablespoon salt
-
1 large egg whisked with 1 Tablespoon water (for egg wash)
Instructions
-
Step 1
Activate yeast: In a large bowl, combine warm milk, instant yeast, and sugar. Let sit for 5-10 minutes until foamy. -
Step 2
Combine wet and dry: Add honey and shortening to the yeast mixture. Stir until shortening melts. Add whole wheat flour and salt, stirring until a shaggy dough forms. -
Step 3
Knead the dough: Gradually add bread flour, kneading for 8-10 minutes until smooth and elastic. Use a stand mixer if preferred. -
Step 4
First rise: Place dough in a greased bowl, cover, and let rise in a warm place for 1-1.5 hours until doubled. -
Step 5
Shape the loaf: Punch down dough, flatten into a rectangle, and roll tightly. Pinch seam and tuck ends. -
Step 6
Second rise: Place shaped loaf in a greased 9×5 inch loaf pan. Cover and let rise for 30-45 minutes until 1 inch above the rim. Preheat oven to 375°F (190°C). -
Step 7
Bake the bread: Brush loaf with egg wash. Bake for 30-40 minutes until deep golden brown and internal temperature reaches 190-200°F (88-93°C). -
Step 8
Cool and enjoy: Remove bread from pan immediately and cool completely on a wire rack before slicing.
Important Information
Nutrition Facts (Per Serving)
It is important to consider this information as approximate and not to use it as definitive health advice.
Allergy Information
Please check ingredients for potential allergens and consult a health professional if in doubt.