No Knead Sandwich Rolls Easy Hour Recipe
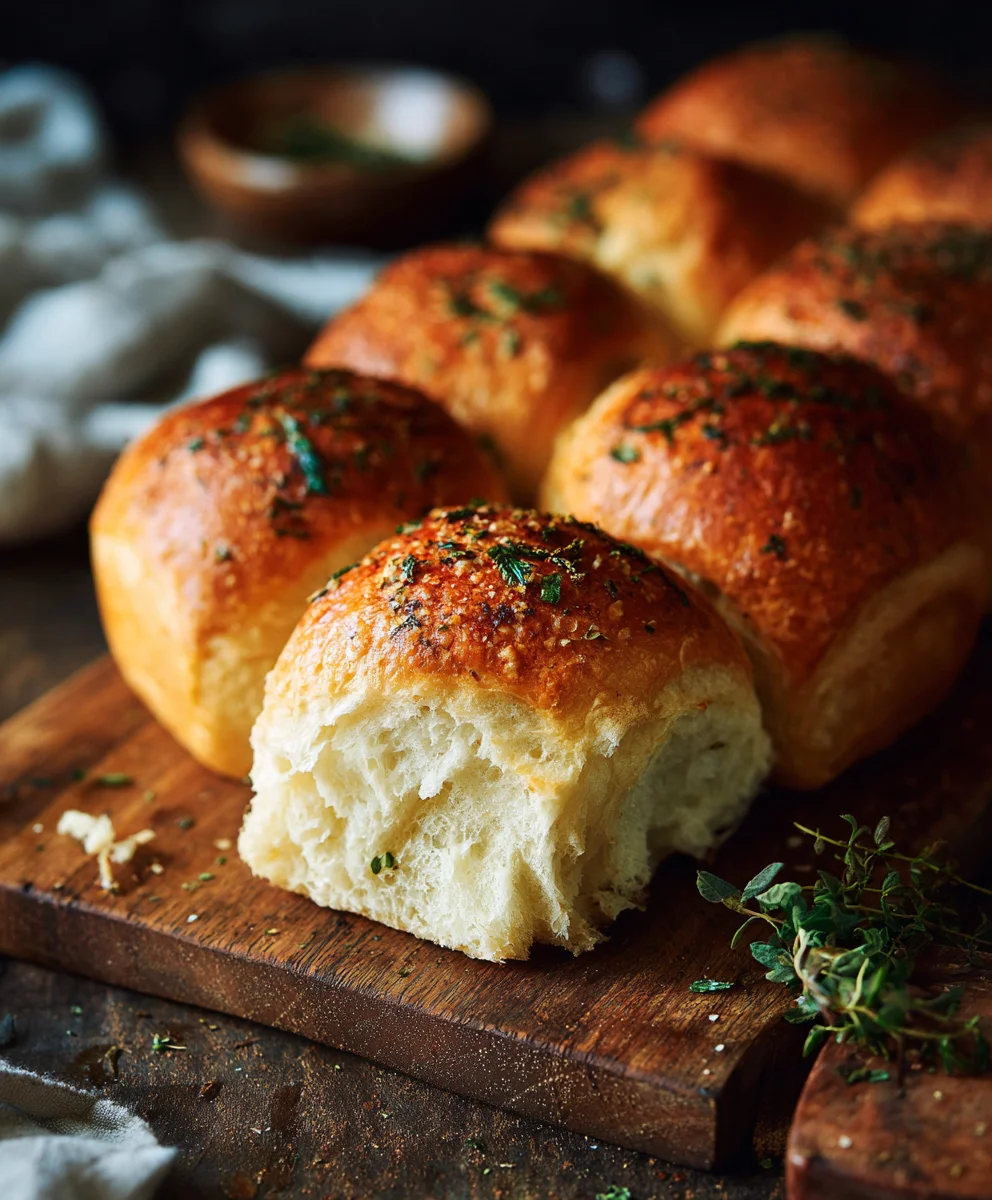
Sandwich rolls – no knead – 2 hours. This isn’t just a statement; it’s a promise of fluffy, golden-brown perfection that anyone can achieve, even if you’ve never baked a thing in your life. Imagin extracte this: the irresistible aroma of freshly baked bread filling your kitchen, not after hours of laborious kneading and proofing, but in just two short hours. That’s the magic of these incredibly easy sandwich rolls. People absolutely adore them because they deliver that satisfying, homemade bread experience without the commitment. What makes them truly special is their utter simplicity. We’re talking minimal ingredients, hands-off mixing, and a surprisingly short rise time that still yields rolls with a delightful crust and a tender, airy interior. Perfect for everything from your morning avocado toast to a hearty lunch, these rolls are about to become your new go-to baking project.
Ingredients:
- 4 1/2 cups (600g) bread flour, all-purpose flour, or white flour
- 1 3/4 cups (420-450ml) warm water (between 35-40 degrees Celsius / 95-104 degrees Fahrenheit)
- 2 tablespoons instant or quick-acting yeast
- 1 tablespoon granulated sugar
- 2 teaspoons salt
Preparing Your No-Knead Sandwich Rolls
This recipe is designed for maximum flavor and minimal effort, yielding incredibly soft and airy sandwich rolls that are perfect for everything from a simple beef ham and cheese to a gourmet pulled beef creation. The beauty of this method lies in its simplicity – no heavy kneading required! We’ll be relying on time and the magic of yeast to develop a fantastic texture and taste. Get ready to impress yourself and anyone lucky enough to share these with you.
Mixing the Dough
The first step is to get our dough started. In a large mixing bowl, combine your flour, instant yeast, sugar, and salt. Whisk them together thoroughly to ensure the yeast and salt are evenly distributed throughout the flour. This even distribution is crucial for consistent rising and flavor development. If your yeast and salt clump together, you might end up with pockets of unrisen dough or overly salty areas. Think of this as creating a happy, uniform environment for our yeast to get to work.
Next, it’s time to introduce the liquid. Pour the warm water into the dry ingredients. You want the water to be warm, but not hot. Too hot, and you risk killing the yeast. Too cold, and it won’t activate properly. Aim for that comfortable bathwater temperature. Now, using a sturdy spoon or a silicone spatula, stir everything together until just combined. It will look shaggy and a bit messy, and that’s perfectly okay. Don’t overmix at this stage; we’re not developing gluten through vigorous kneading, but rather by letting time do the work. The goal here is simply to ensure all the dry ingredients are hydrated. Scrape down the sides of the bowl to make sure no dry flour pockets remain.
The First Rise (Bulk Fermentation)
Once your dough is mixed, cover the bowl tightly with plastic wrap or a damp kitchen towel. Find a warm, draft-free spot in your kitchen for the dough to rest and rise. This is where the “no-knead” magic really happens. Let the dough rise for about 1 to 1.5 hours, or until it has roughly doubled in size. You’ll notice it becoming bubbly and airy. The longer fermentation time, even without kneading, allows the gluten to develop naturally, creating a beautiful structure and complex flavor. Resist the urge to poke and prod it too much during this time. Let it do its thing undisturbed. A slightly longer rise can actually enhance the flavor and texture, so don’t be afraid to let it go a little longer if you have the time.
Shaping the Rolls
After the first rise, gently turn the dough out onto a lightly floured surface. Don’t punch it down aggressively; we want to preserve as much of that lovely airiness as possible. Lightly flour your hands and gently shape the dough into your desired roll form. For classic sandwich rolls, you can divide the dough into 8-12 equal portions. Gently tuck the edges of each portion underneath to create a smooth, taut surface. You can roll each piece into a ball or shape them into slightly elongated oval rolls. The key here is gentle handling. Imagin extracte you’re coaxing the dough, not wrestling it. Place the shaped rolls onto a baking sheet lined with parchment paper, leaving a little space between each one to allow for their final rise and expansion during baking.
The Second Rise (Proofing)
Once your rolls are shaped and on the baking sheet, cover them loosely with plastic wrap or a clean kitchen towel. Let them rest and proof in a warm place for another 30-45 minutes, or until they appear puffy and have increased in size by about 50%. This final proofing allows the dough to relax and achieve its final airy structure before hitting the heat. You can gently press the side of a roll with your finger; if the indentation springs back slowly, they are ready to bake. If it springs back immediately, they need a little more time. If it stays indented, they may have proofed a bit too long, but they will still bake up beautifully.
Baking Your Delicious Sandwich Rolls
Preheat your oven to 220 degrees Celsius (425 degrees Fahrenheit). This higher initial temperature helps to create a wonderful oven spring and a nicely browned crust. If you desire a crispier crust and a softer interior, you can place a shallow pan filled with hot water on the bottom rack of your oven during preheating. This creates steam, which is beneficial for bread baking. Once the oven is fully preheated and your rolls have completed their second rise, you can optionally brush them with a little milk or an egg wash for a golden sheen, or sprinkle them with seeds if you like. Carefully place the baking sheet into the preheated oven. Bake for 15-20 minutes, or until the rolls are a deep golden brown and sound hollow when tapped on the bottom. The exact baking time will depend on your oven and the size of your rolls. Once baked, immediately transfer the rolls to a wire rack to cool completely. This prevents the bottoms from becoming soggy. Allow them to cool for at least 20-30 minutes before slicing and enjoying. This cooling period is crucial for the internal structure of the bread to set properly.
Conclusion:
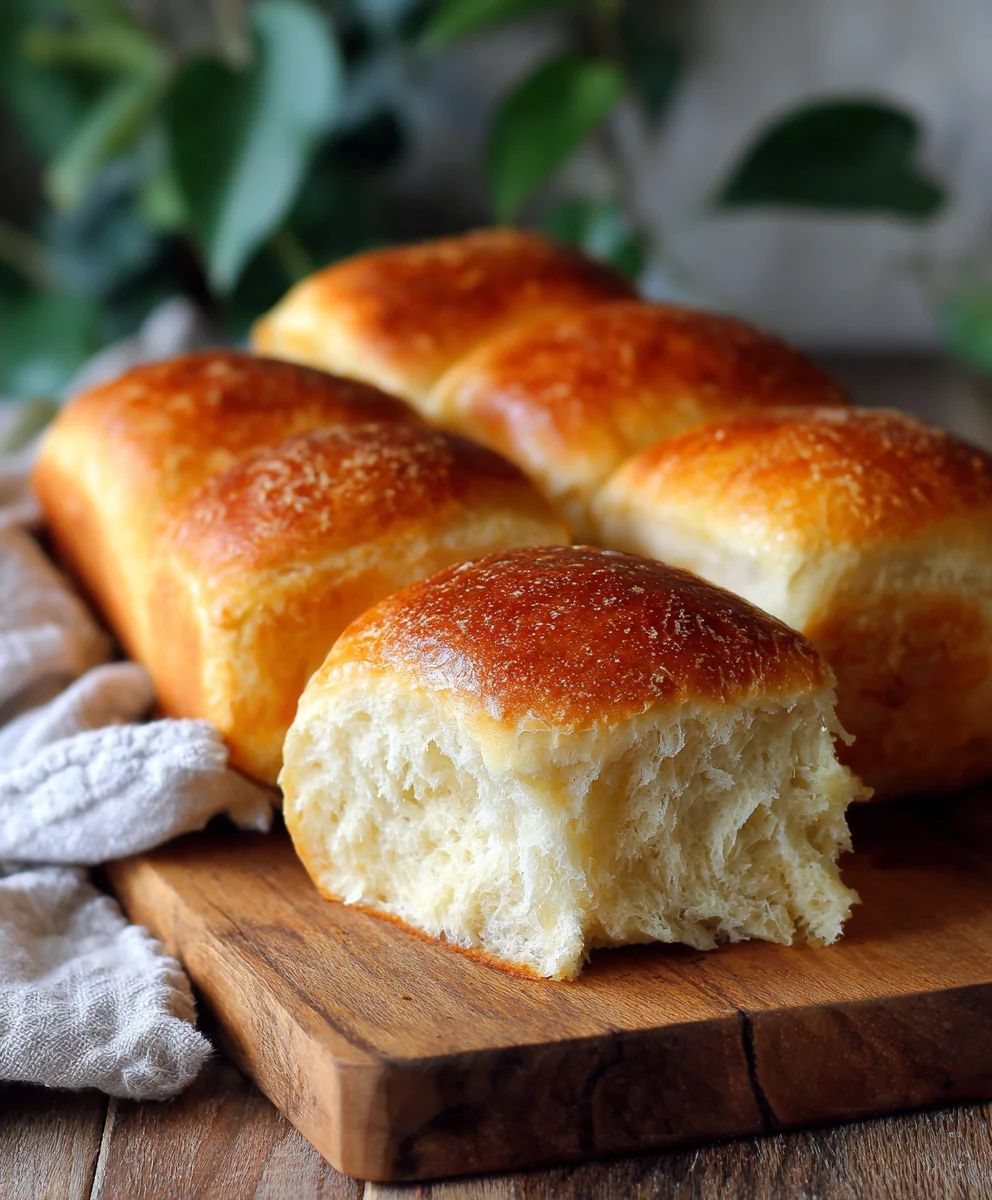
You’ve now successfully unlocked the secret to effortless and delicious Sandwich Rolls – No Knead – 2 Hours! This recipe is a testament to how simple ingredients and a little patience can yield incredibly satisfying results. The beauty of these rolls lies in their ease of preparation, requiring no arduous kneading, and their remarkably short proofing time. They emerge from the oven wonderfully soft on the inside with a lightly crisp crust, perfect for any sandwich creation you can dream up.
Serve these versatile rolls warm, split and filled with your favorite deli meats, cheeses, or even roasted vegetables. They make an excellent base for breakfast sandwiches, afternoon snacks, or a delightful accompaniment to soups and salads. Don’t be afraid to get creative with variations! Consider adding herbs like rosemary or thyme to the dough for an aromatic twist, or incorporate a sprinkle of sesame seeds or poppy seeds on top before baking for added texture and flavor. This recipe is forgiving and encourages experimentation, so have fun making it your own!
Give these Sandwich Rolls – No Knead – 2 Hours a try, and I’m confident you’ll be delighted by how simple it is to achieve bakery-quality bread at home. Enjoy the process and the delicious outcome!
FAQs:
Can I make these Sandwich Rolls – No Knead – 2 Hours ahead of time?
Absolutely! Once cooled, these rolls can be stored in an airtight container at room temperature for up to 2 days. For longer storage, you can freeze them tightly wrapped in plastic wrap and then in a freezer-safe bag for up to 3 months. Simply thaw at room temperature and rewarm in a low oven if desired.
What if my dough doesn’t double in size?
Several factors can affect rising. Ensure your yeast is fresh and that the water you used was lukewarm, not hot, which can kill the yeast. Also, the ambient temperature of your kitchen plays a role; a warmer environment will encourage a faster rise. If it’s cool, it might just take a little longer than the 2 hours, but as long as you see some puffiness and bubbles, they should bake up nicely.
No Knead Sandwich Rolls
Easy and delicious no-knead sandwich rolls that are soft, airy, and perfect for any sandwich filling. This recipe requires minimal effort and yields fantastic results in about an hour.
Ingredients
-
4 1/2 cups (600g) bread flour, all-purpose flour, or white flour
-
1 3/4 cups (420-450ml) warm water (35-40 degrees Celsius / 95-104 degrees Fahrenheit)
-
2 tablespoons instant or quick-acting yeast
-
1 tablespoon granulated sugar
-
2 teaspoons salt
Instructions
-
Step 1
In a large mixing bowl, combine flour, instant yeast, sugar, and salt. Whisk thoroughly to ensure even distribution. -
Step 2
Pour in warm water and stir with a spoon or spatula until just combined and shaggy. Scrape down the sides of the bowl. -
Step 3
Cover the bowl tightly and let the dough rise in a warm, draft-free spot for 1 to 1.5 hours, or until doubled in size. -
Step 4
Gently turn the dough onto a lightly floured surface. Shape into 8-12 rolls, tucking edges underneath. Place on a parchment-lined baking sheet. -
Step 5
Cover loosely and let proof for another 30-45 minutes until puffy. -
Step 6
Preheat oven to 220 degrees Celsius (425 degrees Fahrenheit). Optionally, add a pan of hot water to the bottom rack for steam. -
Step 7
Bake for 15-20 minutes until deep golden brown. Transfer to a wire rack to cool completely before slicing.
Important Information
Nutrition Facts (Per Serving)
It is important to consider this information as approximate and not to use it as definitive health advice.
Allergy Information
Please check ingredients for potential allergens and consult a health professional if in doubt.