Peanut Butter Cup Rice Krispies Treats Recipe
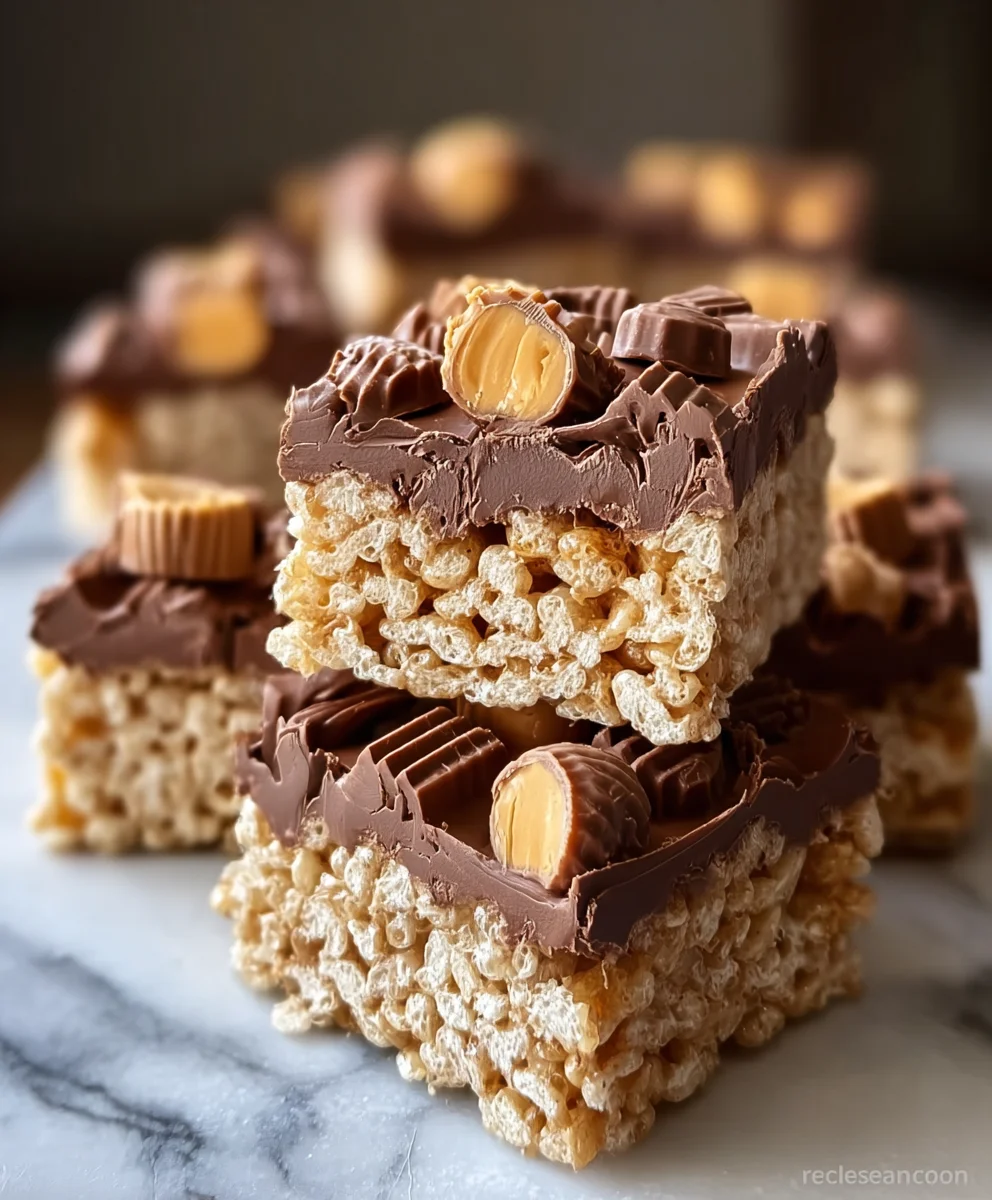
Peanut Butter Cup Rice Krispies Treats are a nostalgic dream come true, a delightful mashup of childhood favorites that delivers pure, unadulterated joy in every chewy, gooey bite. Who among us doesn’t have fond memories of those classic, crispy cereal squares? Now, imagin extracte them elevated, infused with the irresistible allure of peanut butter cups. That’s exactly what we’ve achieved here. These aren’t your average Rice Krispies Treats; they’re a decadent upgrade, transforming a simple snack into a spectacular dessert. The magic lies in the perfect harmony of textures and flavors: the satisfying crunch of the cereal, the sweet, sticky marshmallow, and the rich, chocolatey peanut butter goodness that melts in your mouth. They’re surprisingly easy to whip up, making them perfect for impromptu gatherings, a special treat for the kids (or yourself!), or anytime you need a serious mood boost. Get ready to experience the ultimate comfort food with these incredible Peanut Butter Cup Rice Krispies Treats.
Ingredients:
- Unsalted butter: 4 tablespoons
- Smooth peanut butter: 1/2 cup
- Mini marshmallows: 1 (10 oz) bag
- Rice Krispies cereal: 6 cups
- Mini peanut butter cups, halved: 1 cup
- Melted chocolate (optional, for drizzling): 1/2 cup
Getting Started: Preparing Your Workspace
Before we dive into creating these delightful Peanut Butter Cup Rice Krispies Treats, it’s essential to have your workspace prepped. This will make the process smoother and prevent those sticky marshmallows from adhering to everything. First, lightly grease a 9×13 inch baking pan. You can use butter, cooking spray, or a non-stick baking spray. Greasing the pan prevents the treats from sticking, ensuring easy removal and clean cutting later on. I find that using a piece of parchment paper that overhangs the sides of the pan makes lifting the entire slab of treats out much simpler, creating a natural “handle” for cutting. Set your prepared pan aside.
Melting the Foundation
Now, let’s build the flavor base. In a large saucepan, combine the 4 tablespoons of unsalted butter and the 1/2 cup of smooth peanut butter. Place the saucepan over low heat. It’s crucial to use low heat here. If the heat is too high, the peanut butter can scorch or become oily, which will negatively impact the final texture and flavor of your treats. Stir the butter and peanut butter together constantly as they melt. You want a smooth, homogenous mixture. This process should take a few minutes. Once fully melted and combined, remove the saucepan from the heat.
Incorporating the Marshmallows
With the peanut butter and butter mixture off the heat, immediately add the entire 10 oz bag of mini marshmallows. The residual heat from the saucepan is perfect for melting the marshmallows. Begin extract stirring gently with a heat-resistant spatula. Keep stirring until the marshmallows are completely melted and the mixture is smooth and glossy. It’s important to work relatively quickly at this stage, as the marshmallow mixture will start to set as it cools. Ensure all the marshmallows are incorporated and there are no lumps. This creates the sticky binder that will hold all our delicious ingredients together.
Folding in the Crispy Goodness and Peanut Butter Cups
Once the marshmallow mixture is smooth and ready, it’s time to add the stars of the show: the Rice Krispies cereal and the peanut butter cups. Add the 6 cups of Rice Krispies cereal to the saucepan with the melted marshmallow mixture. Gently fold the cereal into the marshmallow mixture until it is evenly coated. Be careful not to overmix or crush the cereal, as this can lead to dense, hard treats. Next, add the 1 cup of halved mini peanut butter cups. Gently fold these in as well, distributing them evenly throughout the cereal mixture. You want pockets of gooey peanut butter cup goodness in every bite. Some of the peanut butter cups will melt slightly, which is perfectly fine and adds to the delicious swirl.
Pressing and Chilling for Perfection
Now, transfer the entire mixture from the saucepan into your prepared 9×13 inch baking pan. Using your greased spatula or a piece of parchment paper, gently press the mixture evenly into the pan. Avoid pressing too hard, as this can again result in tough treats. The goal is to create a relatively uniform layer. If you’re using the parchment paper overhang, you can use it to help press and shape the mixture. Once pressed, you can optionally drizzle the 1/2 cup of melted chocolate over the top for an extra layer of decadence. Use a spoon to create a marbled effect or simply cover the entire surface. Allow the Peanut Butter Cup Rice Krispies Treats to cool and set completely at room temperature for at least 1 hour, or until firm to the touch. Do not refrigerate, as this can make them too hard.
Slicing and Enjoying Your Masterpiece
Once your Peanut Butter Cup Rice Krispies Treats have fully set, it’s time for the most satisfying part: cutting them into squares. If you used parchment paper, now is the time to lift the entire slab out of the pan. Place it on a cutting board and use a sharp knife to cut into your desired serving sizes. I usually aim for 2-inch squares, but you can make them larger or smaller depending on your preference. For cleaner cuts, you can lightly grease your knife blade. These treats are best enjoyed fresh, but they can be stored in an airtight container at room temperature for up to 3 days. Enjoy the delightful combination of crunchy cereal, gooey marshmallows, creamy peanut butter, and pockets of chocolatey peanut butter cup bliss!
Conclusion:
We’ve reached the delicious end of our guide to making the ultimate Peanut Butter Cup Rice Krispies Treats! This recipe truly elevates the classic treat by infusing it with the irresistible flavor combination of peanut butter and chocolate. The chewy, gooey texture of the origin extractal is still there, but now with that extra burst of nostalgic candy goodness. I hope you’ve enjoyed learning how to create these delightful squares and that they become a new favorite in your household.
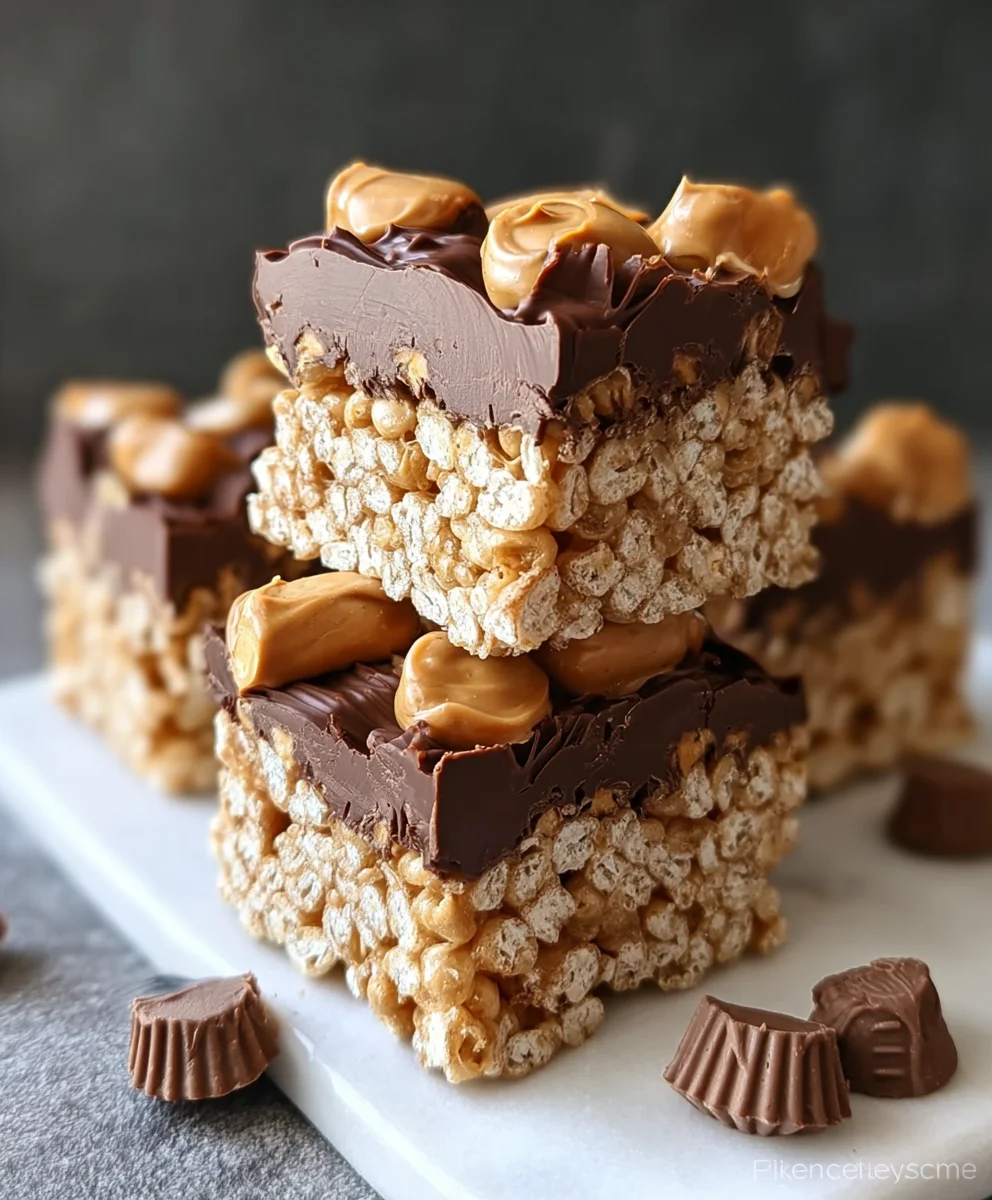
These Peanut Butter Cup Rice Krispies Treats are incredibly versatile. They’re perfect for after-school snacks, a fun addition to lunchboxes, or even as a simple yet impressive dessert for parties and potlucks. For an extra touch of decadence, consider drizzling them with melted chocolate or a swirl of peanut butter before they set completely. You can also chop up extra peanut butter cups and press them into the top for an even richer flavor and texture.
Don’t be afraid to experiment! If you’re not a fan of milk chocolate, try using dark chocolate chips or even white chocolate for a different profile. You could also add a sprinkle of sea salt on top for a delightful sweet and salty contrast. The beauty of this recipe lies in its simplicity and the room it leaves for personalization. So go ahead, give these Peanut Butter Cup Rice Krispies Treats a try and create your own perfect version!
FAQs:
Can I make these treats ahead of time?
Absolutely! Peanut Butter Cup Rice Krispies Treats can be made up to 2-3 days in advance. Store them in an airtight container at room temperature. They might become a little firmer as they sit, but they’ll still be incredibly delicious.
What kind of peanut butter is best to use?
For the best flavor and texture, I recommend using standard creamy peanut butter. While natural peanut butter can separate and might affect the consistency slightly, it will still work. Just ensure it’s well-stirred before adding it to the marshmallow mixture.
How can I prevent the treats from sticking to my pan?
Greasing your pan with butter or non-stick cooking spray is key. You can also line your pan with parchment paper, leaving some overhang on the sides to easily lift the treats out once they’ve cooled. Gently pressing the mixture into the pan with a greased spatula or the back of a spoon will also help achieve clean edges.
Peanut Butter Cup Rice Krispies Treats Recipe
A delightful twist on classic Rice Krispies treats, featuring the irresistible combination of peanut butter cups and gooey marshmallows.
Ingredients
-
4 tablespoons unsalted butter
-
1/2 cup smooth peanut butter
-
1 (10 oz) bag mini marshmallows
-
6 cups Rice Krispies cereal
-
1 cup mini peanut butter cups, halved
-
1/2 cup melted chocolate (optional, for drizzling)
Instructions
-
Step 1
Lightly grease a 9×13 inch baking pan with butter or cooking spray. For easier removal, consider lining the pan with parchment paper, allowing it to overhang the sides. -
Step 2
In a large saucepan over low heat, melt 4 tablespoons of unsalted butter and 1/2 cup of smooth peanut butter. Stir constantly until smooth and homogenous. Remove from heat. -
Step 3
Add the entire 10 oz bag of mini marshmallows to the warm peanut butter mixture. Stir gently with a heat-resistant spatula until the marshmallows are completely melted and the mixture is smooth and glossy. Work quickly. -
Step 4
Gently fold in 6 cups of Rice Krispies cereal until evenly coated. Be careful not to overmix. Then, gently fold in 1 cup of halved mini peanut butter cups, distributing them evenly. -
Step 5
Transfer the mixture to the prepared baking pan. Using a greased spatula or parchment paper, gently press the mixture evenly into the pan. Avoid pressing too hard. Optionally, drizzle with 1/2 cup of melted chocolate and create a marbled effect. -
Step 6
Allow the treats to cool and set completely at room temperature for at least 1 hour, or until firm. Do not refrigerate. Once set, lift the slab out of the pan (if using parchment) and cut into desired squares using a sharp knife.
Important Information
Nutrition Facts (Per Serving)
It is important to consider this information as approximate and not to use it as definitive health advice.
Allergy Information
Please check ingredients for potential allergens and consult a health professional if in doubt.