Spicy Tuna Crispy Rice- Easy & Delicious Recipe
Spicy Tuna Crispy Rice is more than just a dish; it’s an experience for the senses, a delightful dance of textures and flavors that has captured the hearts (and appetites) of food lovers everywhere. Imagin extracte this: a base of perfectly fried, golden-brown rice cakes, offering a satisfying, audible crunch with every bite. This delightful crispness is then adorned with a vibrant topping of tender, sushi-grade tuna, expertly tossed in a luscious, fiery sauce that awakens your palate without overwhelming it. What truly makes Spicy Tuna Crispy Rice so special is its masterful balance. It’s the harmonious interplay between the cool, creamy tuna mixture and the warm, crunchy rice, all brought together by that irresistible hint of spice. It’s the appetizer that ignites conversation, the showstopper at any gathering, and frankly, the perfect solo indulgence when you crave something both exciting and comforting. We’ll guide you through creating this culinary marvel in your own kitchen, so get ready to impress yourself and everyone you share it with!
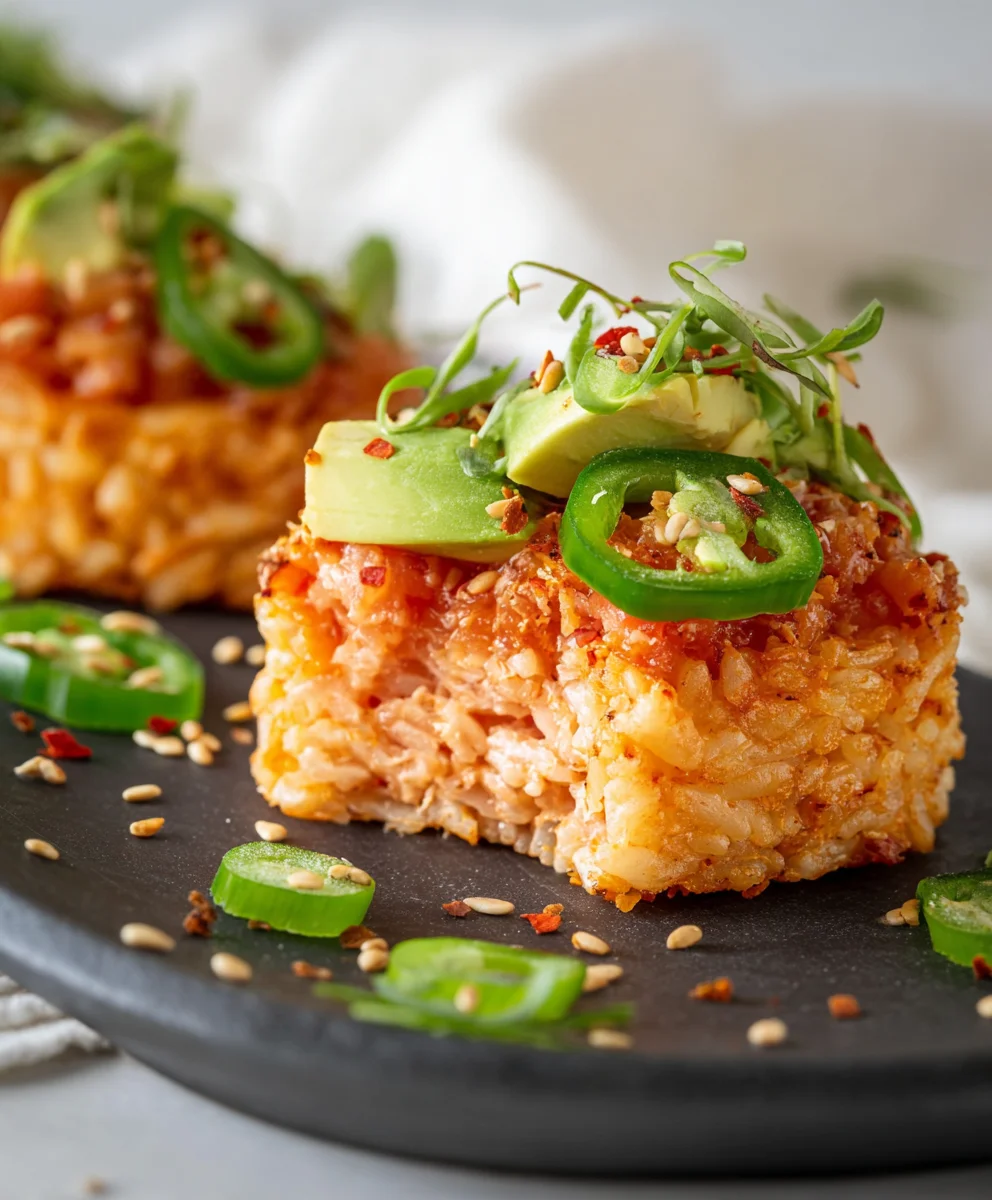
Ingredients:
- 1.5 cups sushi rice (rinsed until water is clear)
- 2 cups water
- 1 teaspoon salt
- 3 tablespoons rice vinegar
- 1 tablespoon granulated sugar
- 1 teaspoon sesame oil
- 1 pound ahi tuna (sushi grade, finely chopped)
- 3 tablespoons Japanese Kewpie mayonnaise
- 2 tablespoons Sriracha
- 1 tablespoon soy sauce (for sushi and sashimi preferred)
- 2 teaspoons sesame oil (for the tuna mixture)
- 1-2 teaspoons lime juice (to taste)
- 1 ripe avocado (thinly sliced)
- Toasted sesame seeds (for garnish)
- Minced chives or scallions (for garnish)
Preparing the Crispy Rice Base
The foundation of our Spicy Tuna Crispy Rice is the perfectly cooked and then crisped sushi rice. This step is crucial for achieving that delightful textural contrast.
Step 1: Cooking the Sushi Rice
First, I meticulously rinse the sushi rice under cold running water in a fine-mesh sieve. I continue rinsing until the water runs completely clear. This removes excess starch, which is key to preventing gummy rice and achieving fluffy grains. Once rinsed, I transfer the rice to a medium saucepan. I then add the 2 cups of water and 1 teaspoon of salt. I bring this mixture to a boil over medium-high heat, then immediately reduce the heat to low, cover the pot tightly, and let it simmer for about 15-18 minutes, or until all the water has been absorbed. It’s important not to lift the lid during this cooking process, as that will release precious steam. Once cooked, I remove the pot from the heat and let it sit, covered, for another 10 minutes to allow the rice to steam further and become perfectly tender.
Step 2: Seasoning the Rice
While the rice is still warm and steaming, I prepare the seasoning. In a small bowl, I whisk together the 3 tablespoons of rice vinegar, 1 tablespoon of granulated sugar, and the initial 1 teaspoon of sesame oil until the sugar has completely dissolved. This is our sushi vinegar, which will infuse the rice with that signature tangy and slightly sweet flavor. I then gently fold this mixture into the cooked rice using a rice paddle or a flat spatula. I make sure to distribute the seasoning evenly without mashing the grains. This process also helps to cool the rice down to a workable temperature for the next step.
Step 3: Pressing and Chilling the Rice
Now, it’s time to get the rice ready for crisping. I line a rectangular baking dish (an 8×8 inch dish works well) with plastic wrap, leaving some overhang on the sides for easy removal. I then spread the seasoned sushi rice evenly into the prepared dish, pressing it down firmly with a spatula or the back of a spoon. I aim for a layer that is about ½ to ¾ inch thick. The firmer you press, the better it will hold its shape when cut. Once pressed, I cover the surface of the rice with another piece of plastic wrap, ensuring there are no air pockets. I then refrigerate the entire dish for at least 2 hours, or preferably overnight. This chilling period is essential for the rice to firm up, making it easier to cut and creating a dense enough block to achieve a good crisp.
Crafting the Spicy Tuna Topping
Step 4: Assembling the Spicy Tuna Mixture
This is where we bring in the vibrant flavors of our Spicy Tuna Crispy Rice. In a medium bowl, I combine the finely chopped 1 pound of sushi-grade ahi tuna with the 3 tablespoons of Japanese Kewpie mayonnaise. Kewpie mayo is essential here for its rich, creamy texture and slightly sweet, umami flavor. I then add the 2 tablespoons of Sriracha for that kick of heat, 1 tablespoon of soy sauce for salinity and depth, and the 2 teaspoons of sesame oil for a nutty aroma. Finally, I stir in 1-2 teaspoons of fresh lime juice, adjusting the amount to my preference for brightness. I gently mix everything together until the tuna is evenly coated with the spicy mayo mixture. It’s important not to overmix, as we want to maintain some texture in the tuna. I then taste and adjust seasonings if needed – perhaps a little more Sriracha for heat, or a touch more soy sauce for savoriness.
Frying and Assembling the Crispy Rice Bites
Step 5: Frying the Rice and Assembling the Bites
Once the rice has chilled and firmed up, I carefully lift it out of the baking dish using the plastic wrap overhang and place it on a cutting board. I remove the top layer of plastic wrap. Using a sharp knife, I cut the rice block into small, bite-sized rectangles, approximately 1.5 x 2 inches. Now, for the crisping. I heat about ½ inch of neutral oil (like canola or vegetable oil) in a large skillet or frying pan over medium-high heat until it shimmers. I carefully add the rice pieces to the hot oil, making sure not to overcrowd the pan. I fry them for about 3-5 minutes per side, or until they are golden brown and wonderfully crispy. I use a spatula to flip them gently. Once crisped, I remove the rice pieces with a slotted spoon and place them on a plate lined with paper towels to drain any excess oil.
To assemble, I place a slice of the thinly sliced avocado on top of each crispy rice rectangle. Then, I generously spoon a portion of the spicy tuna mixture over the avocado. Finally, I garnish each bite with a sprinkle of toasted sesame seeds and a scattering of minced chives or scallions for a burst of color and freshness. This is the moment of truth, where the cool, creamy tuna meets the warm, crunchy rice, creating an unforgettable appetizer.
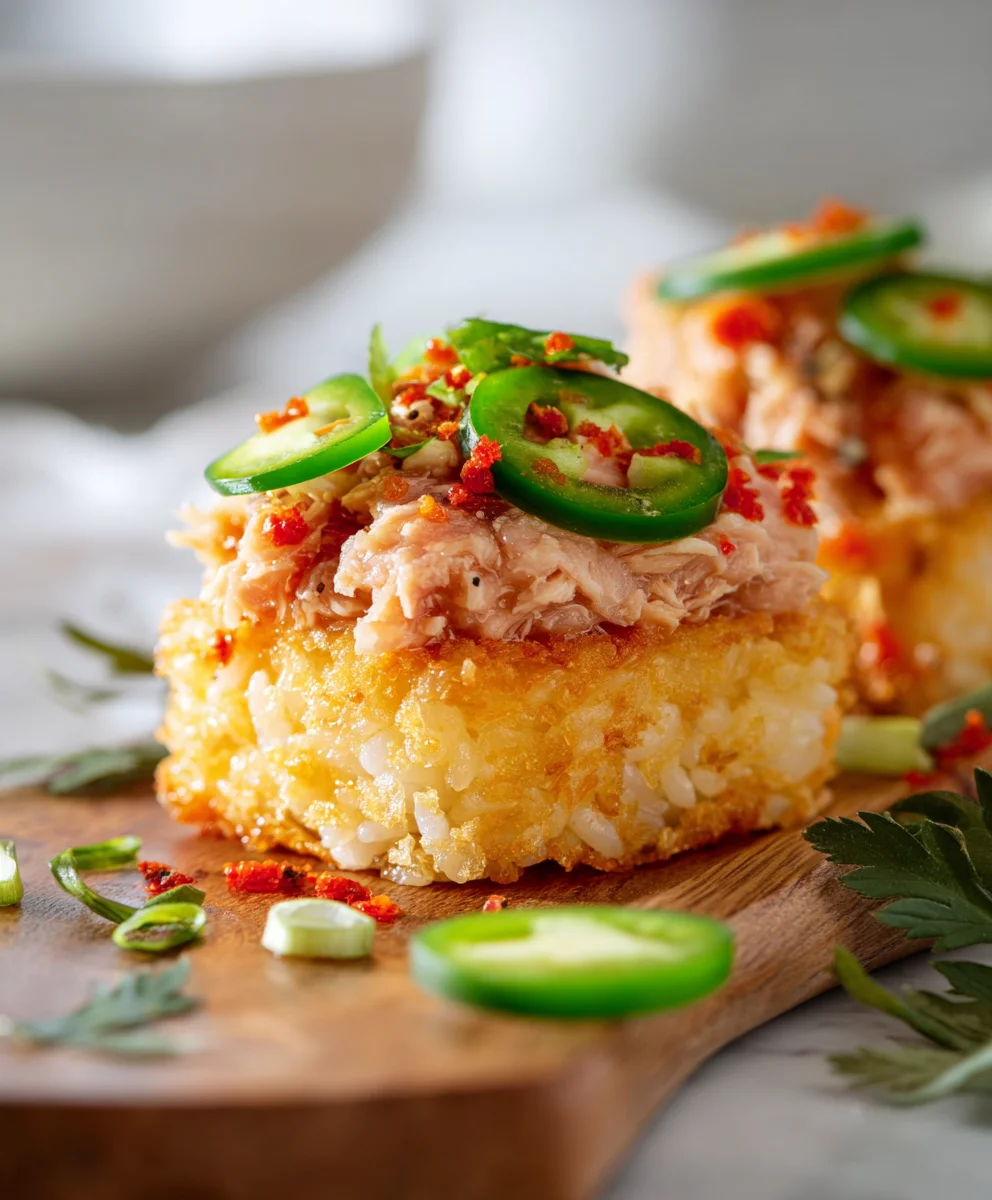
Conclusion:
And there you have it – your very own batch of Spicy Tuna Crispy Rice! We’ve walked through each step to create these delightful bites that are perfect for a sophisticated appetizer or a light, flavorful meal. The satisfying crunch of the rice paired with the zesty, creamy tuna topping is truly a winning combination that’s sure to impress. Don’t be afraid to experiment with this recipe; it’s incredibly versatile!
For serving suggestions, consider plating these beautifully with a sprinkle of black sesame seeds and thinly sliced scallions. A small side of pickled gin extractger or a drizzle of sriracha mayo can elevate the experience even further. You can also serve them as part of a larger sushi-inspired spread. When it comes to variations, feel free to swap out the tuna for cooked shrimp or even a plant-based alternative like seasoned firm tofu. Adding a touch of masago or tobiko to the tuna mixture adds a wonderful pop of texture and color.
We hope you enjoy making and devouring this Spicy Tuna Crispy Rice as much as we do. It’s a recipe that offers both deliciousness and a fun culinary adventure. So, gather your ingredients, get cooking, and savor every bite!
Frequently Asked Questions:
Q1: Can I make the crispy rice ahead of time?
Yes, you can definitely prepare the crispy rice base in advance. Once cooked and pressed, cut them into desired shapes and refrigerate them. It’s best to pan-fry or bake them just before serving to ensure they are perfectly crispy.
Q2: What can I use if I don’t have sushi-grade tuna?
If you can’t find sushi-grade tuna, it’s safer to use canned tuna. Ensure it’s drained very well. For the best flavor and texture, use oil-packed tuna and mix it thoroughly with the mayonnaise and sriracha. You can also cook and dice fresh tuna, but it must be thoroughly cooked before using.
Spicy Tuna Crispy Rice- Easy & Delicious Recipe
An easy and delicious recipe for spicy tuna crispy rice, featuring perfectly cooked and crisped sushi rice topped with a flavorful spicy tuna mixture and fresh avocado.
Ingredients
-
1.5 cups sushi rice (rinsed until water is clear)
-
2 cups water
-
1 teaspoon salt
-
3 tablespoons rice vinegar
-
1 tablespoon granulated sugar
-
1 teaspoon sesame oil
-
1 pound ahi tuna (sushi grade, finely chopped)
-
3 tablespoons Japanese Kewpie mayonnaise
-
2 tablespoons Sriracha
-
1 tablespoon soy sauce (for sushi and sashimi preferred)
-
2 teaspoons sesame oil
-
1-2 teaspoons lime juice (to taste)
-
1 ripe avocado (thinly sliced)
-
Toasted sesame seeds (for garnish)
-
Minced chives or scallions (for garnish)
Instructions
-
Step 1
Cook the sushi rice: Rinse sushi rice until water is clear. Combine rice, water, and salt in a saucepan. Bring to a boil, then simmer covered for 15-18 minutes. Let sit, covered, for 10 minutes. -
Step 2
Season the rice: Whisk together rice vinegar, sugar, and 1 teaspoon sesame oil until sugar dissolves. Gently fold into the cooked rice. -
Step 3
Press and chill the rice: Line a rectangular baking dish with plastic wrap. Spread seasoned rice evenly, pressing firmly. Cover and refrigerate for at least 2 hours. -
Step 4
Assemble the spicy tuna mixture: Combine finely chopped tuna, Kewpie mayonnaise, Sriracha, soy sauce, 2 teaspoons sesame oil, and lime juice. Mix gently. -
Step 5
Fry the rice and assemble: Cut chilled rice into bite-sized rectangles. Fry in neutral oil until golden brown and crispy on both sides. Drain on paper towels. Top each crispy rice piece with avocado, then the spicy tuna mixture. Garnish with sesame seeds and chives/scallions.
Important Information
Nutrition Facts (Per Serving)
It is important to consider this information as approximate and not to use it as definitive health advice.
Allergy Information
Please check ingredients for potential allergens and consult a health professional if in doubt.