Zesty Lemon Truffles – Easy No-Bake Dessert Recipe
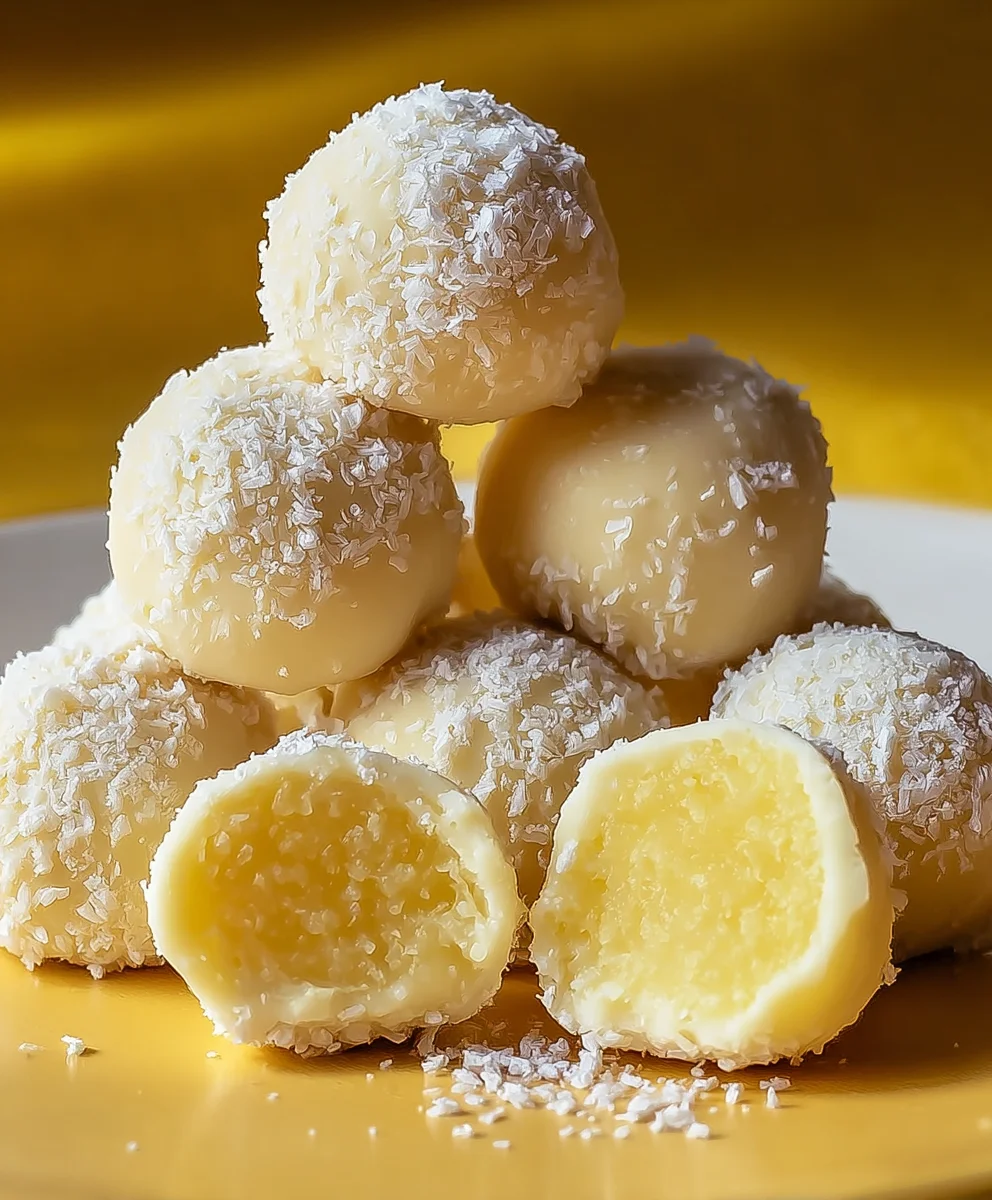
Lemon Truffles are more than just a sweet treat; they’re a burst of sunshine in every bite, a tiny sphere of pure, unadulterated joy. Have you ever craved a dessert that’s both sophisticated and delightfully simple? That’s precisely where these delicate confections shine. People adore them not only for their vibrant, zesty flavor profile that cuts through richness beautifully, but also for their elegant presentation, making them perfect for gifting or elevating any dessert spread. What truly sets these Lemon Truffles apart is the exquisite balance of creamy, decadent chocolate enrobing a bright, tangy lemon ganache. It’s a contrast that awakens the palate and leaves you wanting more. We’re about to embark on a culinary adventure to create these utterly irresistible Lemon Truffles right in your own kitchen, proving that gourmet desserts don’t have to be complicated.
Ingredients:
- 4 oz cream cheese or coconut butter, softened
- 2 tbsp butter or additional coconut butter, softened
- 3 tbsp powdered sugar or erythritol
- Zest of one lemon
- 3 oz white chocolate chips (optional)
- Optional drop of natural food coloring or pinch of turmeric for color
Preparing the Lemon Truffle Base
The foundation of these delightful Lemon Truffles is a creamy, decadent base that’s surprisingly simple to make. To begin extract, ensure your cream cheese (or coconut butter if you’re opting for a dairy-free version) is thoroughly softened. This is crucial for achieving a smooth, lump-free mixture. If it’s still a bit firm, you can gently warm it in a microwave for very short intervals of 10-15 seconds, stirring in between, until it’s pliable. Next, add your softened butter (or extra coconut butter) to the softened cream cheese. The butter adds richness and helps to create a melt-in-your-mouth texture. Blend these two ingredients together until they are completely combined and form a smooth, creamy paste. A hand mixer is ideal for this step, as it ensures maximum aeration and smoothness, but a sturdy whisk or even a strong spatula can work if you put in a little elbow grease.
Now, it’s time to introduce the sweetness. Gradually add your powdered sugar (or erythritol for a lower-carb option) to the cream cheese and butter mixture. Start by adding just a tablespoon at a time, mixing thoroughly after each addition. This slow incorporation prevents the sugar from flying out of the bowl and ensures it’s fully dissolved into the base, leading to a more refined texture. Continue this process until all the powdered sugar is incorporated and the mixture is well combined and slightly thickened. Don’t overmix at this stage; we’re aiming for a cohesive and smooth paste.
The star of the show, the bright and zesty lemon, comes next. Carefully zest one fresh lemon. Be sure to only zest the yellow part of the peel, avoiding the bitter white pith. This lemon zest will infuse your truffles with an incredible, natural citrus aroma and flavor. Add the freshly grated lemon zest to your cream cheese mixture. Gently fold it in using a spatula, distributing the tiny flecks of zest evenly throughout the base. This step is where the magic starts to happen, transforming a simple creamy mixture into something truly special. If you’re opting for a touch of color to enhance the visual appeal of your Lemon Truffles, this is the time to add it. A single drop of natural food coloring, perhaps a pnon-alcoholic ale yellow or even a soft green, can make a lovely difference. Alternatively, a small pinch of turmeric can provide a beautiful golden hue. Stir gently until the color is evenly distributed.
Forming and Chilling the Lemon Truffles
Once your lemon-infused base is smooth and fragrant, it’s time to shape these little flavor bombs. Using a small spoon or a melon baller, scoop out portions of the mixture. Aim for about 1-inch diameter balls for a classic truffle size. Roll each portion gently between your palms to form a smooth, round truffle. If the mixture feels too sticky to handle, you can chill it in the refrigerator for about 15-20 minutes before shaping. This will firm it up and make it much easier to work with. Place the formed truffles onto a parchment-lined baking sheet. Ensure they have a little space between them so they don’t stick together as they chill.
The next crucial step is chilling. Place the baking sheet with the formed truffles into the refrigerator for at least 30 minutes, or until they are firm to the touch. This chilling period is essential for allowing the fats in the cream cheese and butter to set, which will help the truffles hold their shape when you decide to coat them or serve them as is. If you plan on coating your Lemon Truffles, especially with melted white chocolate, this firmness is absolutely critical to prevent the truffles from melting into a puddle.
Optional White Chocolate Coating
For an extra layer of indulgence and a beautiful finish, you can coat your chilled Lemon Truffles in white chocolate. If you’ve chosen to include the white chocolate chips, this is where they come into play. In a heatproof bowl set over a saucepan of simmering water (a double boiler method), melt the white chocolate chips. Stir constantly until the chocolate is completely smooth and glossy. Be careful not to overheat the chocolate, as it can seize and become difficult to work with. Alternatively, you can melt the white chocolate in the microwave in 30-second intervals, stirring well between each interval, until fully melted. Once the white chocolate is melted and smooth, remove the bowl from the heat.
Take your chilled, firm truffles and dip each one into the melted white chocolate using a fork or a toothpick. Allow any excess chocolate to drip back into the bowl before placing the coated truffle back onto the parchment-lined baking sheet. If you want to create a more decorative finish, you can drizzle a little extra melted white chocolate over the tops of the coated truffles once they have set slightly. Alternatively, you can allow the white chocolate to set completely and then drizzle with a contrasting chocolate or even a little melted dark chocolate for a striking visual. If you didn’t opt for the white chocolate coating, you can roll the chilled truffles in a dusting of powdered sugar, finely shredded coconut, or even some extra lemon zest for a beautiful, rustic finish.
Final Chilling and Serving
Once all your Lemon Truffles are either coated or prepared for serving, they need one final chill to set everything perfectly. Place the baking sheet back into the refrigerator for another 20-30 minutes, or until the white chocolate coating is completely firm and set. This ensures that each truffle is perfectly formed and ready to be enjoyed.
Your exquisite homemade Lemon Truffles are now ready to be served! These delightful treats are perfect for afternoon tea, as a sweet ending to a meal, or simply as a little pick-me-up. For the best flavor and texture, it’s recommended to serve them chilled. They can be stored in an airtight container in the refrigerator for up to a week. Enjoy the bright, tangy burst of lemon combined with the creamy, decadent base – a truly irresistible combination!
Conclusion:
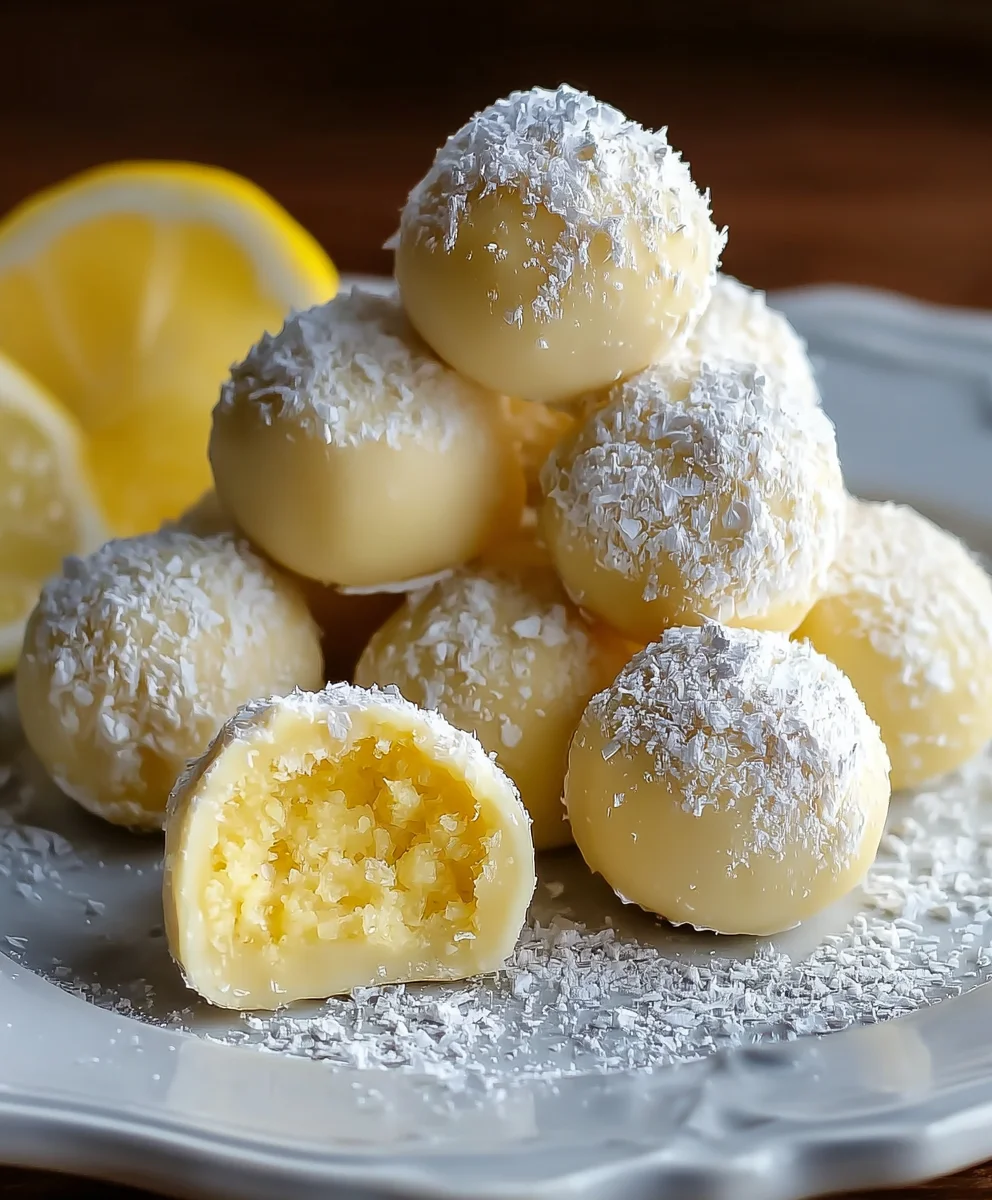
You’ve done it! You’ve mastered the art of creating delightful Lemon Truffles. These little bursts of citrusy sweetness are perfect for any occasion, from a sophisticated dinner party dessert to a cheerful afternoon treat. Their vibrant flavor and elegant appearance are sure to impress. Remember, the key to perfect Lemon Truffles lies in the quality of your ingredients and a little bit of patience during the chilling process. Don’t be afraid to get creative with your toppings – finely chopped pistachios, edible flowers, or even a drizzle of white chocolate can add an extra layer of elegance.
Serve these exquisite Lemon Truffles chilled, perhaps alongside a cup of herbal tea or a delicate white grape juice. They also make a wonderful edible gift, so consider making a double batch for friends and family. We hope you enjoyed making and will enjoy eating these fantastic Lemon Truffles as much as we do!
Frequently Asked Questions:
Q: How long can I store Lemon Truffles?
A: Properly stored in an airtight container in the refrigerator, Lemon Truffles can last for up to one week. For longer storage, you can freeze them for up to two months. Thaw them in the refrigerator before serving.
Q: Can I make Lemon Truffles vegan?
A: Absolutely! To make vegan Lemon Truffles, simply substitute the heavy cream with full-fat coconut milk (the kind from a can, chilled so you can scoop out the cream) and use vegan white chocolate chips for the coating. Ensure your butter is also vegan.
Zesty Lemon Truffles – Easy No-Bake Dessert Recipe
Delicious and easy no-bake zesty lemon truffles with a creamy, decadent base. Perfect for any occasion.
Ingredients
-
4 oz cream cheese or coconut butter, softened
-
2 tbsp butter or additional coconut butter, softened
-
3 tbsp powdered sugar or erythritol
-
Zest of one lemon
-
3 oz white chocolate chips (optional)
-
Optional drop of natural food coloring or pinch of turmeric for color
Instructions
-
Step 1
Prepare the lemon truffle base by blending softened cream cheese (or coconut butter) with softened butter (or additional coconut butter) until smooth and creamy. Gradually add powdered sugar (or erythritol), mixing well after each addition until fully incorporated and slightly thickened. Gently fold in the fresh lemon zest. Add optional food coloring or turmeric for desired color and stir to combine. -
Step 2
Scoop about 1-inch diameter portions of the mixture and gently roll between palms to form smooth, round truffles. If the mixture is too sticky, chill for 15-20 minutes before shaping. Place formed truffles onto a parchment-lined baking sheet. -
Step 3
Chill the formed truffles in the refrigerator for at least 30 minutes, or until firm to the touch, allowing the fats to set and the truffles to hold their shape. -
Step 4
Optional: Melt white chocolate chips using a double boiler or microwave. Dip the chilled truffles into the melted white chocolate, allowing excess to drip off. Place coated truffles back onto the parchment-lined baking sheet. Drizzle with extra chocolate if desired. -
Step 5
If not coating in chocolate, roll chilled truffles in powdered sugar, shredded coconut, or extra lemon zest. For chocolate-coated truffles, let the coating set slightly before drizzling with contrasting chocolate. -
Step 6
Perform a final chill in the refrigerator for another 20-30 minutes, or until the white chocolate coating is completely firm and set. Serve chilled for best flavor and texture. Store in an airtight container in the refrigerator for up to a week.
Important Information
Nutrition Facts (Per Serving)
It is important to consider this information as approximate and not to use it as definitive health advice.
Allergy Information
Please check ingredients for potential allergens and consult a health professional if in doubt.