Bubblegum Ice Cream Recipe-Sweet Nostalgia
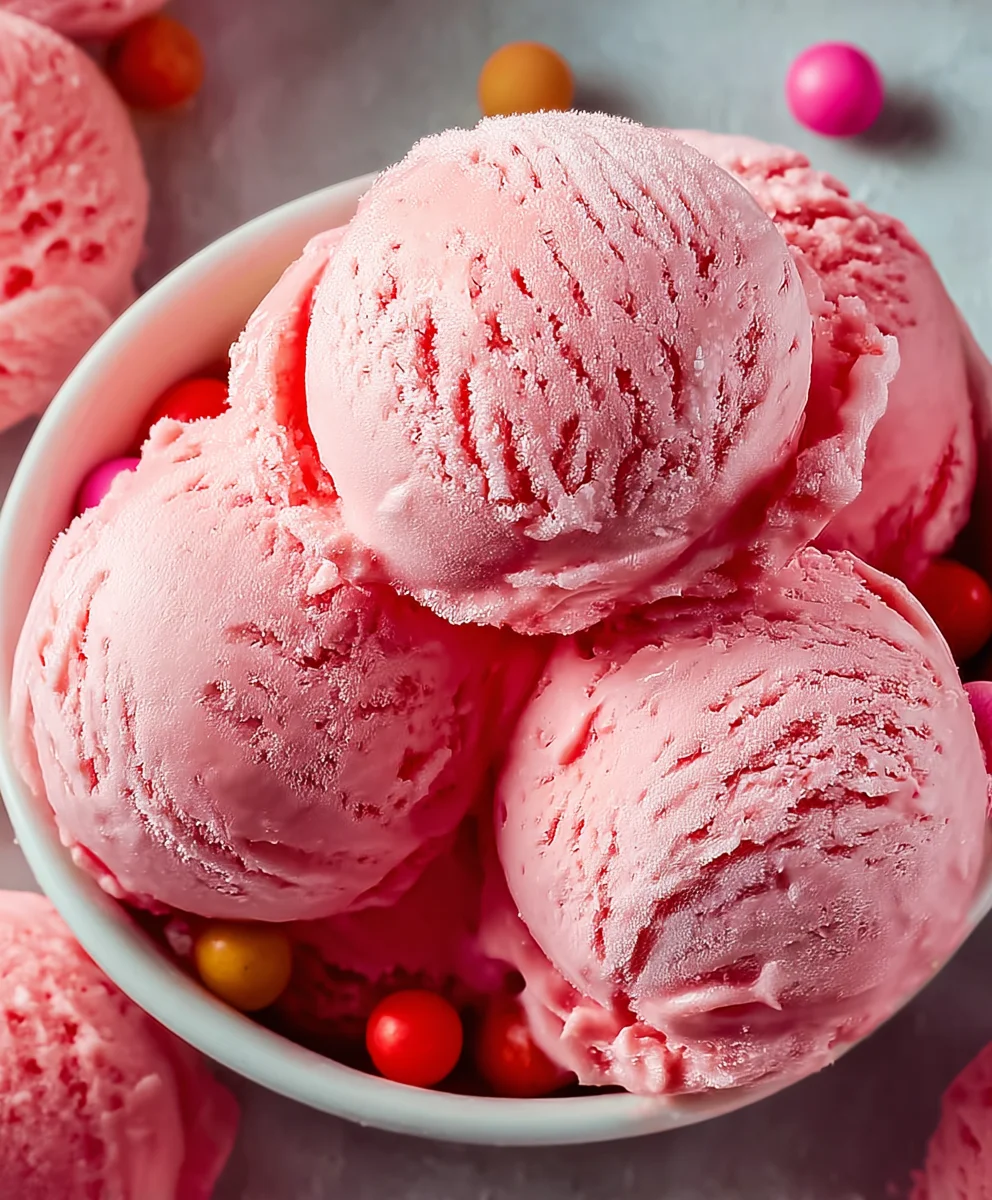
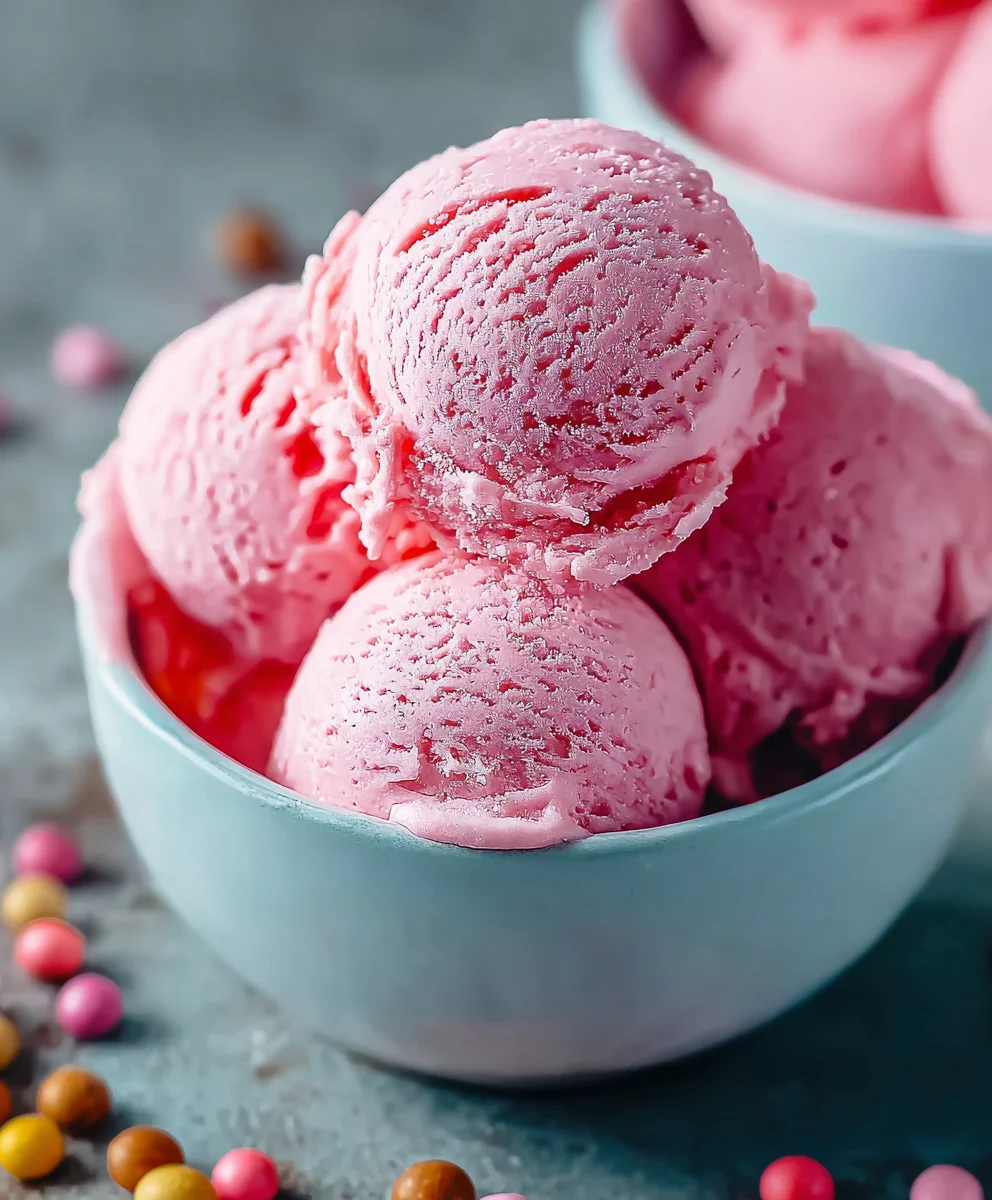
Bubblegum Ice Cream, a vibrant and whimsical treat, has captivated imagin extractations and delighted taste buds for generations. It’s more than just a flavor; it’s a nostalgic portal to carefree days, the sweet promise of summer, and the pure joy of a childhood treat. What is it about this bright pink concoction that makes it so universally beloved? Perhaps it’s the playful, almost magical sweetness that dances on the tongue, evoking memories of carnivals, birthday parties, and the simple pleasure of a sticky, delicious scoop. The unique, slightly artificial, yet utterly satisfying flavor of Bubblegum Ice Cream is instantly recognizable and always brings a smile. This recipe aims to capture that very essengin extract bringing the fun and flavor of classic Bubblegum Ice Cream right into your own kitchen. Prepare to dive into a swirl of sugary delight that’s as fun to make as it is to eat!
Ingredients:
- 2 cups heavy cream
- 1 cup whole milk
- ¾ cup granulated sugar
- 2 teaspoons bubblegum flavoring
- 1 teaspoon vanilla extract
- ¼ teaspoon kosher salt
- Pink or red food coloring (to taste)
- ½ cup confetti sprinkles, divided
- 1 cup gumballs (for decoration)
Making the Ice Cream Base
Step 1: Combine Dairy and Sugar
Begin extract by gathering a medium-sized saucepan. Into this, pour the whole milk and the granulated sugar. Add the kosher salt as well. Place the saucepan over medium heat on your stovetop. We’re not looking to boil this mixture, but rather to gently warm it until the sugar has completely dissolved. Stir frequently with a whisk or a spoon to ensure even heating and prevent the sugar from sticking to the bottom. This gentle warming process helps to create a smooth base for our ice cream, ensuring no grainy texture from undissolved sugar. Once you see that all the sugar crystals have vanished and the liquid is warm to the touch, remove the saucepan from the heat.
Step 2: Infuse with Flavor and Color
Now comes the fun part – flavoring and coloring! To the warm milk and sugar mixture, add the bubblegum flavoring and the vanilla extract. Stir these in thoroughly to distribute the flavors evenly. This is also the stage where we introduce the beautiful pink hue of our Bubblegum Ice Cream. Start by adding just a few drops of pink or red food coloring. Stir well and observe the color. If you desire a more vibrant or deeper shade, continue to add food coloring a drop at a time, stirring after each addition, until you achieve your perfect bubblegum pink. Remember, it’s easier to add more color than to take it away, so be judicious.
Step 3: Chill the Base
Once your base is perfectly flavored and colored, it needs to be thoroughly chilled. This is a crucial step for achieving the best ice cream texture. Pour the flavored milk mixture into a clean bowl or container. You can cover this container with plastic wrap, ensuring the wrap touches the surface of the liquid to prevent a skin from forming. Place the covered container in the refrigerator. We need this base to be as cold as possible, ideally for at least 4 hours, or even better, overnight. The colder the base, the faster it will freeze in your ice cream maker, leading to smaller ice crystals and a creamier end product.
Churning and Finishing
Step 4: Incorporate Heavy Cream and Churn
When your ice cream base is thoroughly chilled, it’s time to combine it with the heavy cream. Pour the 2 cups of heavy cream into the chilled milk mixture. Give it a good whisk to ensure everything is well incorporated. Now, transfer this combined mixture to your ice cream maker. Follow the manufacturer’s instructions for your specific machine. Typically, this involves churning the mixture for about 20 to 30 minutes, or until it reaches a soft-serve consistency. During the last few minutes of churning, you’ll want to add half of the confetti sprinkles. This allows them to be distributed throughout the ice cream without becoming too saturated or sinking to the bottom.
Step 5: Harden and Decorate
Once the ice cream has been churned to your desired consistency, it’s time to transfer it to a freezer-safe container. This could be a loaf pan, a dedicated ice cream tub, or any airtight container. As you transfer the ice cream, gently fold in the remaining confetti sprinkles. You can also press whole gumballs into the surface of the ice cream as it goes into the container for a fun visual element and an extra surprise when serving. Once the container is filled, press a piece of parchment paper or plastic wrap directly onto the surface of the ice cream to prevent ice crystals from forming. Cover the container tightly with its lid. Place the container in the freezer for at least 4 to 6 hours, or until the Bubblegum Ice Cream is firm enough to scoop. This hardening period is essential for achieving that classic ice cream texture. Serve scoops generously, perhaps garnished with a few more gumballs for an extra festive touch.
Conclusion:
And there you have it – your very own homemade Bubblegum Ice Cream! We’ve walked through each step, from creating that creamy, dreamy base to infusing it with that unmistakable sweet and nostalgic bubblegum flavor. This recipe is surprisingly straightforward, and the reward is a scoop of pure joy that’s perfect for kids and adults alike. Don’t be afraid to get creative with your serving! This vibrant treat is fantastic on its own, but it also shines when paired with fresh berries, a drizzle of condensed milk, or even a sprinkle of colorful candy. If you’re feeling adventurous, consider adding some mini marshmallows or gummy bears directly into the ice cream during the final churn for an extra textural surprise. The possibilities are truly endless with this delightful Bubblegum Ice Cream.
I truly hope you enjoy making and devouring this fun and flavorful dessert as much as I do. Happy churning!
Frequently Asked Questions:
Can I make this Bubblegum Ice Cream without an ice cream maker?
Yes, you can! While an ice cream maker provides the smoothest texture, you can achieve a delicious result by using the no-churn method. Prepare the base as instructed, but instead of churning, pour it into a freezer-safe container. Stir it vigorously every 30-45 minutes for the first 3-4 hours to break up ice crystals. It won’t be quite as airy, but it will still be wonderfully creamy and flavorful.
How long will homemade Bubblegum Ice Cream last?
Properly stored in an airtight container in the freezer, your homemade Bubblegum Ice Cream should last for about 2-3 weeks. Beyond that, while it might still be safe to eat, the texture and flavor can start to degrade.
Where can I find bubblegum extract or flavoring?
Bubblegum extract or flavoring is usually available in specialty baking stores, well-stocked grocery stores in the baking aisle, or online retailers. Ensure you’re using a food-grade extract specifically designed for baking or confectionery use.
Bubblegum Ice Cream Recipe-Sweet Nostalgia
A nostalgic homemade bubblegum ice cream recipe, complete with confetti sprinkles and gumball decorations, for a fun and flavorful treat.
Ingredients
-
2 cups heavy cream
-
1 cup whole milk
-
¾ cup granulated sugar
-
2 teaspoons bubblegum flavoring
-
1 teaspoon vanilla extract
-
¼ teaspoon kosher salt
-
Pink or red food coloring (to taste)
-
½ cup confetti sprinkles, divided
-
1 cup gumballs (for decoration)
Instructions
-
Step 1
Combine whole milk, granulated sugar, and kosher salt in a medium saucepan. Gently warm over medium heat until the sugar is completely dissolved, stirring frequently. Do not boil. Remove from heat once warm and sugar is dissolved. -
Step 2
Add bubblegum flavoring and vanilla extract to the warm milk mixture. Stir to combine. Gradually add pink or red food coloring, a drop at a time, stirring after each addition until the desired bubblegum pink color is achieved. -
Step 3
Pour the flavored and colored base into a clean container. Cover with plastic wrap, ensuring it touches the surface to prevent a skin. Refrigerate for at least 4 hours, or preferably overnight, until thoroughly chilled. -
Step 4
Pour the chilled milk mixture into your ice cream maker. Add the heavy cream and whisk to combine. Churn according to the manufacturer’s instructions until the mixture reaches a soft-serve consistency. During the last few minutes of churning, add half of the confetti sprinkles. -
Step 5
Transfer the churned ice cream to a freezer-safe container. Gently fold in the remaining confetti sprinkles and press gumballs into the surface. Cover the surface with parchment paper or plastic wrap to prevent ice crystals. Cover the container tightly and freeze for at least 4 to 6 hours, or until firm.
Important Information
Nutrition Facts (Per Serving)
It is important to consider this information as approximate and not to use it as definitive health advice.
Allergy Information
Please check ingredients for potential allergens and consult a health professional if in doubt.