Easy Yogurt Bites Recipe – Healthy Snack Ideas
How To Make Yogurt Bites is a question many parents and snack-lovers eagerly ask, and for good reason! These delightful little morsels are more than just a sweet treat; they’re a miniature explosion of creamy goodness, perfectly portioned for little hands and a satisfying pop for any palate. What makes them so universally adored? It’s the sheer simplicity combined with endless customization. Imagin extracte a canvas of cool, tangy yogurt, ready to be transformed into vibrant, flavorful bites that are both fun to eat and surprisingly healthy. They’re the ideal solution for a quick breakfast, a post-playdate snack, or even a light dessert. The magic truly lies in their versatility – you can swirl in fruit purees for a burst of natural sweetness, add a sprinkle of granola for a delightful crunch, or even mix in tiny chocolate chips for a touch of indulgence. Learning how to make yogurt bites means unlocking a world of delicious possibilities for your family.
Ingredients:
- 2 cups plain Greek yogurt (full-fat or 2% recommended for best texture and flavor)
- 1/4 cup honey or maple syrup (adjust to your sweetness preference)
- 1 teaspoon vanilla extract
- 1/2 cup fresh or frozen berries (such as blueberries, raspberries, or chopped strawberries)
- Optional: 2 tablespoons chia seeds or flax seeds for added nutrition and texture
- Optional: A pinch of cinnamon for warmth
Getting Started: Preparation is Key
Before we dive into the fun part of creating these delightful yogurt bites, it’s essential to get our workspace and ingredients ready. This ensures a smooth and efficient process. First, gather all your ingredients and have them measured out. This prevents any last-minute scrambling and helps maintain the correct proportions for the recipe. Next, prepare your baking sheets. Line two standard-sized baking sheets with parchment paper or silicone baking mats. This is crucial for preventing the yogurt bites from sticking and making cleanup a breeze. If you’re using parchment paper, make sure it lies flat on the baking sheet. If you’re using silicone mats, simply place them on top of your baking sheets. For those using frozen berries, it’s a good idea to have them ready to go, but avoid letting them thaw completely before adding them to the yogurt mixture, as this can make the yogurt too watery. If you’re opting for fresh berries, give them a gentle rinse and pat them dry with a paper towel before chopping any larger ones into smaller, bite-sized pieces. This preparation stage might seem small, but it truly sets the foundation for successful yogurt bite creation.
Step 1: Crafting the Creamy Base
Now, let’s create the delicious, creamy base for our yogurt bites. In a medium-sized mixing bowl, combine the 2 cups of plain Greek yogurt. Greek yogurt is ideal here because its thick, strained consistency holds its shape much better than regular yogurt, resulting in a firmer bite. If your yogurt seems exceptionally thick, you can stir it a few times to loosen it slightly, but avoid adding any liquid. Next, add the sweetener of your choice. I recommend starting with 1/4 cup of honey or maple syrup. Honey will impart a slightly floral sweetness, while maple syrup offers a richer, more caramel-like flavor. You can always add a touch more later if you prefer a sweeter treat, but it’s best to start with less and adjust. Now, incorporate the 1 teaspoon of vanilla extract. Vanilla is a wonderful flavor enhancer that complements the tangin extractess of the yogurt and the sweetness of the honey or maple syrup beautifully. If you’re using the optional pinch of cinnamon, add it now as well. Stir all these ingredients together gently but thoroughly until they are well combined and the mixture is smooth and homogenous. Ensure there are no streaks of yogurt or honey.
Step 2: Incorporating the Flavor Boosters
With our creamy base prepared, it’s time to add the elements that will give our yogurt bites their vibrant flavor and texture. If you’re using them, now is the time to stir in the optional 2 tablespoons of chia seeds or flax seeds. These tiny powerhouses not only add a subtle nutty flavor and a pleasant crunch but also contribute valuable fiber and omega-3 fatty acids, making these bites even more nutritious. When using chia seeds, you’ll notice they absorb some of the moisture and can help bind the mixture slightly. If you’re using them, make sure to stir them in very well to distribute them evenly throughout the yogurt mixture. Now, it’s time for the star of the show: the berries! Gently fold in your 1/2 cup of fresh or frozen berries. If you’re using frozen berries, be quick with this step to avoid excessive thawing and bleeding of color into the yogurt, which can sometimes make the bites look less appealing. For fresh berries, you can leave them whole if they are small like blueberries, or chop larger ones like strawberries into smaller pieces. The goal is to have bursts of fruity goodness throughout each bite. Stir gently to distribute the berries without crushing them too much, aiming for an even distribution so that each yogurt bite gets its fair share of fruity delight.
Step 3: Shaping the Bites
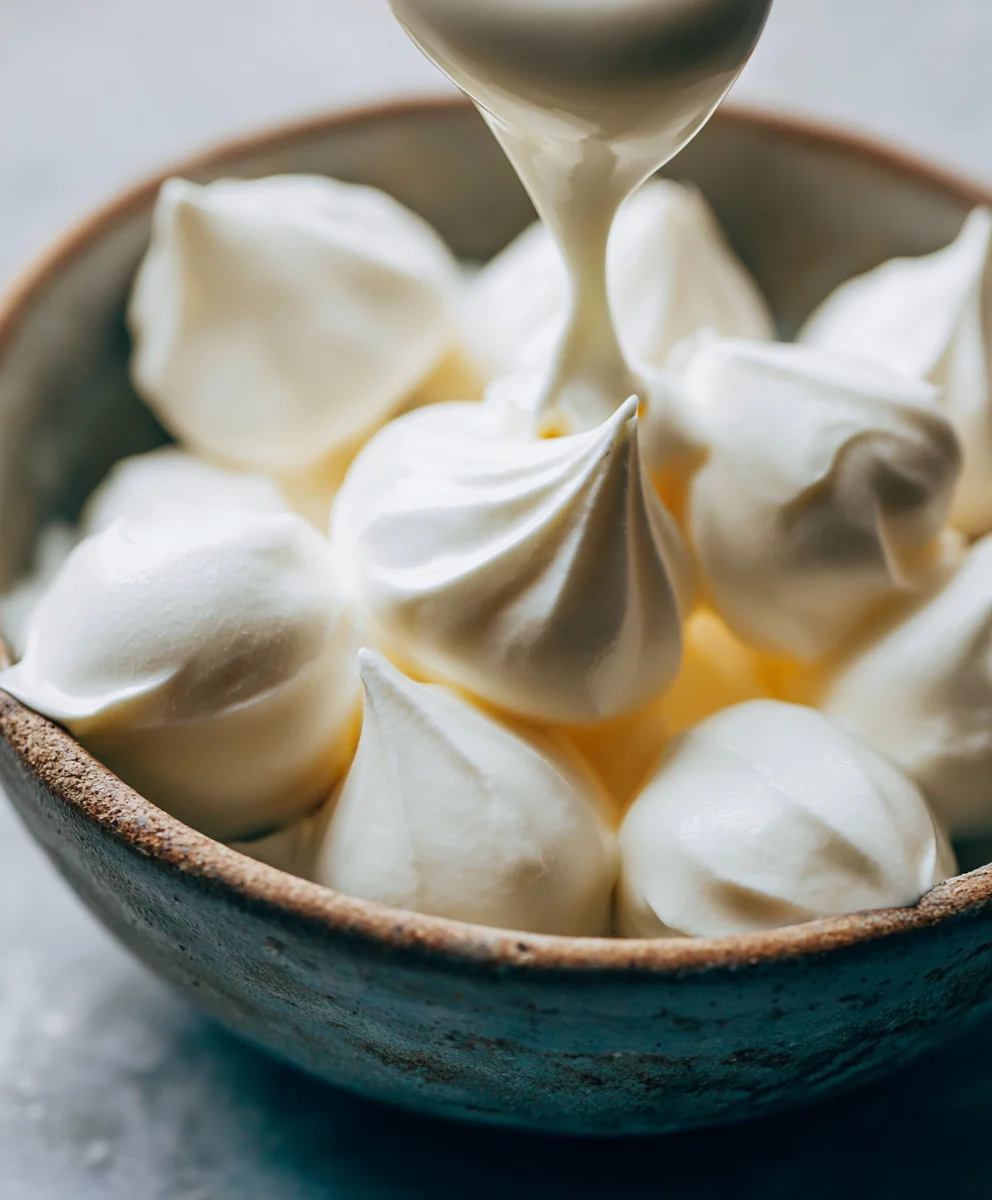
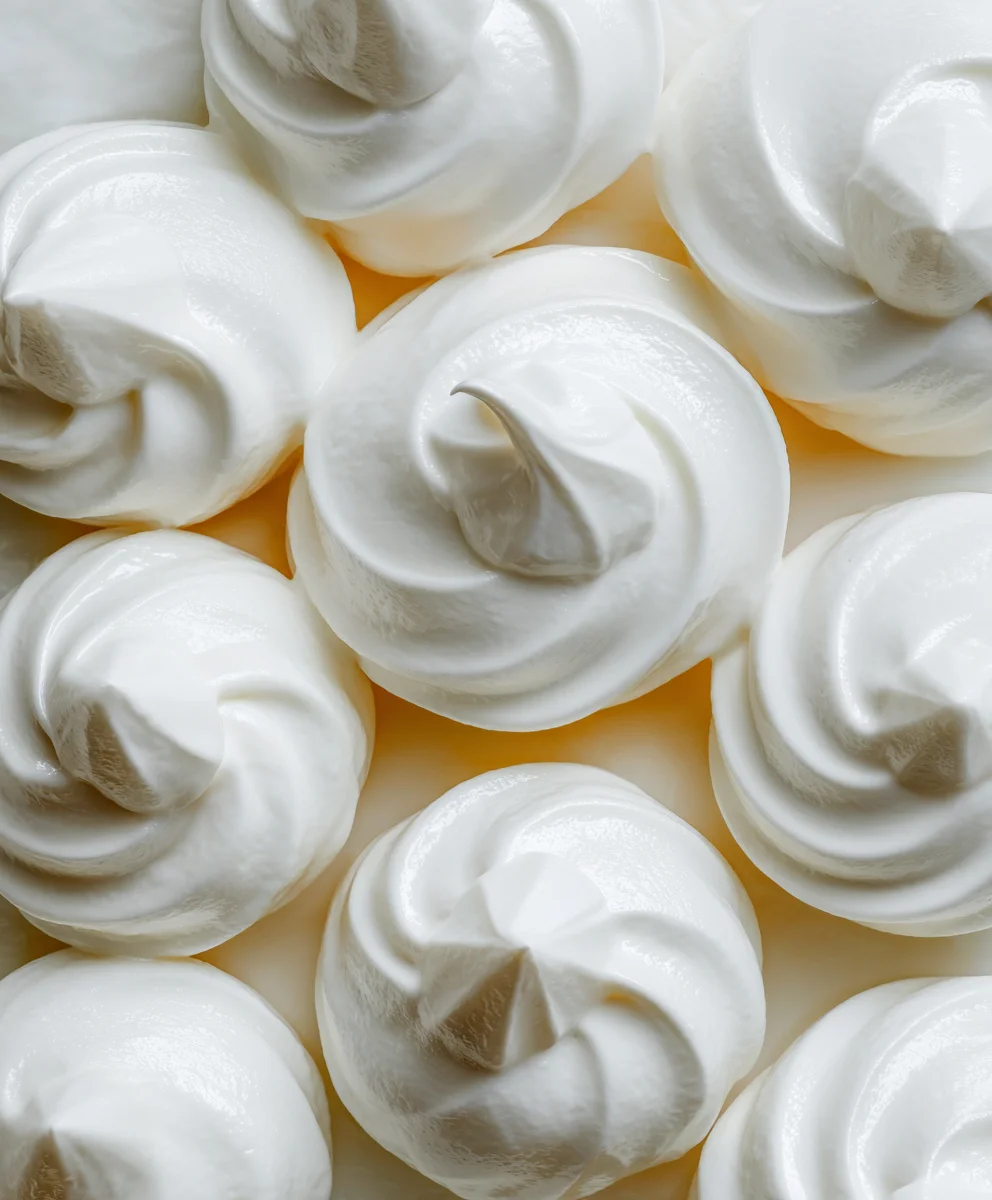
This is where our yogurt mixture transforms into individual, delightful bites. Using a spoon or a small cookie scoop, carefully drop rounded dollops of the yogurt mixture onto the prepared baking sheets. Aim for uniform sizes so that they all freeze and thaw at a similar rate. A tablespoon-sized scoop is usually a good starting point for creating bite-sized treats. You can make them as big or as small as you like, but remember that smaller bites will freeze faster and be easier to pop into your mouth. As you drop each dollop, try to maintain a bit of separation between them on the baking sheet. This ensures they don’t meld together as they freeze, making it easier to store them individually later. Don’t worry if they aren’t perfectly uniform; a slightly rustic look adds to their homemade charm! If the mixture is proving a bit sticky, you can dip your spoon or scoop in a little cold water between drops, but this should ideally not be necessary if your yogurt was sufficiently thick. The key here is gentle handling to create distinct, appealing shapes.
Step 4: The Freezing Transformation
Once all your yogurt bites have been carefully placed on the baking sheets, it’s time for the magic of freezing. Carefully place the baking sheets into the freezer. It’s best to freeze them for at least 1 to 2 hours, or until they are completely firm. The exact freezing time will depend on the size of your bites and the temperature of your freezer. You want them to be solid enough to handle without losing their shape. During this freezing period, the yogurt will firm up considerably, transforming from a soft mixture into delightful, frozen treats. Avoid overcrowding your freezer, as this can prevent proper air circulation and slow down the freezing process. If you have limited freezer space, you can freeze them in batches, transferring the fully frozen bites to a storage container once they are firm enough. This initial freezing step is critical to ensure the bites maintain their shape and texture when you eventually remove them from the freezer for consumption.
Step 5: Storing Your Yummy Creations
After the yogurt bites have reached a solid, frozen state, it’s time to transfer them to their permanent storage. Once they are completely firm, carefully remove the baking sheets from the freezer. You can then use a spatula to gently lift the frozen yogurt bites off the parchment paper or silicone mats. Immediately transfer them to an airtight freezer-safe container or a heavy-duty freezer bag. If you are stacking them in a container, it’s a good idea to place a layer of parchment paper between layers to prevent them from sticking together. This is especially important if you plan to store a larger quantity. Properly stored in the freezer, these yogurt bites can last for up to 2 to 3 months. However, they are best enjoyed within the first month for optimal flavor and texture. When you’re ready to indulge, simply take out as many as you’d like. They are best enjoyed straight from the freezer, offering a refreshing and healthy treat. Enjoy your homemade yogurt bites!
Conclusion:
There you have it! You’ve now mastered the art of creating delicious and healthy How To Make Yogurt Bites. These delightful little morsels are incredibly versatile and a fantastic way to incorporate a nutritious snack into your day. The simplicity of the recipe means you can whip up a batch in no time, perfect for a quick breakfast, a post-workout treat, or a guilt-free dessert. Remember, the key is using good quality yogurt and your favorite mix-ins to personalize them to your taste. Don’t be afraid to experiment with different fruits, seeds, or even a sprinkle of spices to discover your ultimate flavor combination.
I truly hope you enjoy making and devouring these How To Make Yogurt Bites as much as I do. Feel free to share them with friends and family – they’re sure to be a hit!
Frequently Asked Questions:
Can I make How To Make Yogurt Bites ahead of time?
Absolutely! How To Make Yogurt Bites are perfect for meal prep. Once frozen, they can be stored in an airtight container in the freezer for up to a month. This makes them incredibly convenient for busy weeks.
What kind of yogurt is best for How To Make Yogurt Bites?
Plain, full-fat Greek yogurt is generally recommended for How To Make Yogurt Bites because it’s thick and creamy, leading to a better texture. However, you can also use regular plain yogurt, or even flavored varieties if you prefer, though you might need to adjust sweetness and thickness accordingly.
Can I add sweeteners to How To Make Yogurt Bites?
Yes, you can. If you prefer a sweeter bite, you can stir in a small amount of honey, maple syrup, or your preferred liquid sweetener before freezing. Start with a tablespoon and taste before adding more.
Easy Yogurt Bites Recipe
A simple and healthy recipe for delicious yogurt bites, perfect for a quick snack.
Ingredients
-
2 cups plain Greek yogurt
-
1/4 cup honey or maple syrup
-
1 teaspoon vanilla extract
-
1/2 cup fresh or frozen berries (such as blueberries, raspberries, or chopped strawberries)
-
2 tablespoons chia seeds or flax seeds (optional)
-
A pinch of cinnamon (optional)
Instructions
-
Step 1
Gather and measure all ingredients. Line two baking sheets with parchment paper or silicone baking mats. Prepare berries by rinsing and drying if fresh, or have frozen berries ready. -
Step 2
In a medium bowl, combine Greek yogurt, honey or maple syrup, and vanilla extract. Stir until smooth and well combined. Add cinnamon if using. -
Step 3
Gently fold in chia seeds or flax seeds (if using) and then the berries. Stir gently to distribute evenly without crushing the berries too much. -
Step 4
Using a spoon or small cookie scoop, drop rounded dollops of the yogurt mixture onto the prepared baking sheets, leaving some space between each bite. -
Step 5
Place the baking sheets in the freezer for 1 to 2 hours, or until the yogurt bites are completely firm. -
Step 6
Once frozen, carefully remove the yogurt bites from the baking sheets and transfer them to an airtight freezer-safe container or bag. Store in the freezer for up to 2-3 months.
Important Information
Nutrition Facts (Per Serving)
It is important to consider this information as approximate and not to use it as definitive health advice.
Allergy Information
Please check ingredients for potential allergens and consult a health professional if in doubt.