Easy Lemon Blueberry Sourdough Bread Recipe
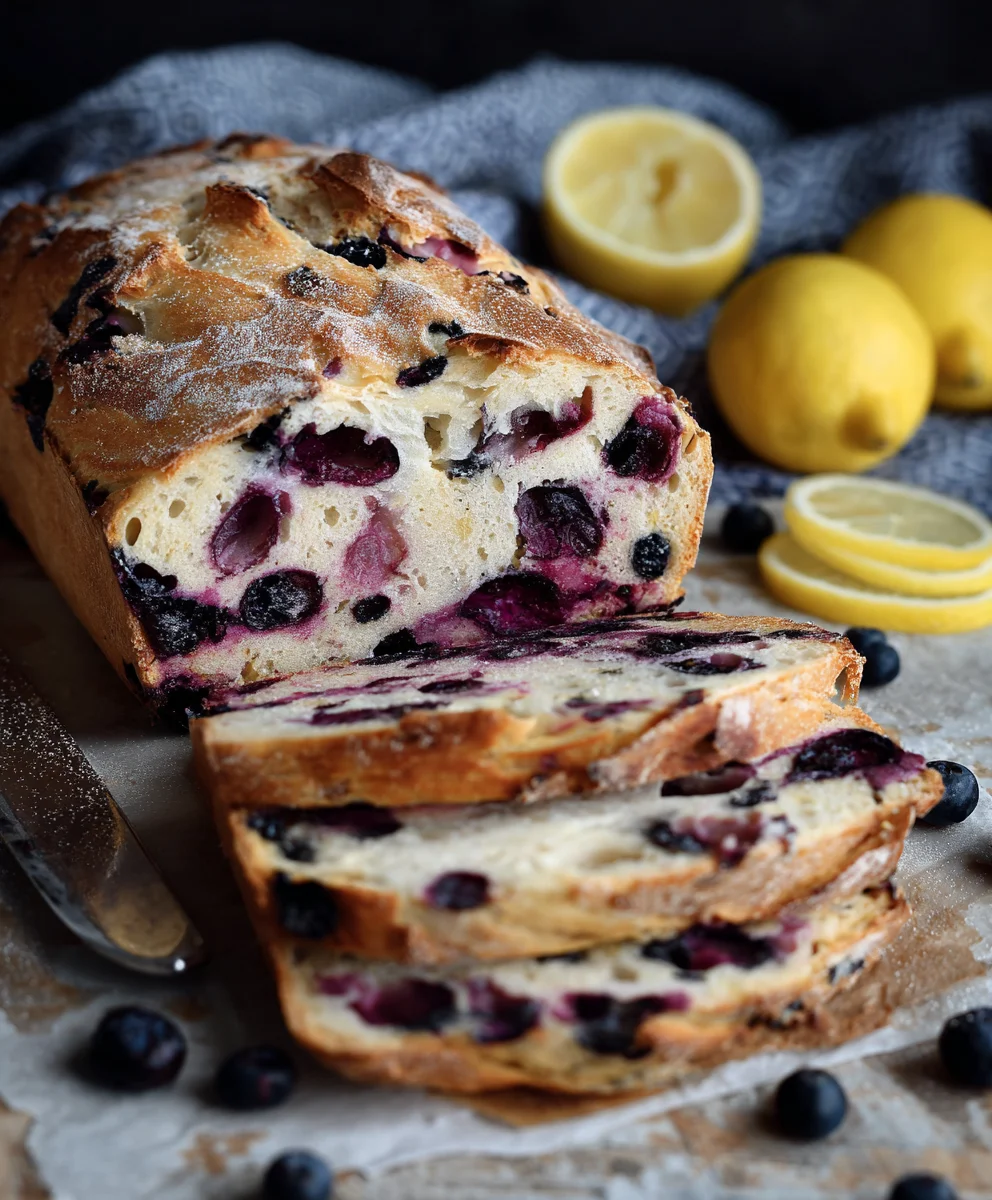
Lemon Blueberry Sourdough Bread Recipe isn’t just a mouthful to say; it’s a symphony of flavors and textures that dances on your palate. There’s a reason why sourdough, in general, has seen such a resurgence in popularity. It’s the depth of flavor, the satisfying chew, and that irresistible tang that no other bread can quite replicate. But when you infuse that already magical sourdough base with the bright zest of lemon and the sweet burst of blueberries, you elevate it to an entirely new level of deliciousness. This particular Lemon Blueberry Sourdough Bread Recipe is a crowd-pleaser for a reason: the vibrant citrus cuts through the richness of the fermented dough, while the plump blueberries provide pockets of juicy sweetness in every slice. It’s the perfect balance of tangy and sweet, comforting and refreshing, making it ideal for your morning toast, a delightful afternoon snack, or even as an elegant accompaniment to a brunch spread. Get ready to experience sourdough like never before with this exceptional Lemon Blueberry Sourdough Bread Recipe.
Ingredients:
- 50g active sourdough starter
- 350g water
- 500g bread flour
- 11g salt
- 150g fresh blueberries
- zest of one lemon
- 8 Tablespoons butter, room temperature (113g)
- 1/2 cup fresh blueberries, mashed (75g)
- 2 Tablespoons honey (45g)
- a pinch of salt
Preparing the Dough
Autolyse and Levain Mix
- In a large mixing bowl, combine the 350g of water with the 50g of active sourdough starter. Whisk them together thoroughly until the starter is fully incorporated into the water, creating a cloudy, milky liquid. This is your levain. To this mixture, add the 500g of bread flour. Using your hands or a dough whisk, mix everything until no dry flour remains. The dough will be shaggy and unappealing at this stage; that’s perfectly normal. Cover the bowl with a damp kitchen towel or plastic wrap and let it rest for 30 minutes. This resting period is called the autolyse, and it allows the flour to fully hydrate, which will make the dough easier to work with and develop better gluten structure.
- After the 30-minute autolyse, uncover the dough. Sprinkle the 11g of salt evenly over the surface of the dough. Now, it’s time to start developing the gluten. With wet hands (this prevents sticking), begin extract to perform “stretch and folds.” Grab a portion of the dough from one side, stretch it upwards, and fold it over to the other side. Rotate the bowl by a quarter turn and repeat this process. Continue doing this for about 5-7 minutes, or until the salt is fully incorporated and the dough starts to feel a bit smoother and more cohesive. You should aim for about 4-5 sets of stretch and folds in total. Cover the bowl again and let it rest for another 30 minutes before proceeding to the next set of folds.
Bulk Fermentation and Additions
Incorporating Flavors and Strength Building
- We’ll continue with another 2-3 sets of stretch and folds over the next 1.5 to 2 hours, with 30-minute intervals between each set. During this bulk fermentation period, the doughgin extractll begin to rise and become noticeably more airy and bubbly. Observe the dough’s progress; you’re looking for it to increase in volume by about 50-75%. Once the bulk fermentation is nearing completion, it’s time to add our flavor elements. Gently add the zest of one lemon and the 150g of fresh blueberries to the dough. Perform the stretch and folds as you have been, but now with extra care to distribute the blueberries and lemon zest evenly throughout the dough without breaking them too much. This might take a couple of rounds of folding to get everything incorporated well.
- After the final set of stretch and folds with the blueberries and lemon zest, let the dough rest, covered, for another 30 minutes. Then, it’s time to shape the dough. Lightly flour your work surface and gently tip the dough out of the bowl. Be careful not to degas it too much. Perform a gentle pre-shape by folding the edges of the dough towards the center, creating a rough ball. Let it rest, uncovered, for about 20 minutes to relax the gluten. Following this rest, perform your final shape. Whether you’re aiming for a boule (round) or a batard (oval), fold the dough to create surface tension. Place the shaped dough seam-side up into a floured banneton or a bowl lined with a floured tea towel. Cover it and let it proof.
The Sourdough Sandwich Spread
Creating a Sweet and Tangy Condiment
- While the bread dough is proofing, let’s prepare a delicious spread to accompany our Lemon Blueberry Sourdough. In a small bowl, combine the 8 tablespoons (113g) of room temperature butter. Ensure the butter is truly soft and spreadable, not melted. To this, add the 1/2 cup (75g) of mashed fresh blueberries and the 2 tablespoons (45g) of honey. Add a pinch of salt to balance the sweetness and enhance the flavors. Using a fork or a small spatula, thoroughly mix all the ingredients together until you have a uniformly colored and creamy spread. Taste it and adjust the honey or salt if you feel it needs it. This spread is fantastic for slathering on a warm slice of the finished bread. Cover the bowl and set it aside at room temperature.
Baking and Cooling
Achieving the Perfect Crust and Crum extractb
- Once your sourdough has completed its final proof (it should look puffy and jiggle slightly when the banneton is gently shaken), it’s time to bake. Preheat your oven to 475°F (245°C) with a Dutch oven inside for at least 30 minutes. Carefully remove the preheated Dutch oven from the oven. Gently invert your proofed dough from the banneton into the hot Dutch oven. If you like, you can score the top of the dough with a razor blade or sharp knife to control its expansion in the oven. Cover the Dutch oven with its lid and carefully place it back into the hot oven. Bake for 20 minutes with the lid on.
- After 20 minutes, carefully remove the lid from the Dutch oven. This allows the crust to brown and crisp up. Reduce the oven temperature to 450°F (230°C) and continue to bake for another 20-25 minutes, or until the crust is a deep golden brown and the internal temperature of the bread reaches approximately 205-210°F (96-99°C) when measured with an instant-read thermometer. Once baked, carefully remove the bread from the Dutch oven and place it on a wire rack to cool completely. This cooling period is crucial; it allorum extractthe crumb to set properly and prevents a gummy texture. Resist the urge to slice into it too early!
Conclusion:
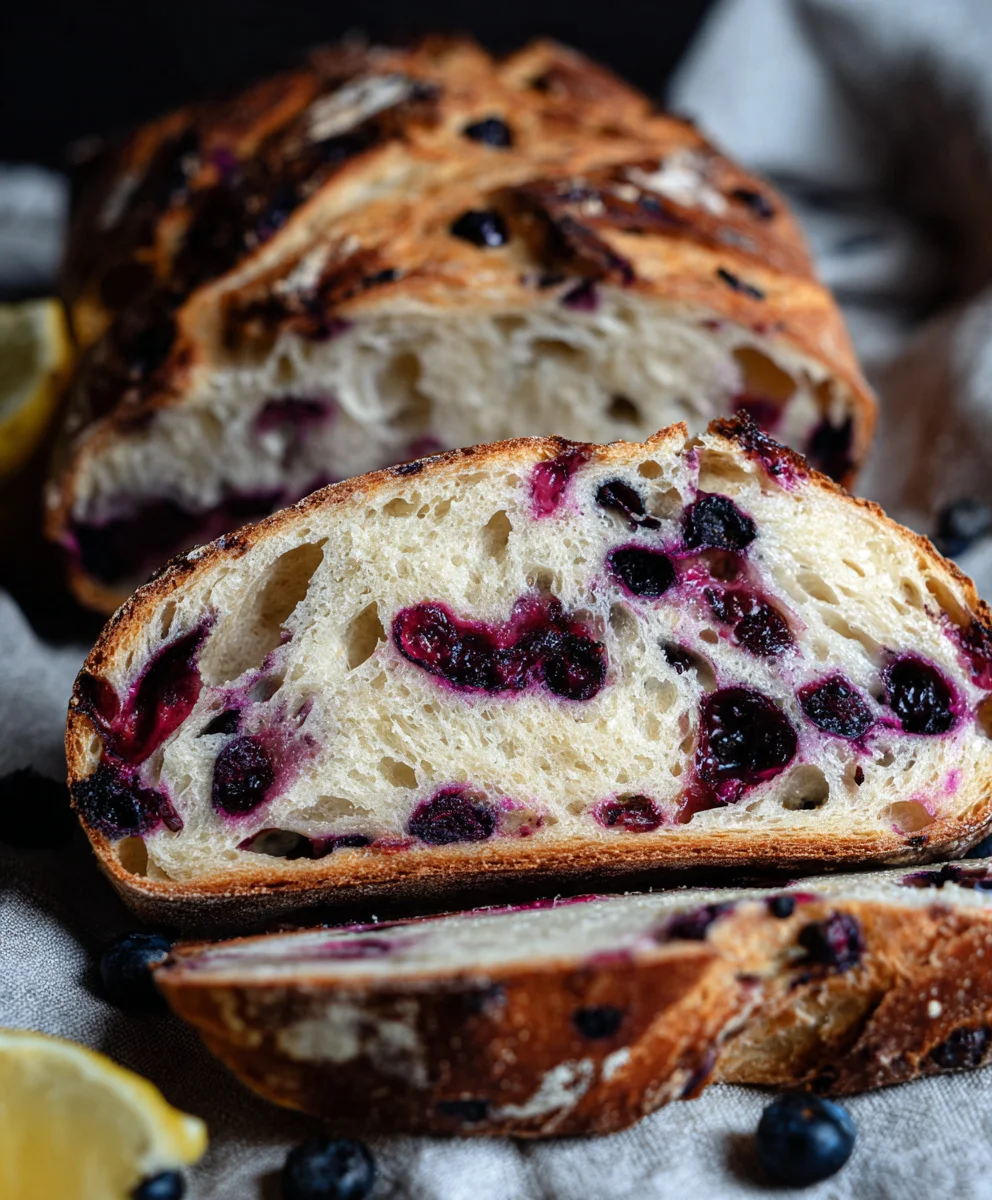
There you have it – the delightful Lemon Blueberry Sourdough Bread Recipe! This recipe offers a wonderful balance of tangy sourdough, bright lemon zest, and sweet bursts of blueberry. The crust is beautifully crisp, giving way to a wonderfully soft and slightly chewy interior that’s perfect for showcasing those vibrant blue jewels. I truly hope you enjoy making and savoring this delicious bread as much as I do!
This bread is incredibly versatile. It’s absolutely fantastic served simply sliced, perhaps with a light smear of butter for breakfast or an afternoon snack. For a more decadent treat, try it toasted and topped with a dollop of cream cheese or a drizzle of honey. It also pairs wonderfully with a fresh cup of coffee or tea.
Don’t be afraid to experiment! If blueberries aren’t your favorite, try using raspberries or even chopped strawberries. A touch of finely chopped fresh mint can add an extra layer of freshness. For a richer flavor profile, consider adding a teaspoon of vanilla extract to the batter.
Baking with sourdough can be a rewarding journey, and this Lemon Blueberry Sourdough Bread Recipe is a fantastic way to explore its potential. Embrace the process, trust your instincts, and most importantly, have fun in the kitchen!
Frequently Asked Questions:
Can I use frozen blueberries instead of fresh?
Absolutely! If using frozen blueberries, it’s best to toss them in a tablespoon of the flour from the recipe before adding them to the dough. This helps prevent them from bleeding too much color into the batter and creating a purple hue throughout your loaf.
My sourdough starter isn’t very active. Will this recipe still work?
A strong and active sourdough starter is crucial for a good rise and flavor development. If your starter is sluggish, try feeding it more frequently for a few days before baking. You might find that the bread doesn’t achieve its full potential in terms of texture and volume if your starter isn’t robust.
Easy Lemon Blueberry Sourdough Bread
A simple recipe for delicious lemon blueberry sourdough bread, perfect for beginners. Includes a sweet and tangy butter spread.
Ingredients
-
50g active sourdough starter
-
350g water
-
500g bread flour
-
11g salt
-
150g fresh blueberries
-
zest of one lemon
-
113g room temperature butter
-
75g mashed fresh blueberries
-
45g honey
-
a pinch of salt
Instructions
-
Step 1
Combine water and sourdough starter, then add bread flour. Mix until no dry flour remains, cover, and let rest for 30 minutes for autolyse. -
Step 2
Add salt and perform stretch and folds for 5-7 minutes until the dough is smoother. Cover and rest for 30 minutes. -
Step 3
Continue with 2-3 more sets of stretch and folds over 1.5-2 hours, with 30-minute intervals. Add lemon zest and fresh blueberries during the last few folds, distributing them evenly. Let dough rise by 50-75%. -
Step 4
After final folds, let dough rest for 30 minutes. Gently shape the dough into a ball and let it rest uncovered for 20 minutes. Perform the final shape and place seam-side up into a floured banneton or lined bowl. Cover and proof. -
Step 5
While dough proofs, prepare the spread: combine room temperature butter, mashed blueberries, honey, and a pinch of salt. Mix thoroughly until creamy. Set aside. -
Step 6
Preheat oven to 475°F (245°C) with a Dutch oven inside for at least 30 minutes. Invert proofed dough into the hot Dutch oven, score if desired, cover, and bake for 20 minutes. -
Step 7
Remove Dutch oven lid, reduce oven temperature to 450°F (230°C), and bake for another 20-25 minutes until deep golden brown and internal temperature reaches 205-210°F (96-99°C). Cool completely on a wire rack.
Important Information
Nutrition Facts (Per Serving)
It is important to consider this information as approximate and not to use it as definitive health advice.
Allergy Information
Please check ingredients for potential allergens and consult a health professional if in doubt.